
One day as I was looking over the flyer for this machine I realized I was missing a plastic over the lower pop-bumper.

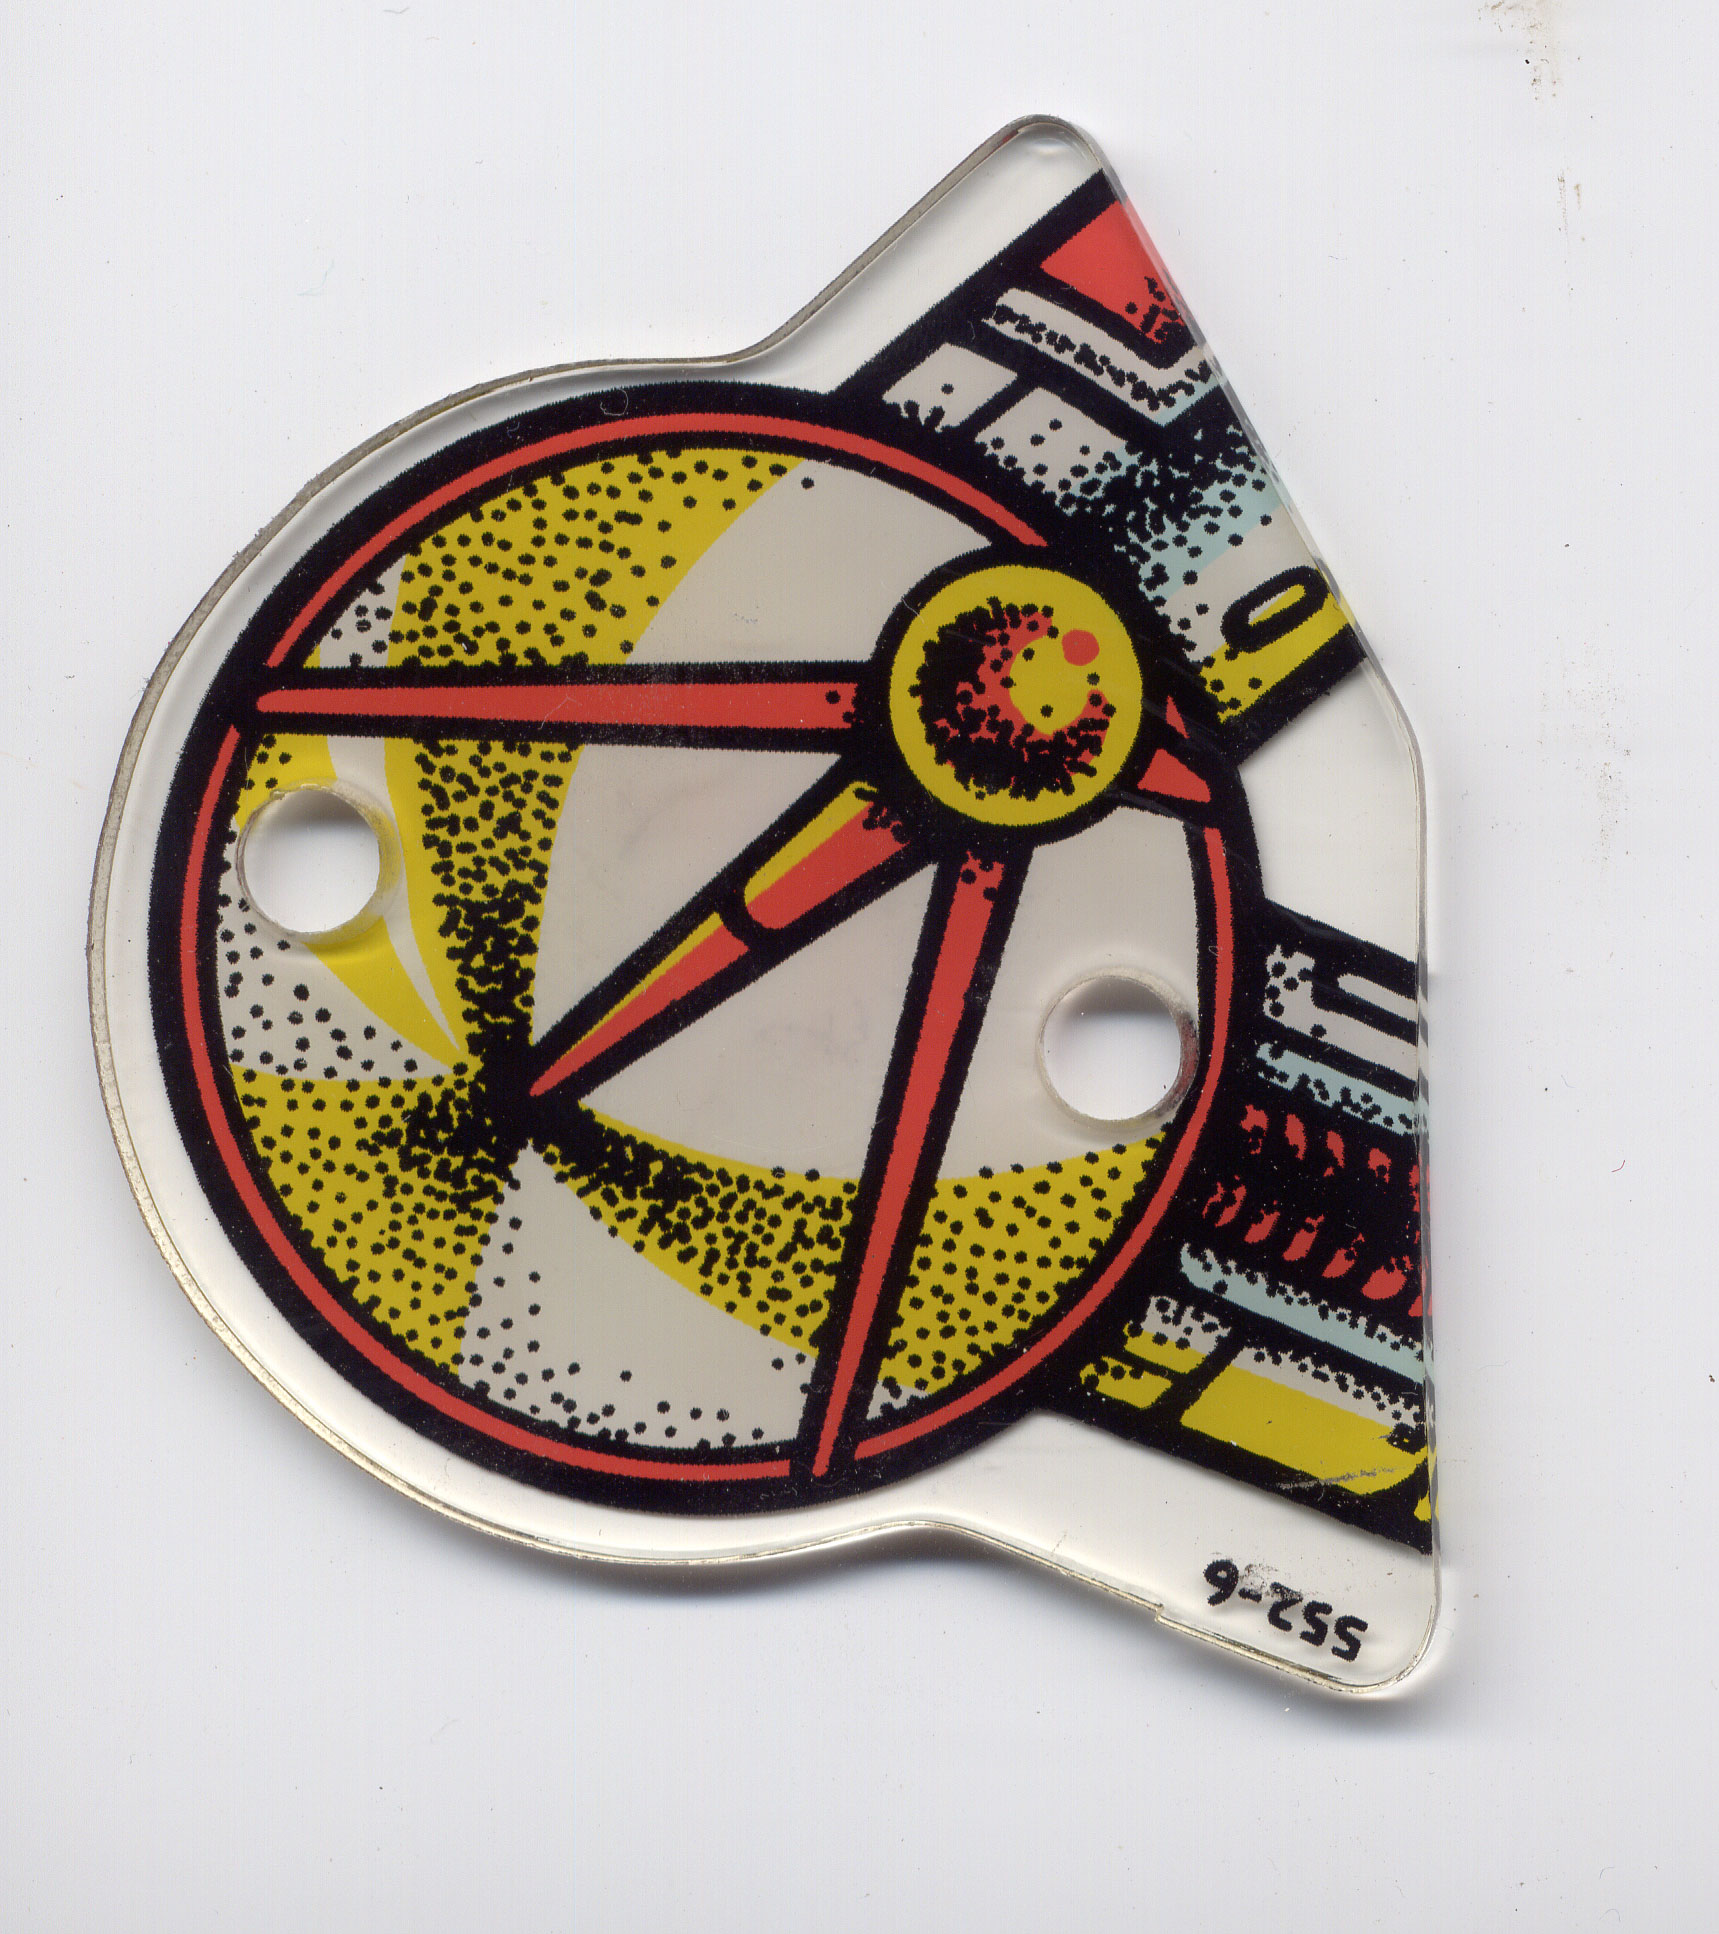
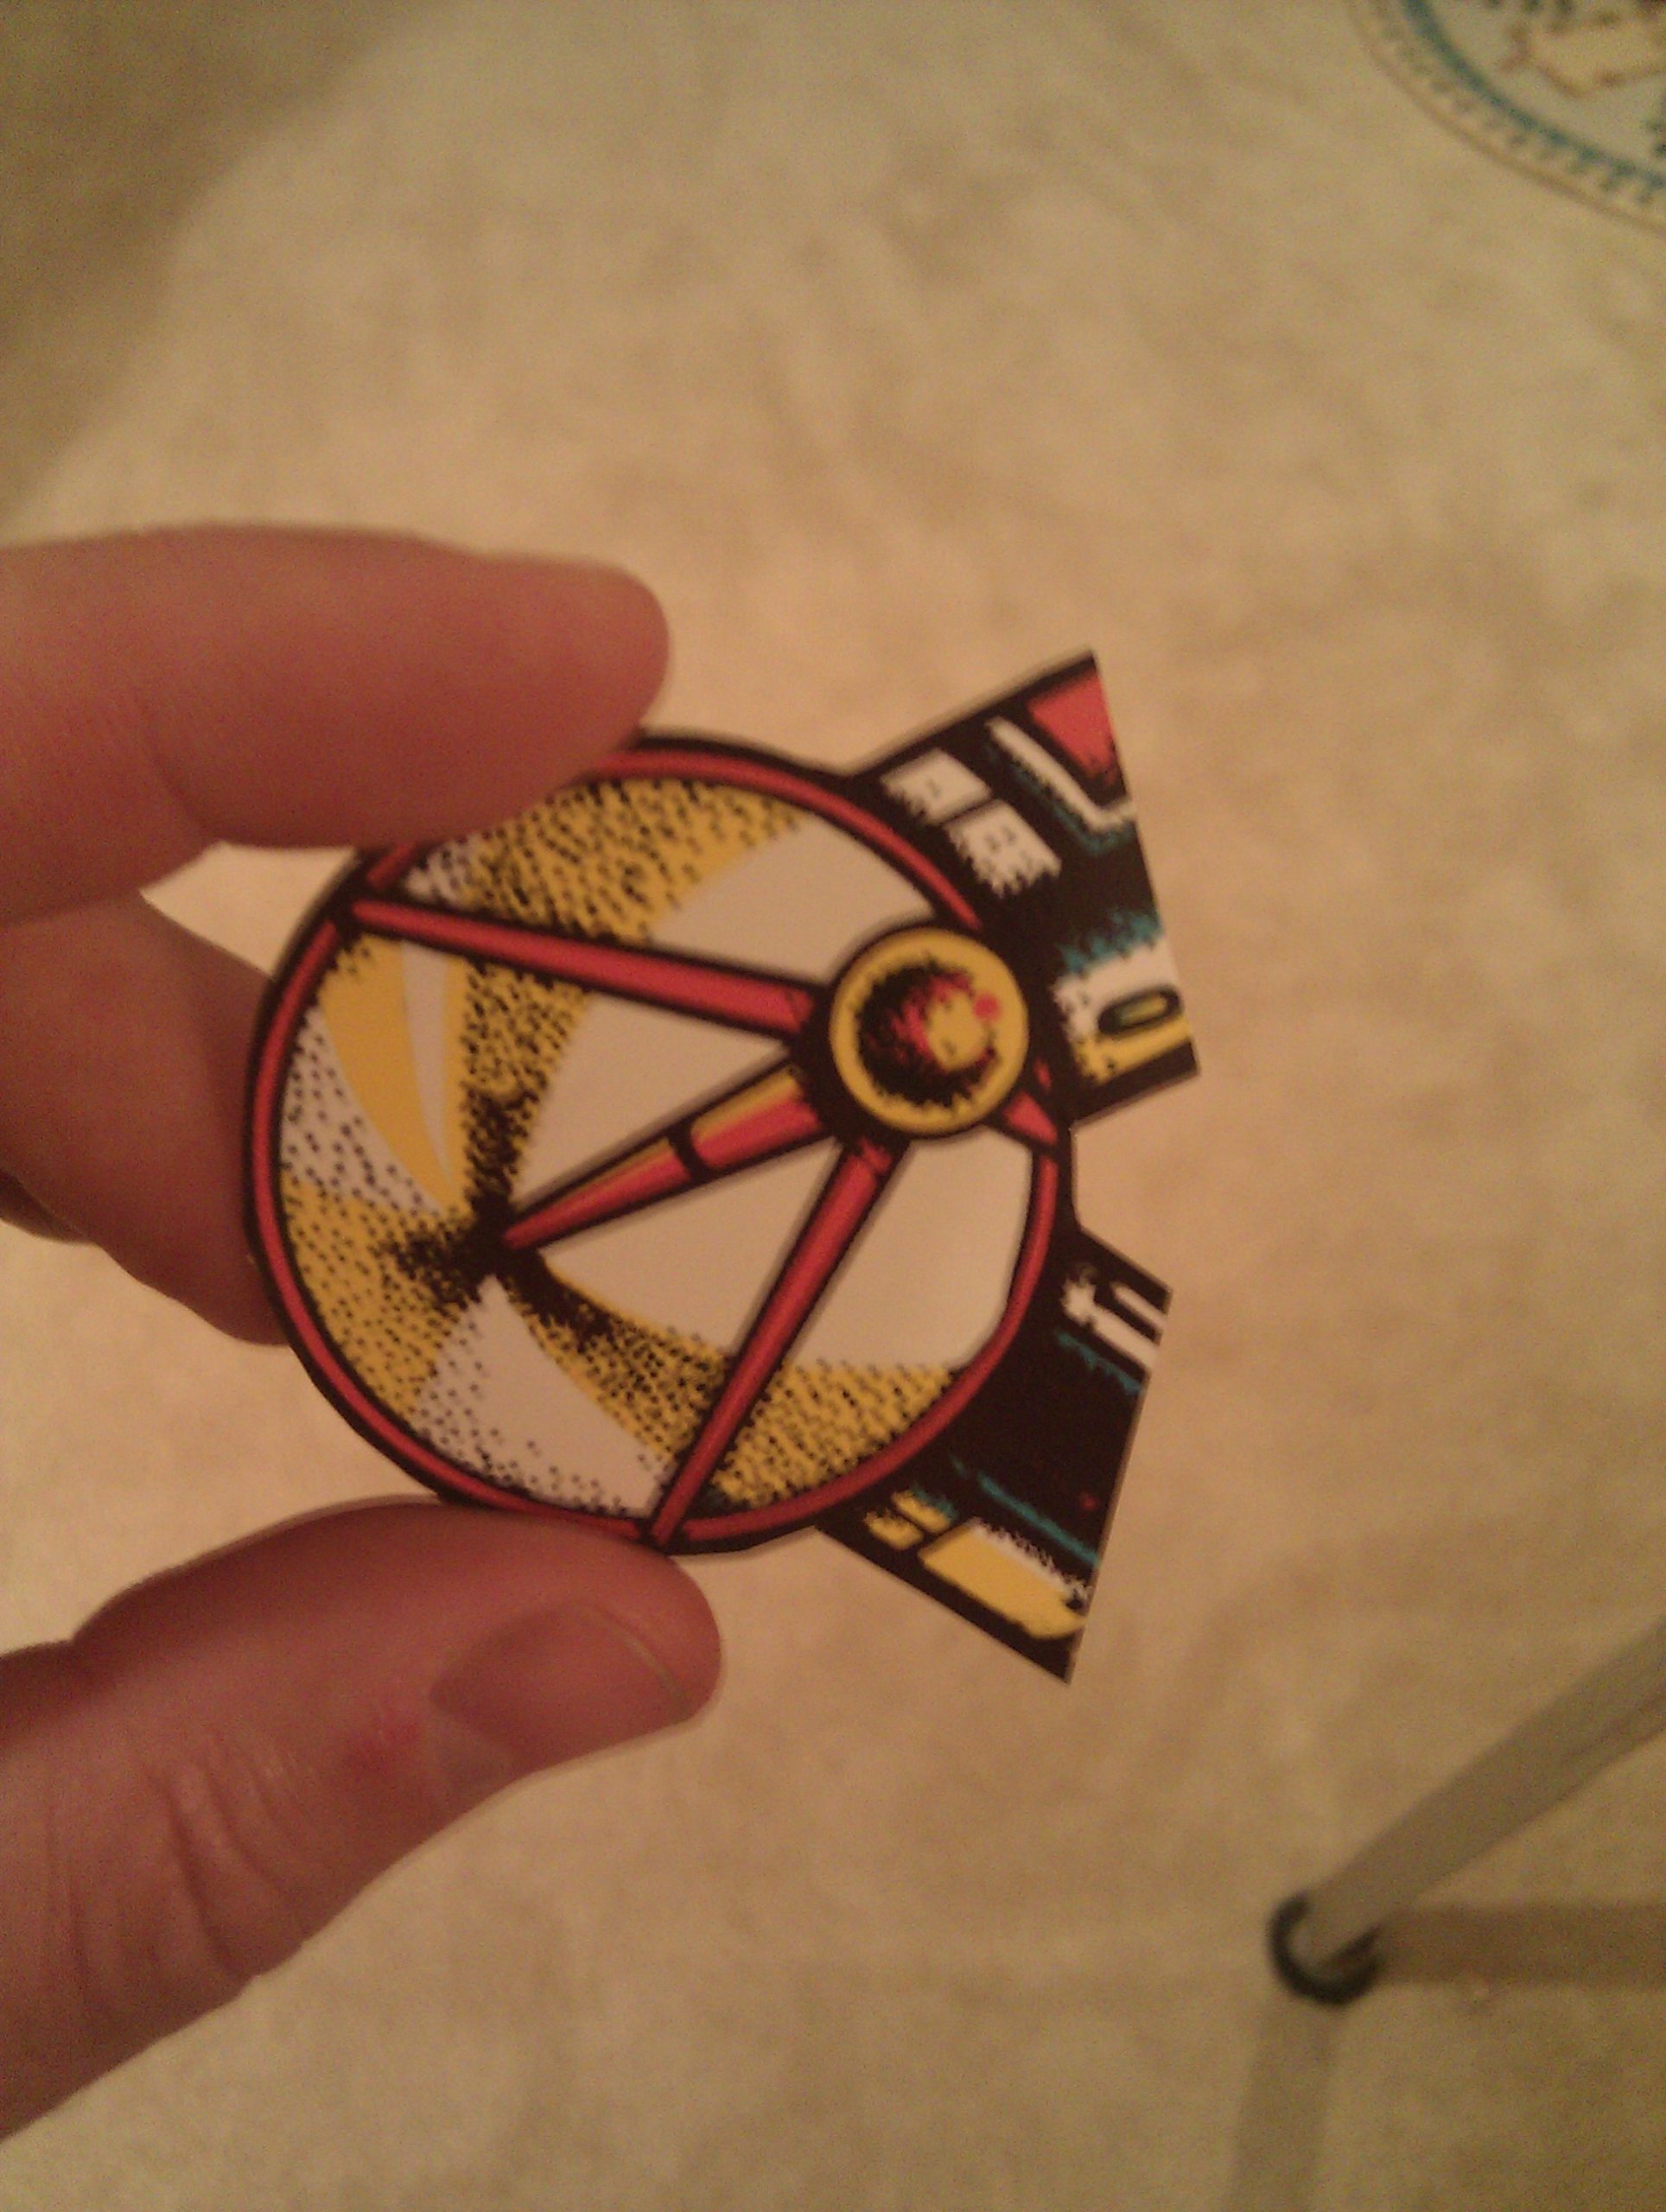
There is supposed to be a matching plastic on the lower pop bumper cap (shown to the right.)
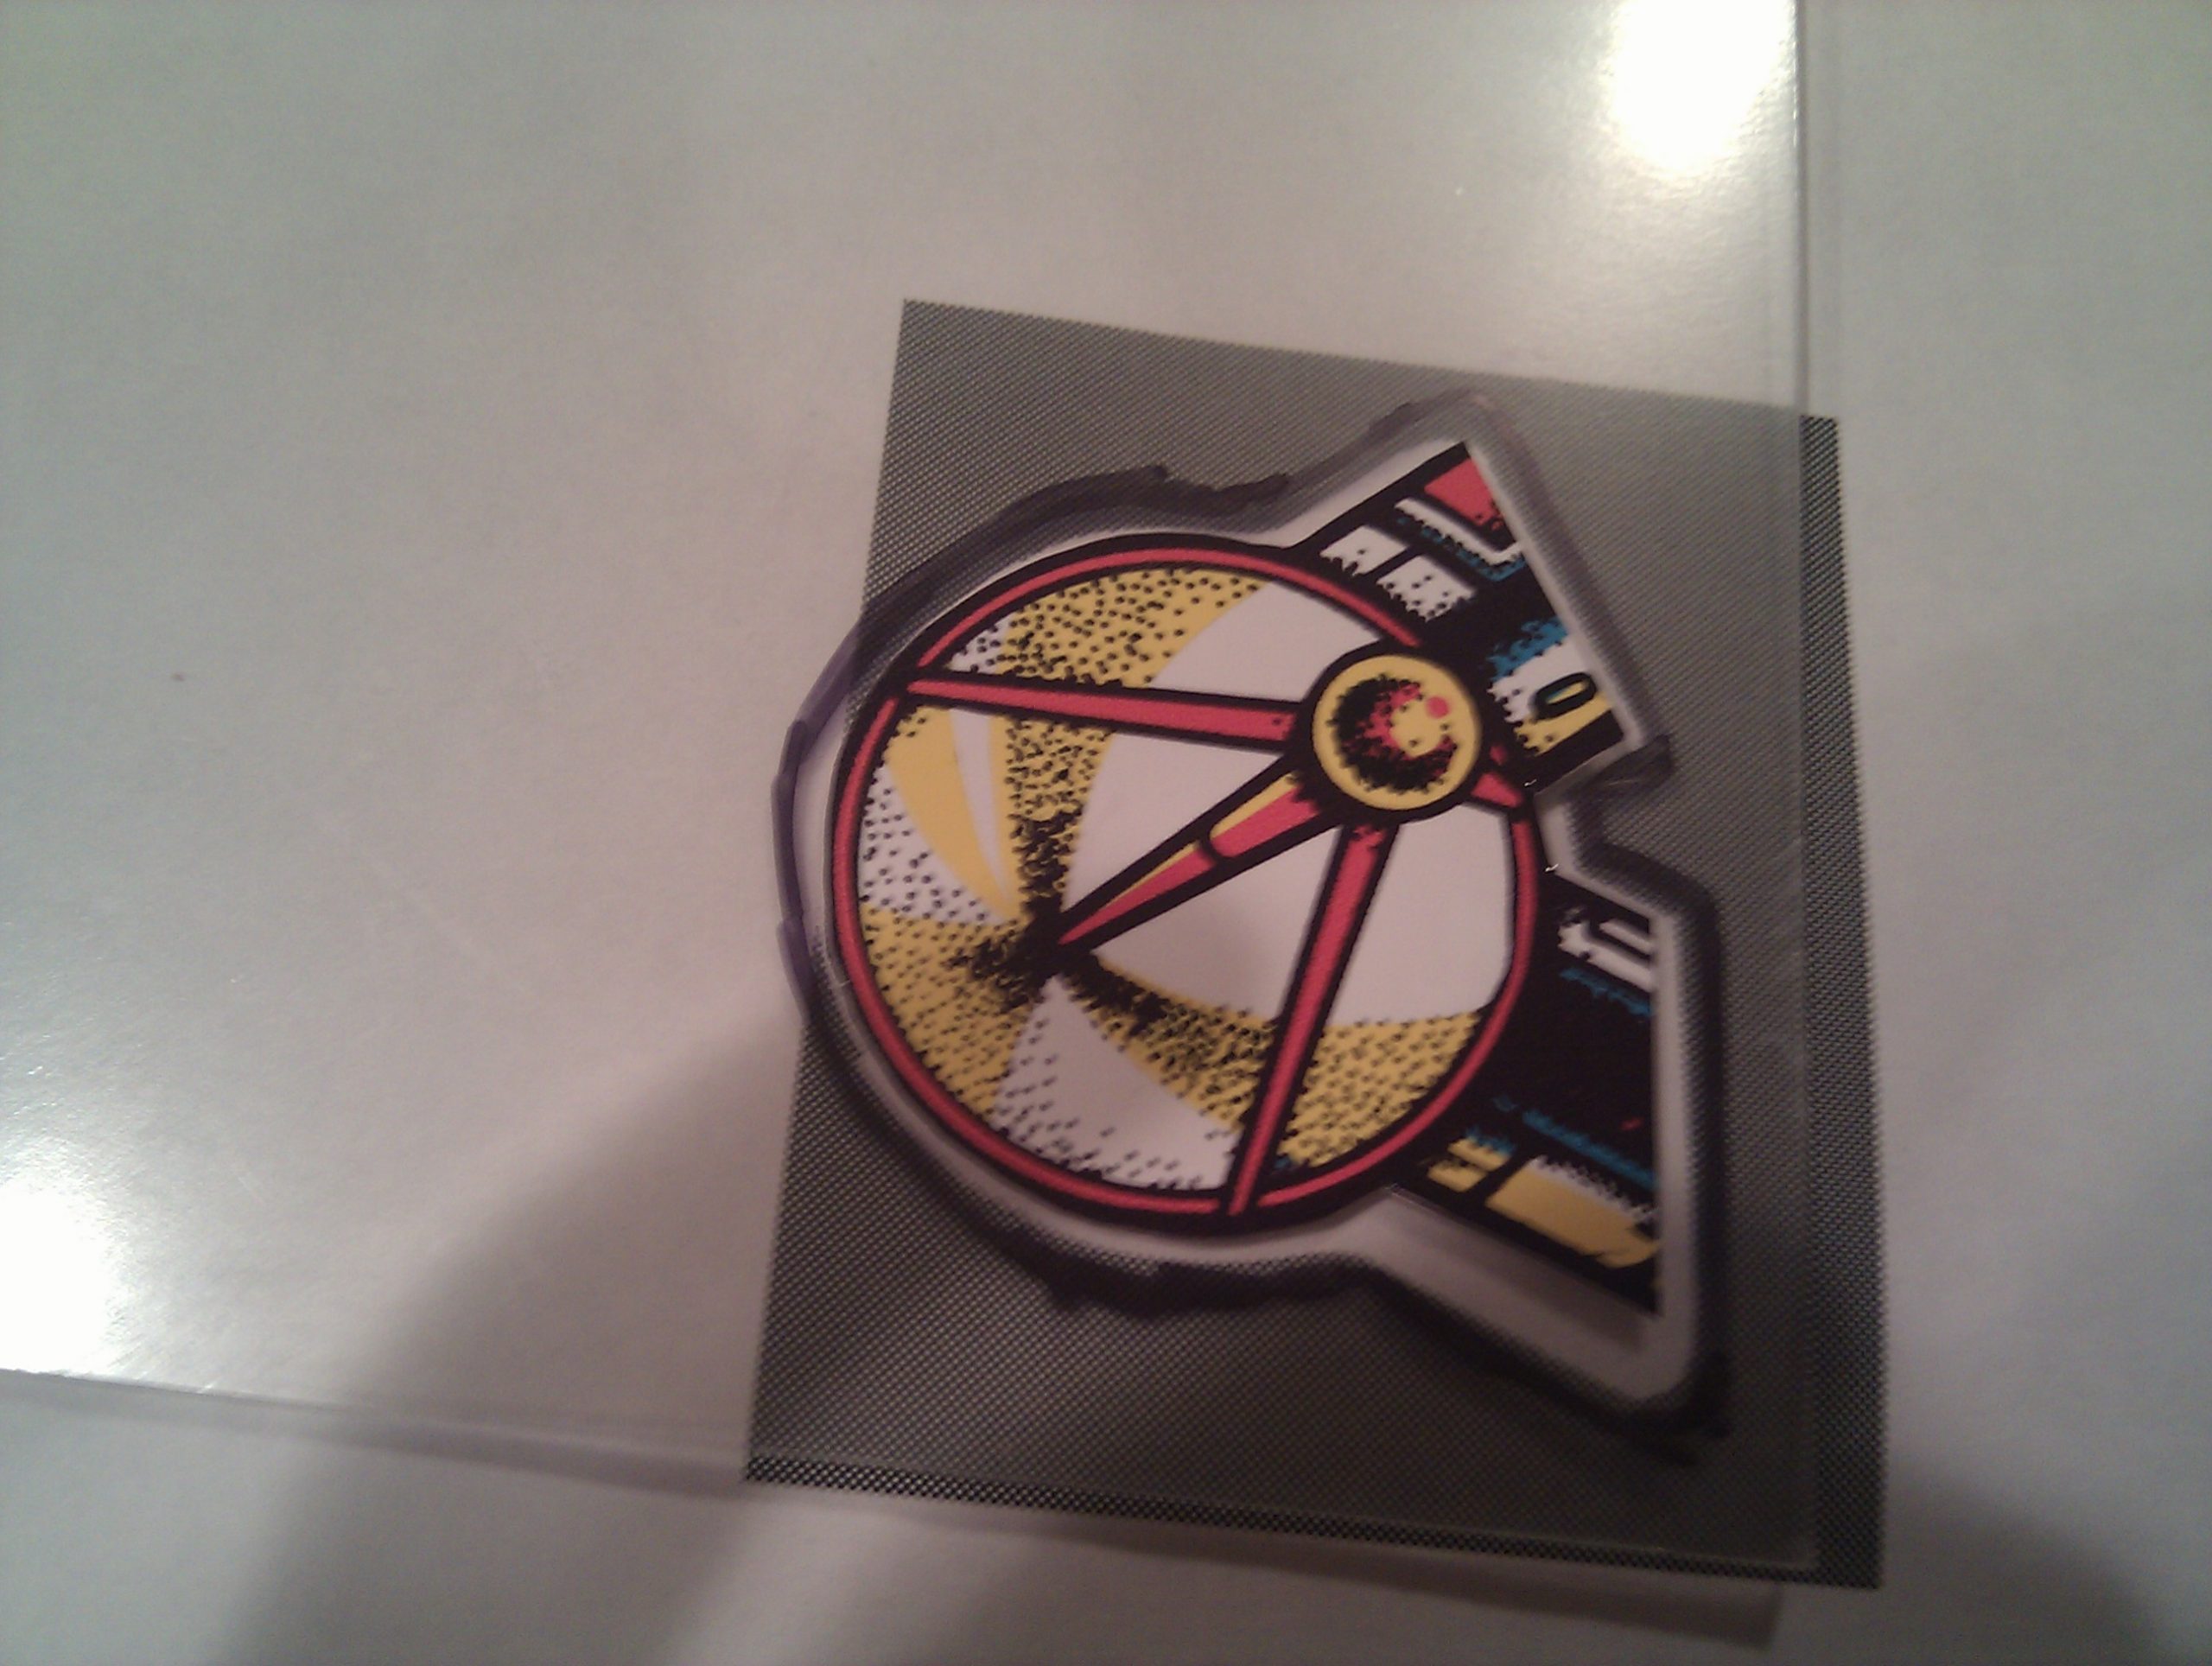
I read up online and decided to try my hand at creating one. I found the art online, printed it on thin paper, and attached a thin piece of acrylic with clear laminate.

The graphic I was lucky enough to find online.
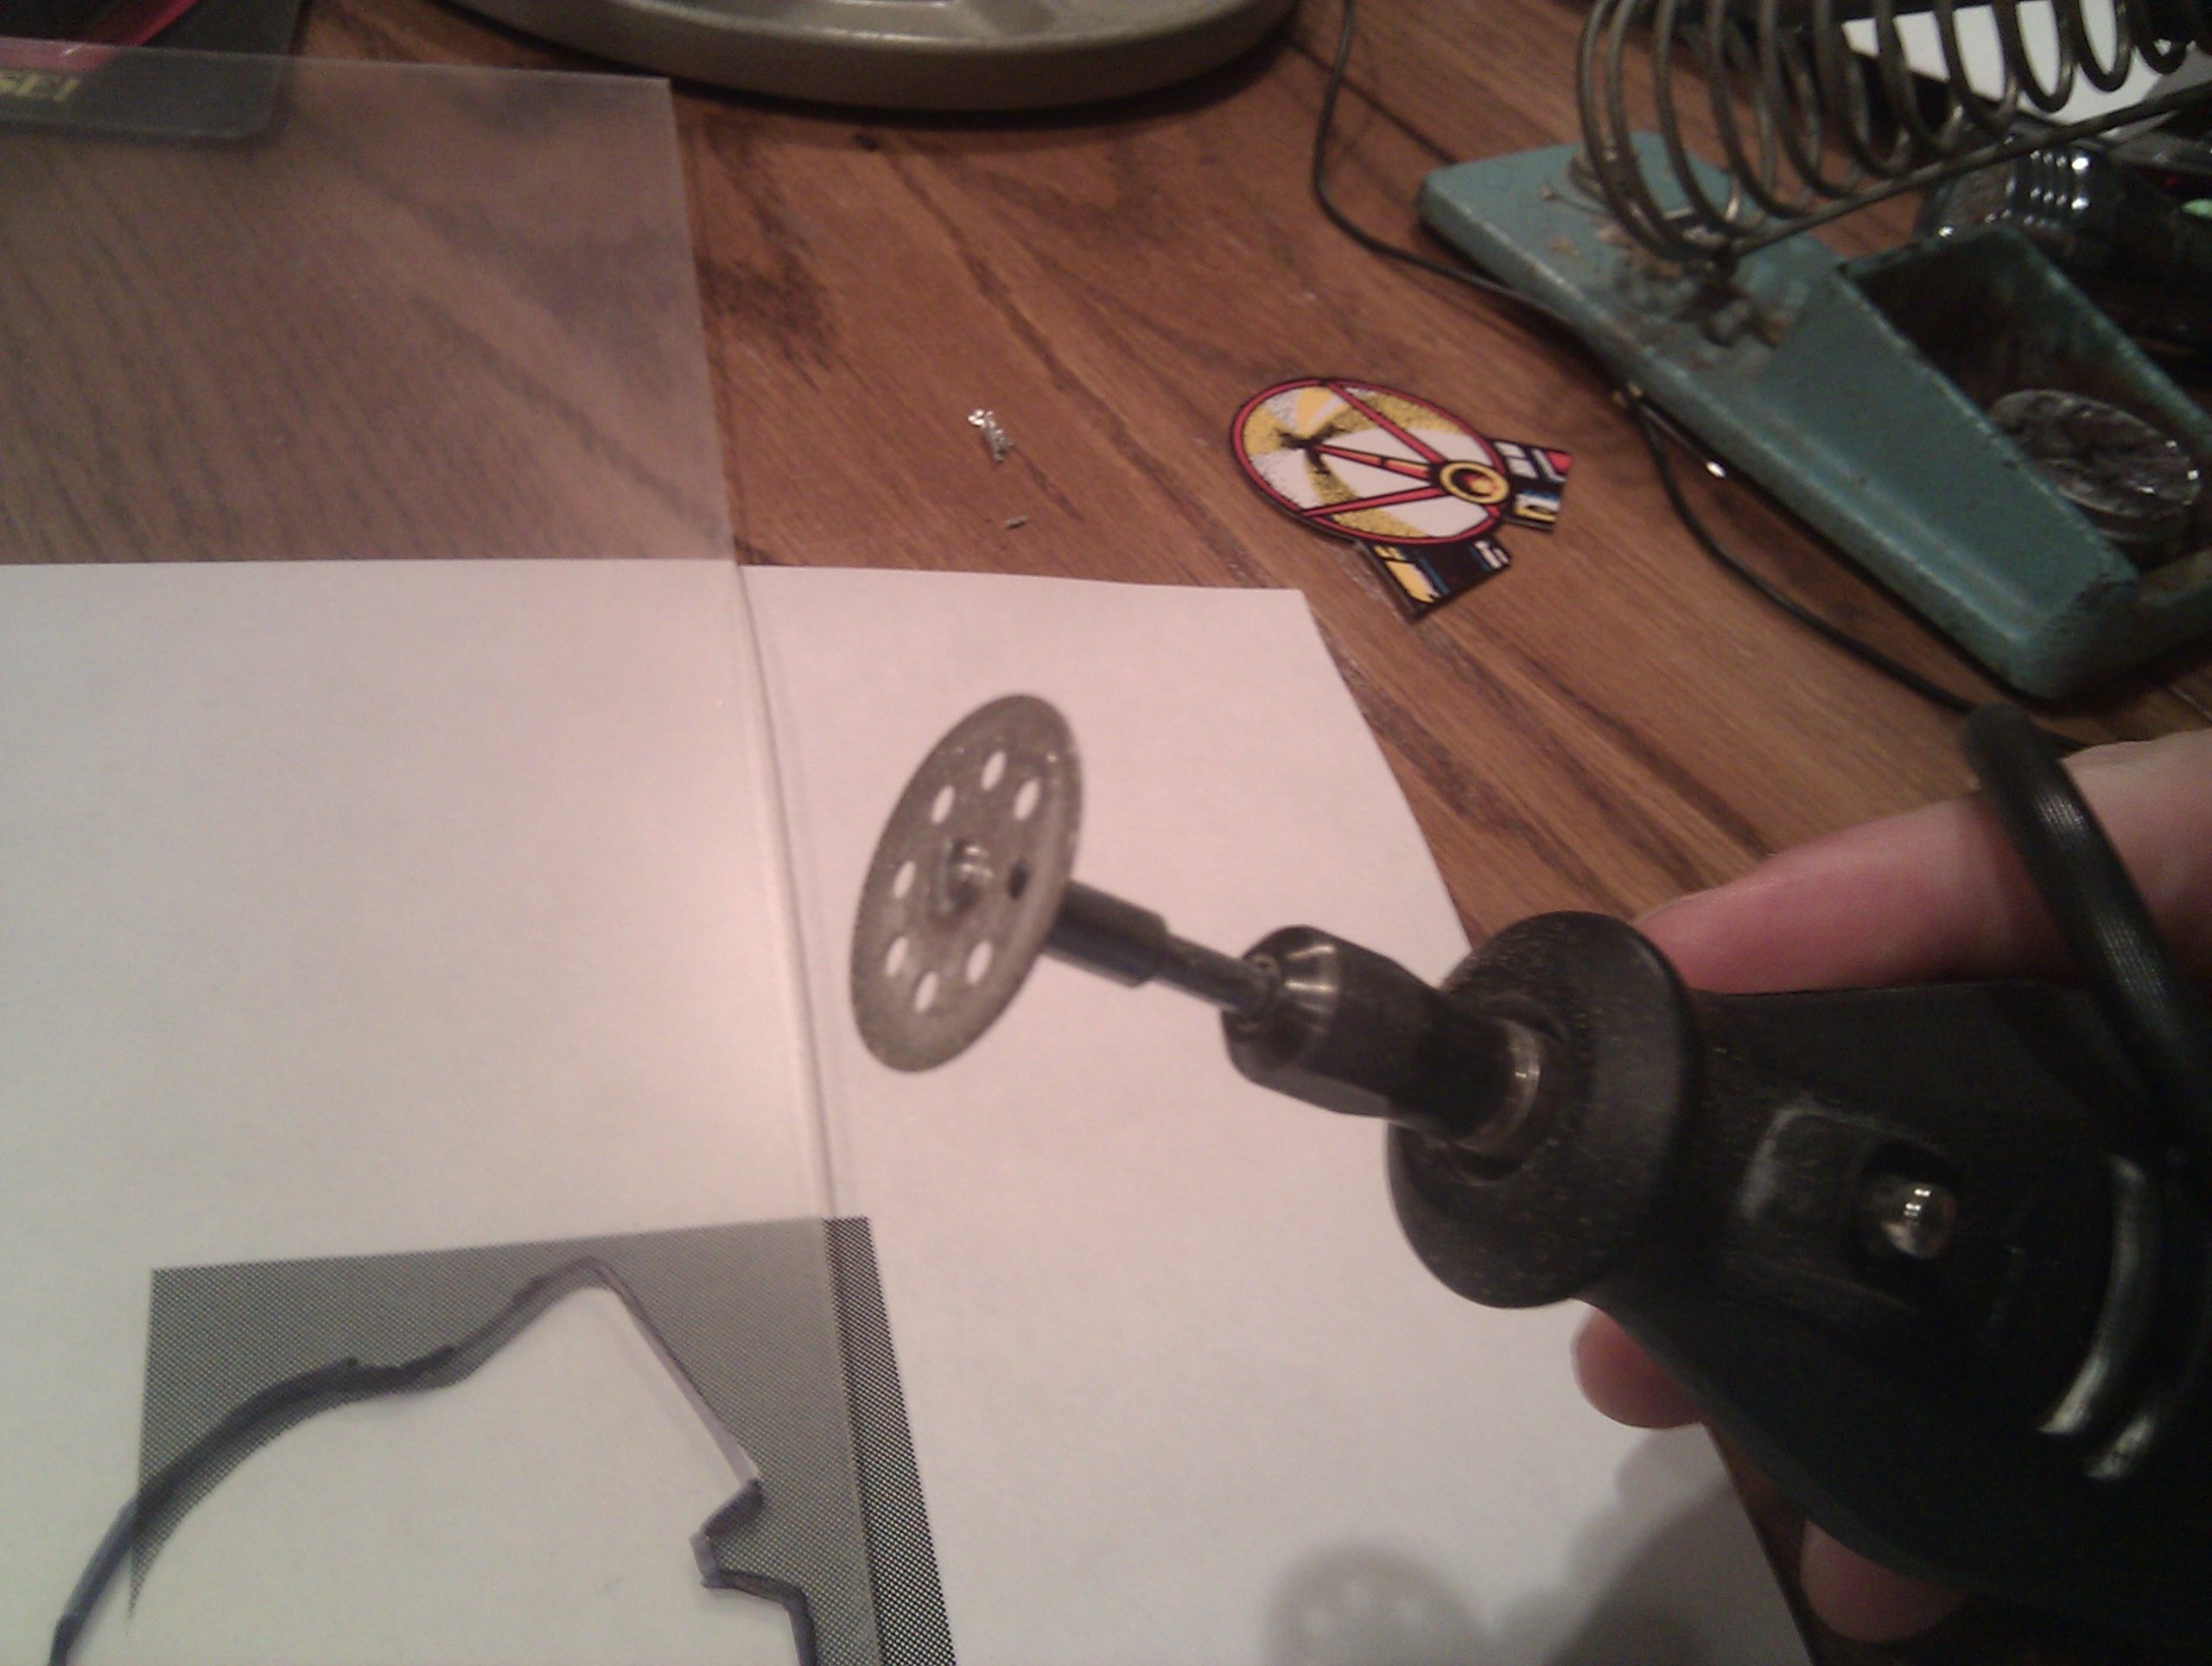
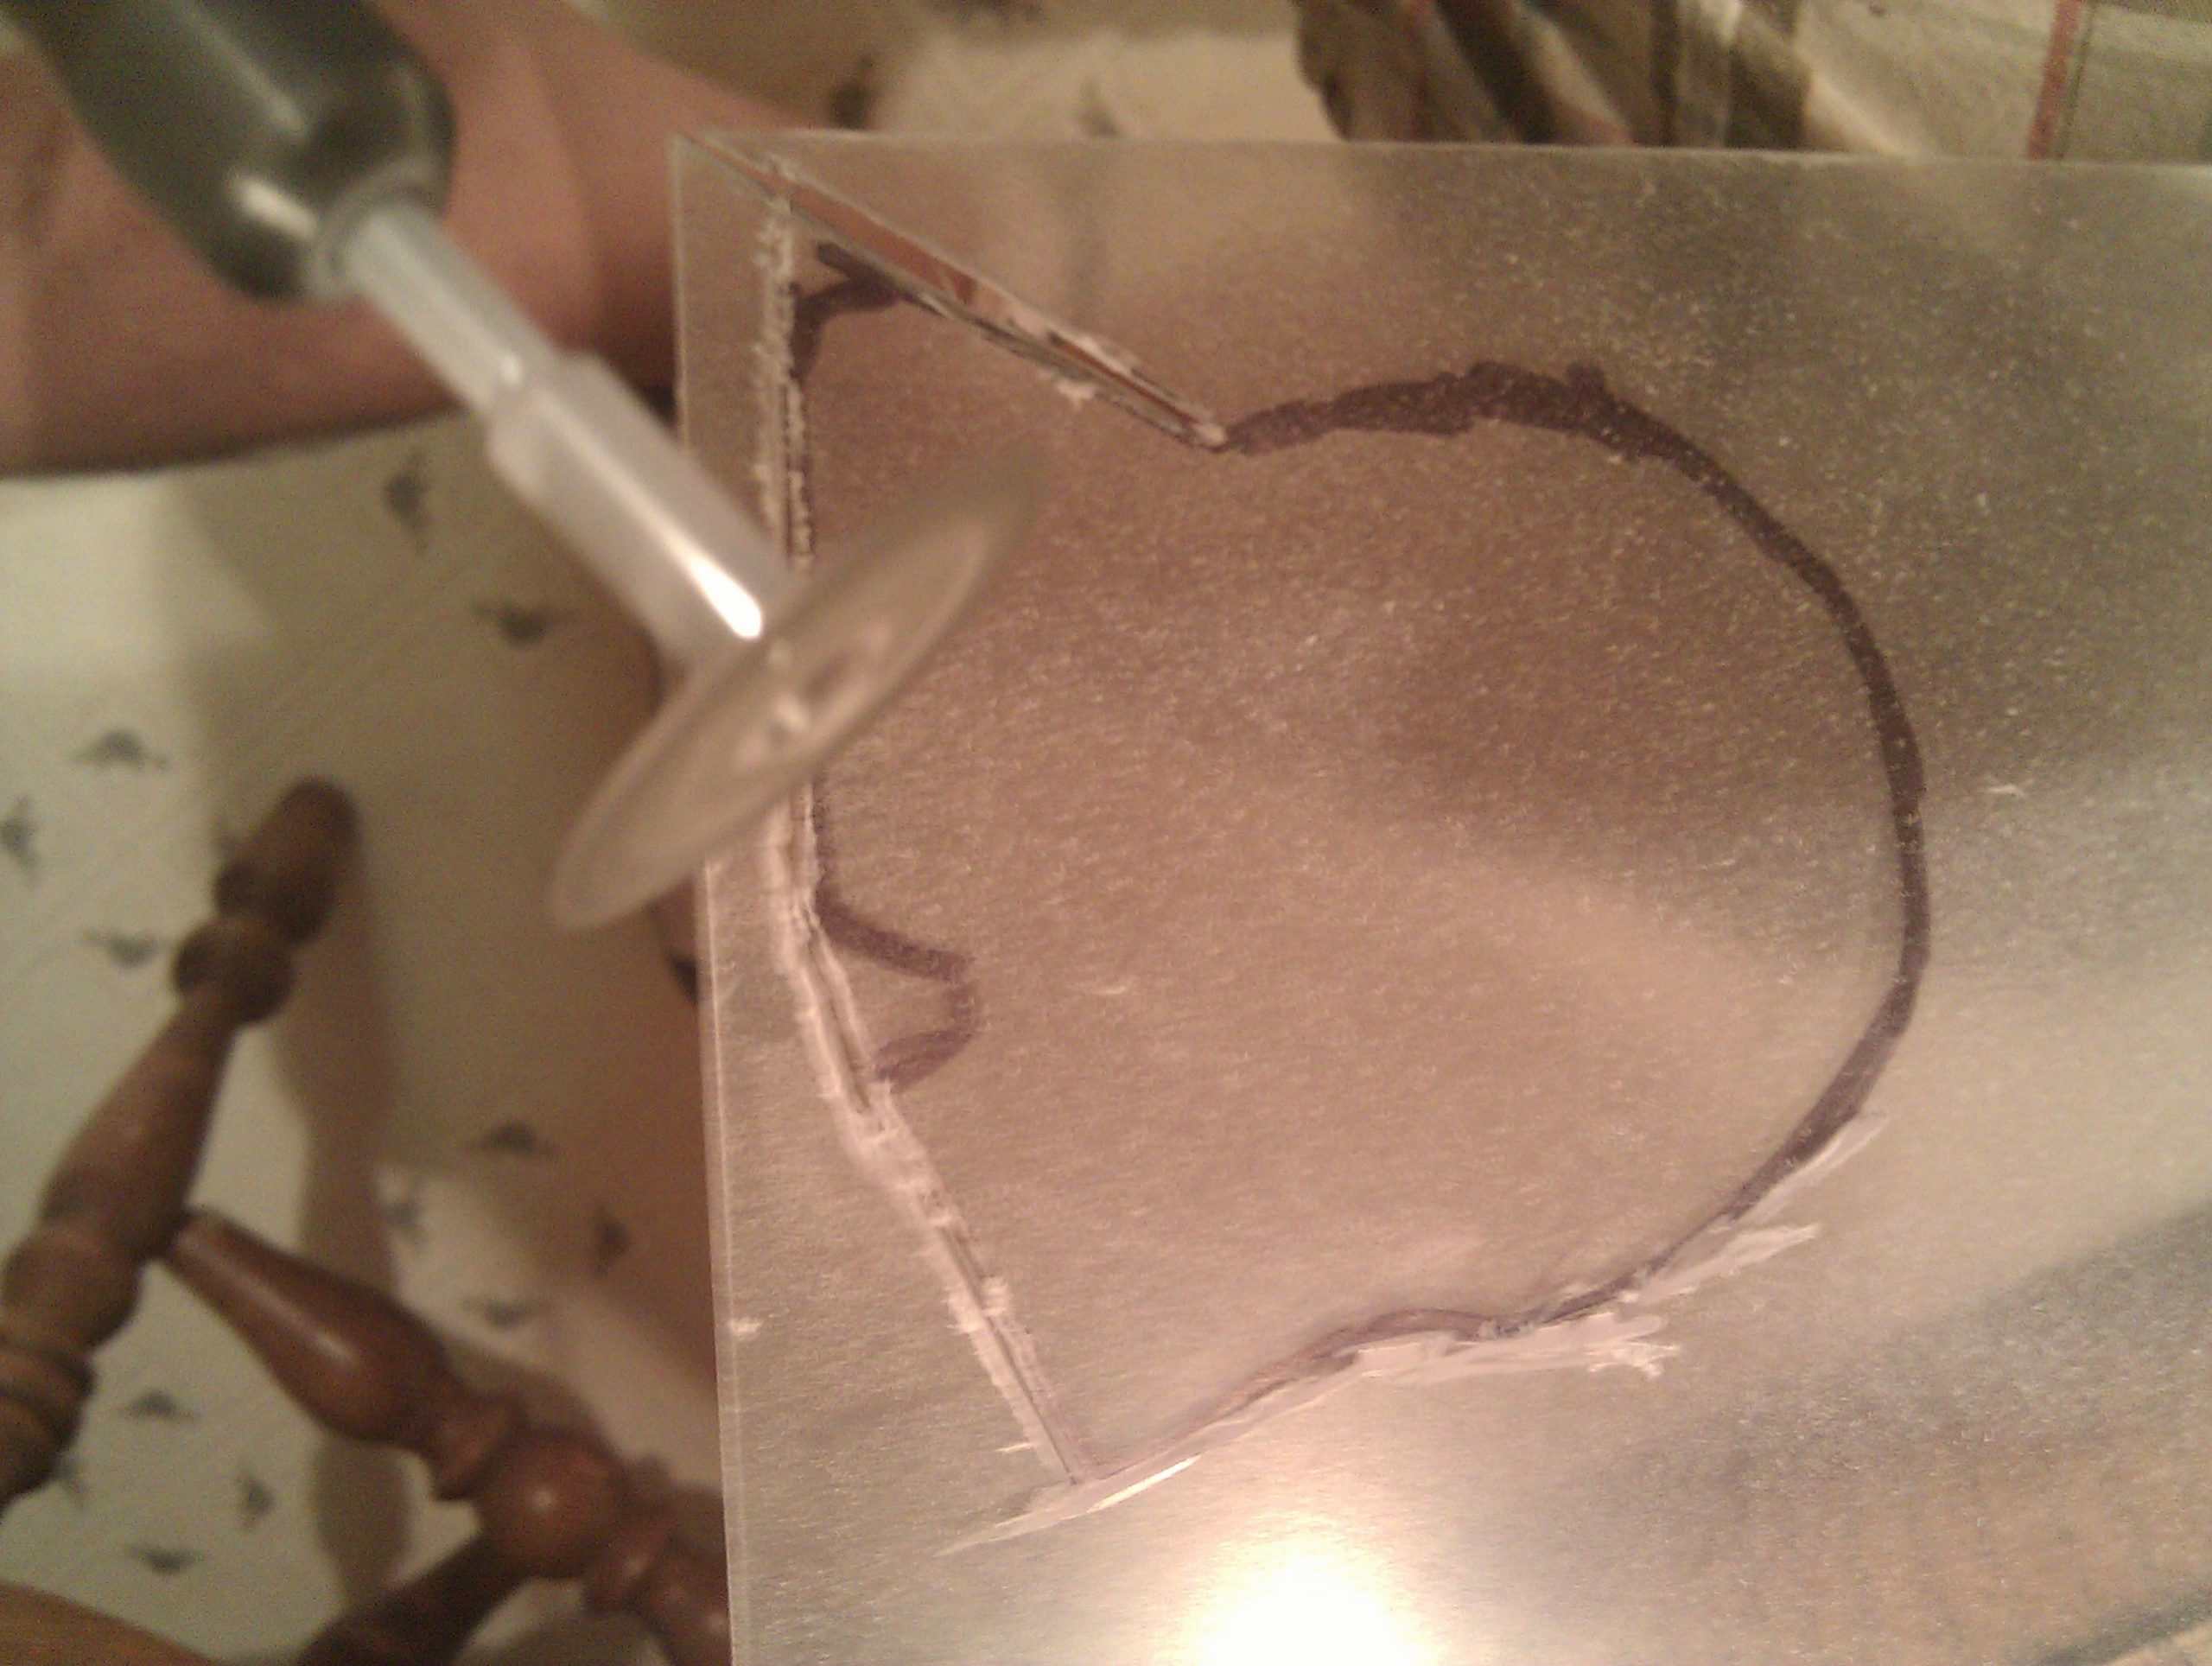
I then used a Dremel to cut it to shape, and sanded/polished.
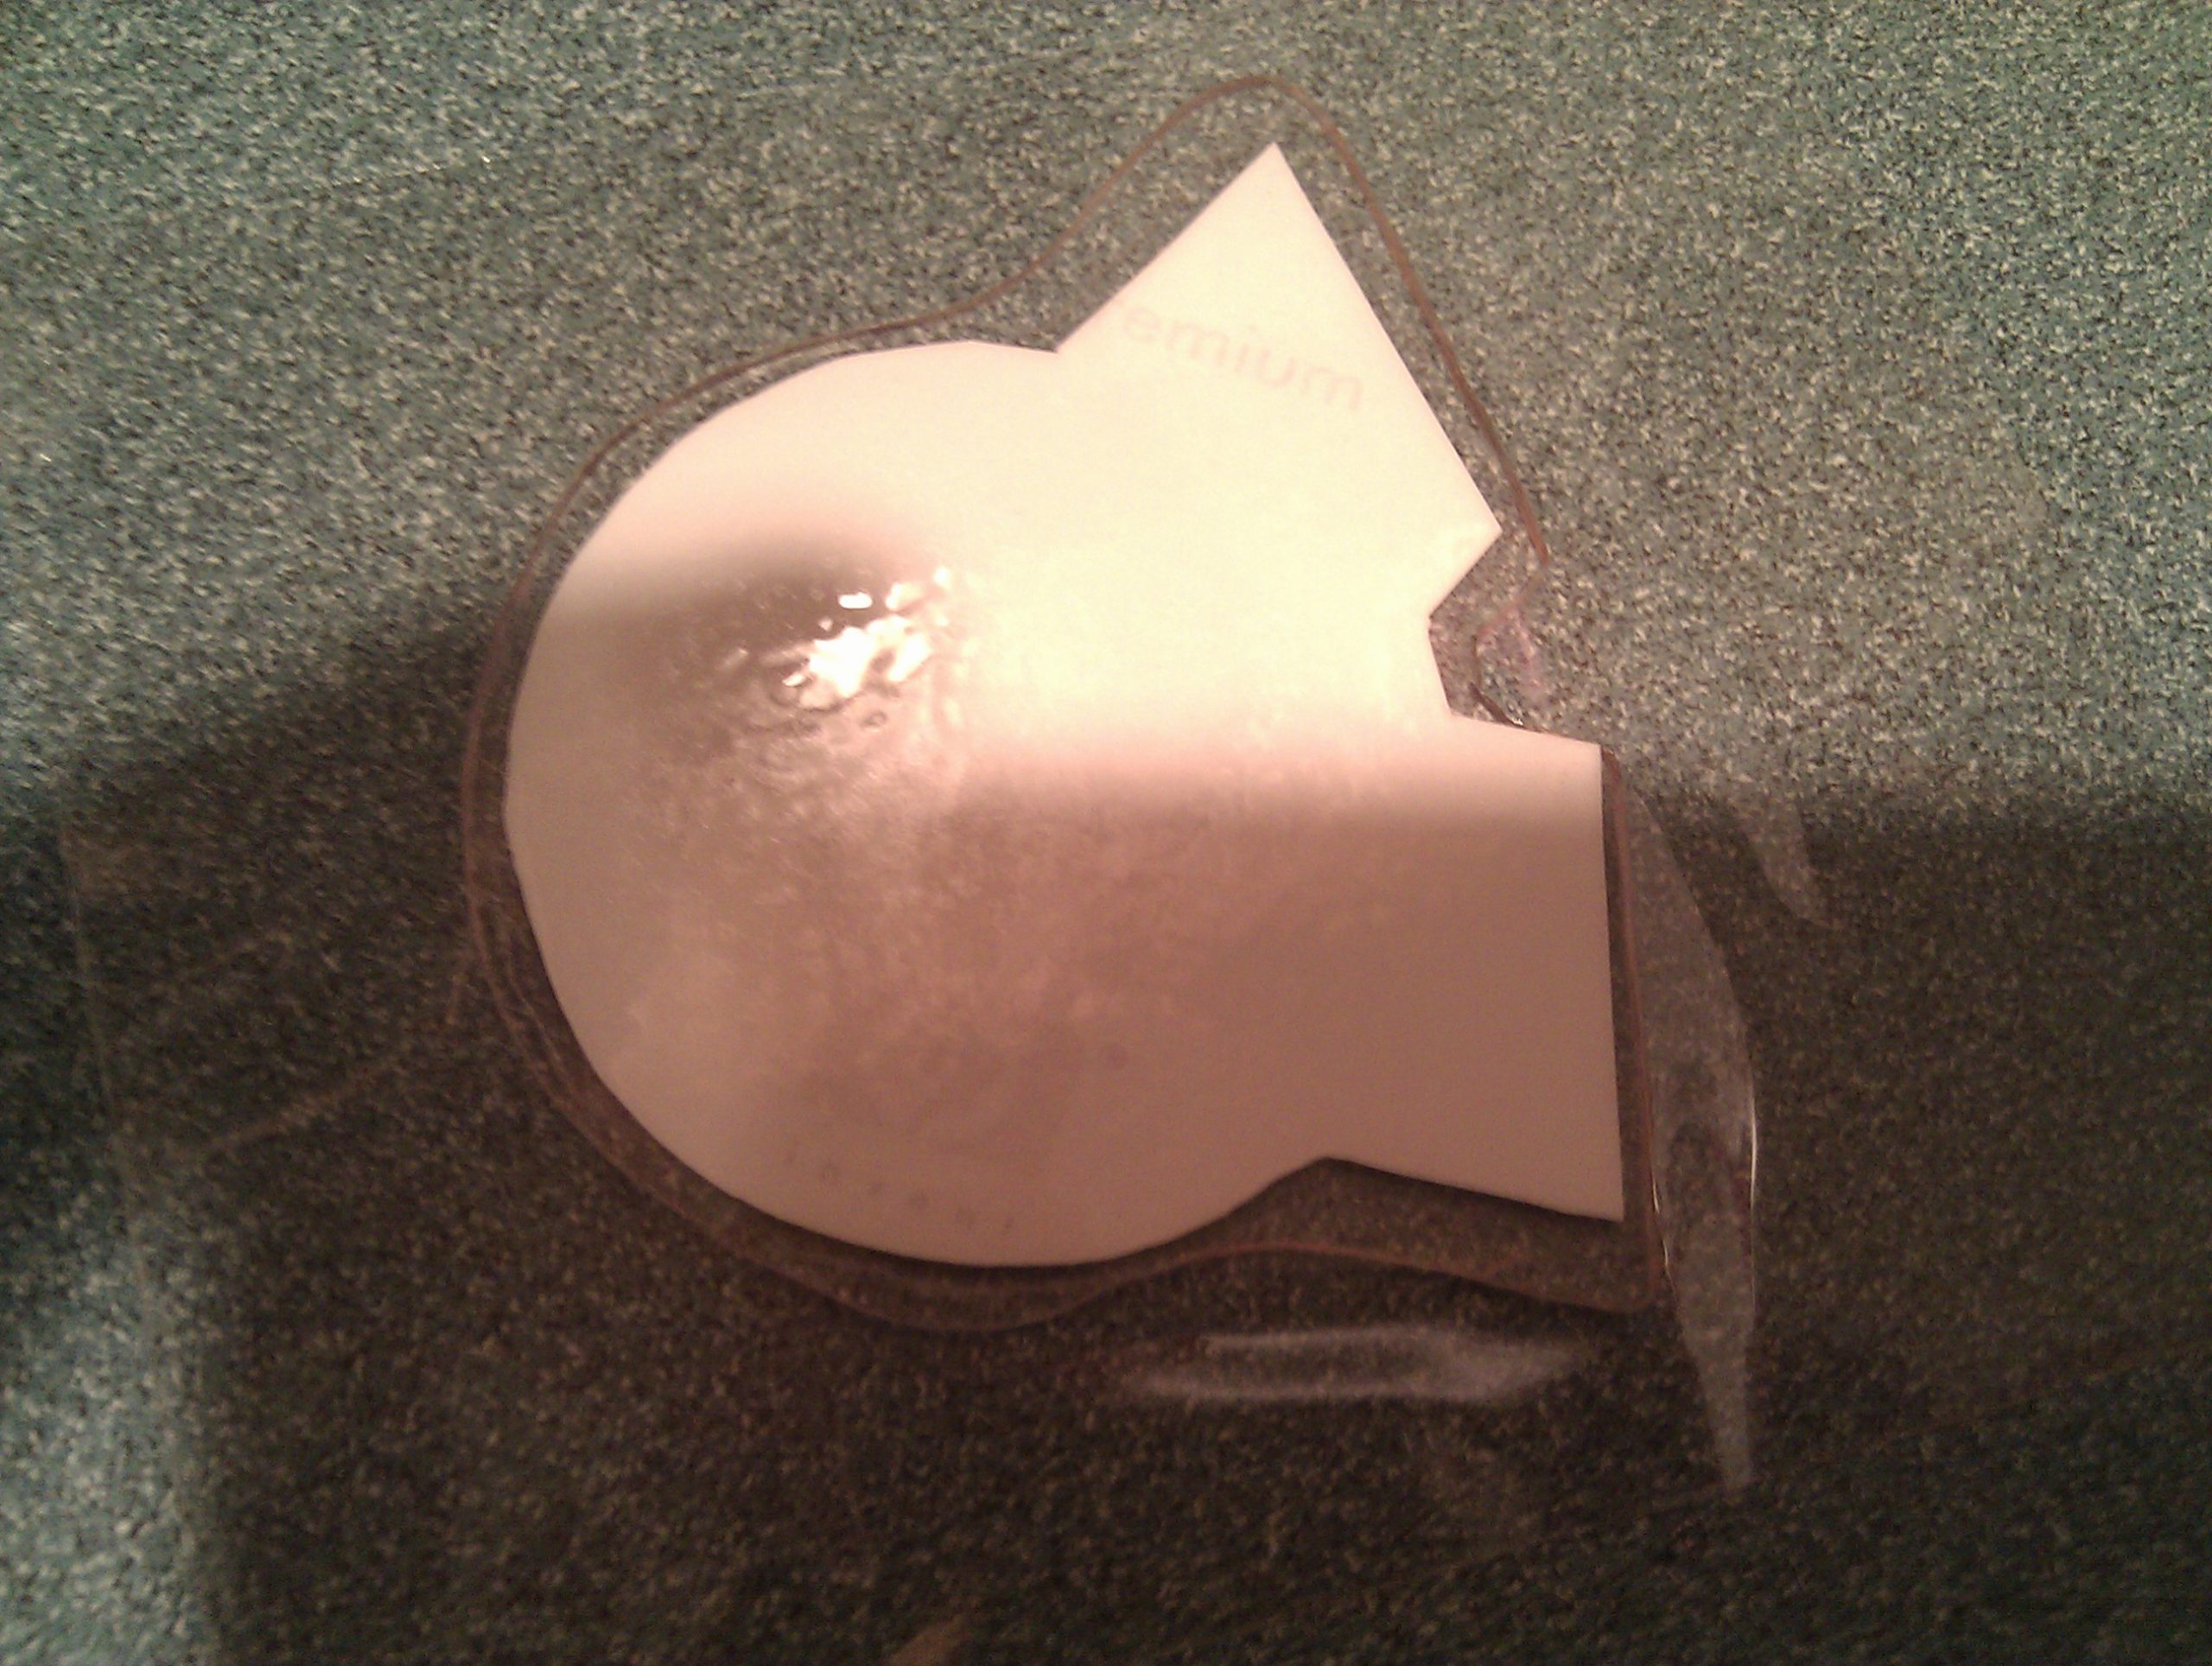

Just wow – you can barely tell which is the replacement. If I clean up the curves, it will be a perfect match! I didn’t expect this piece to turn out so well. I still need to permanently affix it to the bumper cap.


4 comments
Skip to comment form
I was missing the piece as well, thanks to your post, I was able to rebuild.
Author
Glad I could help, Enjoy!
Hey man, where did you find the art? I have the EXACT same issue, and I would love to follow your DIY method!
Never mind, I didn’t realize you used that photo in your post!