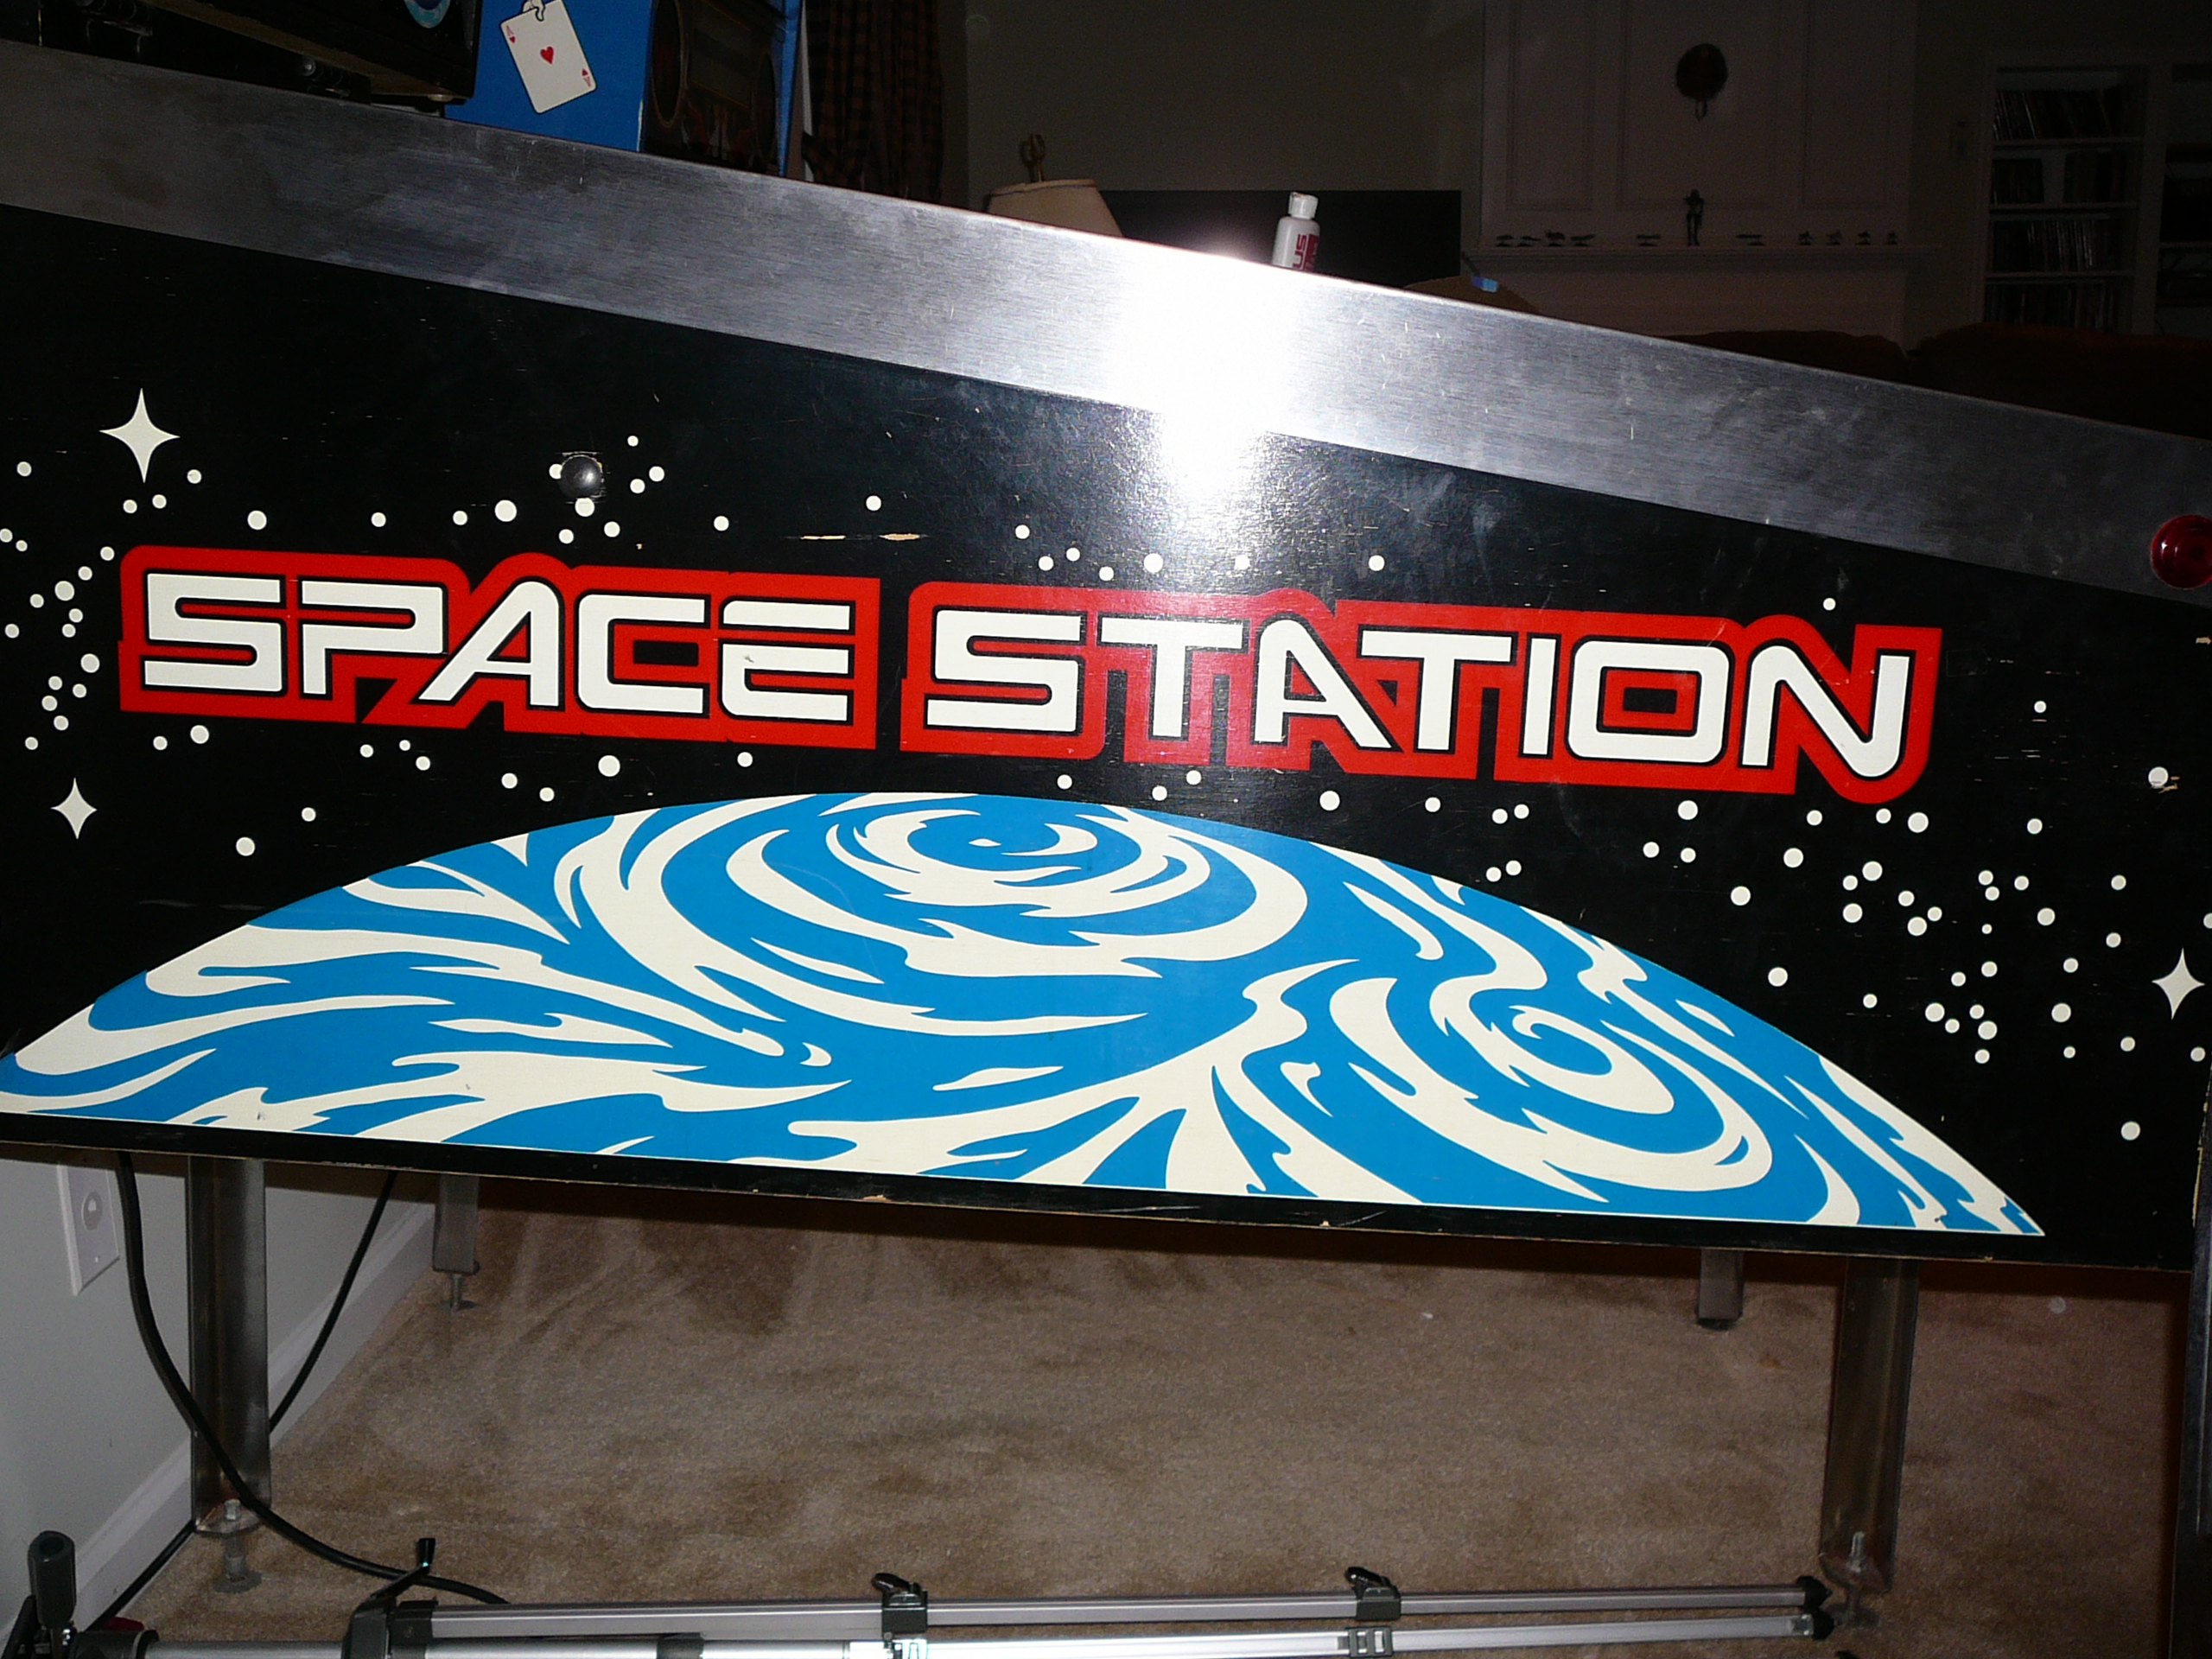
This is a blog documenting the restoration of my 1987 Williams Space Station pinball machine. Thanks for visiting.
Dave Santoro

Oct 18
This is a blog documenting the restoration of my 1987 Williams Space Station pinball machine. Thanks for visiting.
Dave Santoro
Oct 18
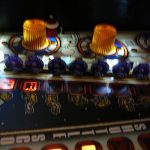
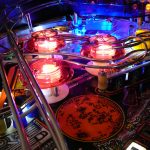
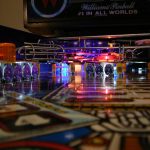
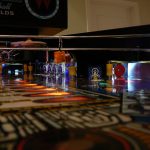
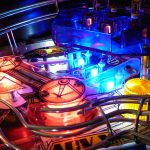
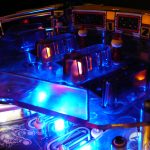
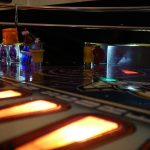
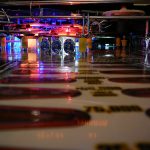
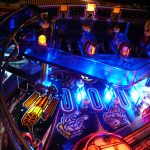
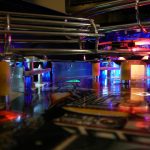
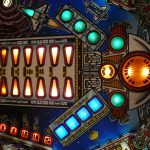
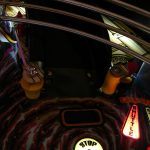
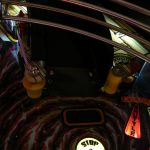
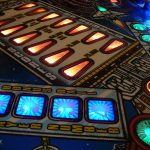
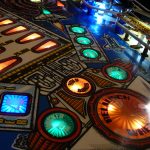
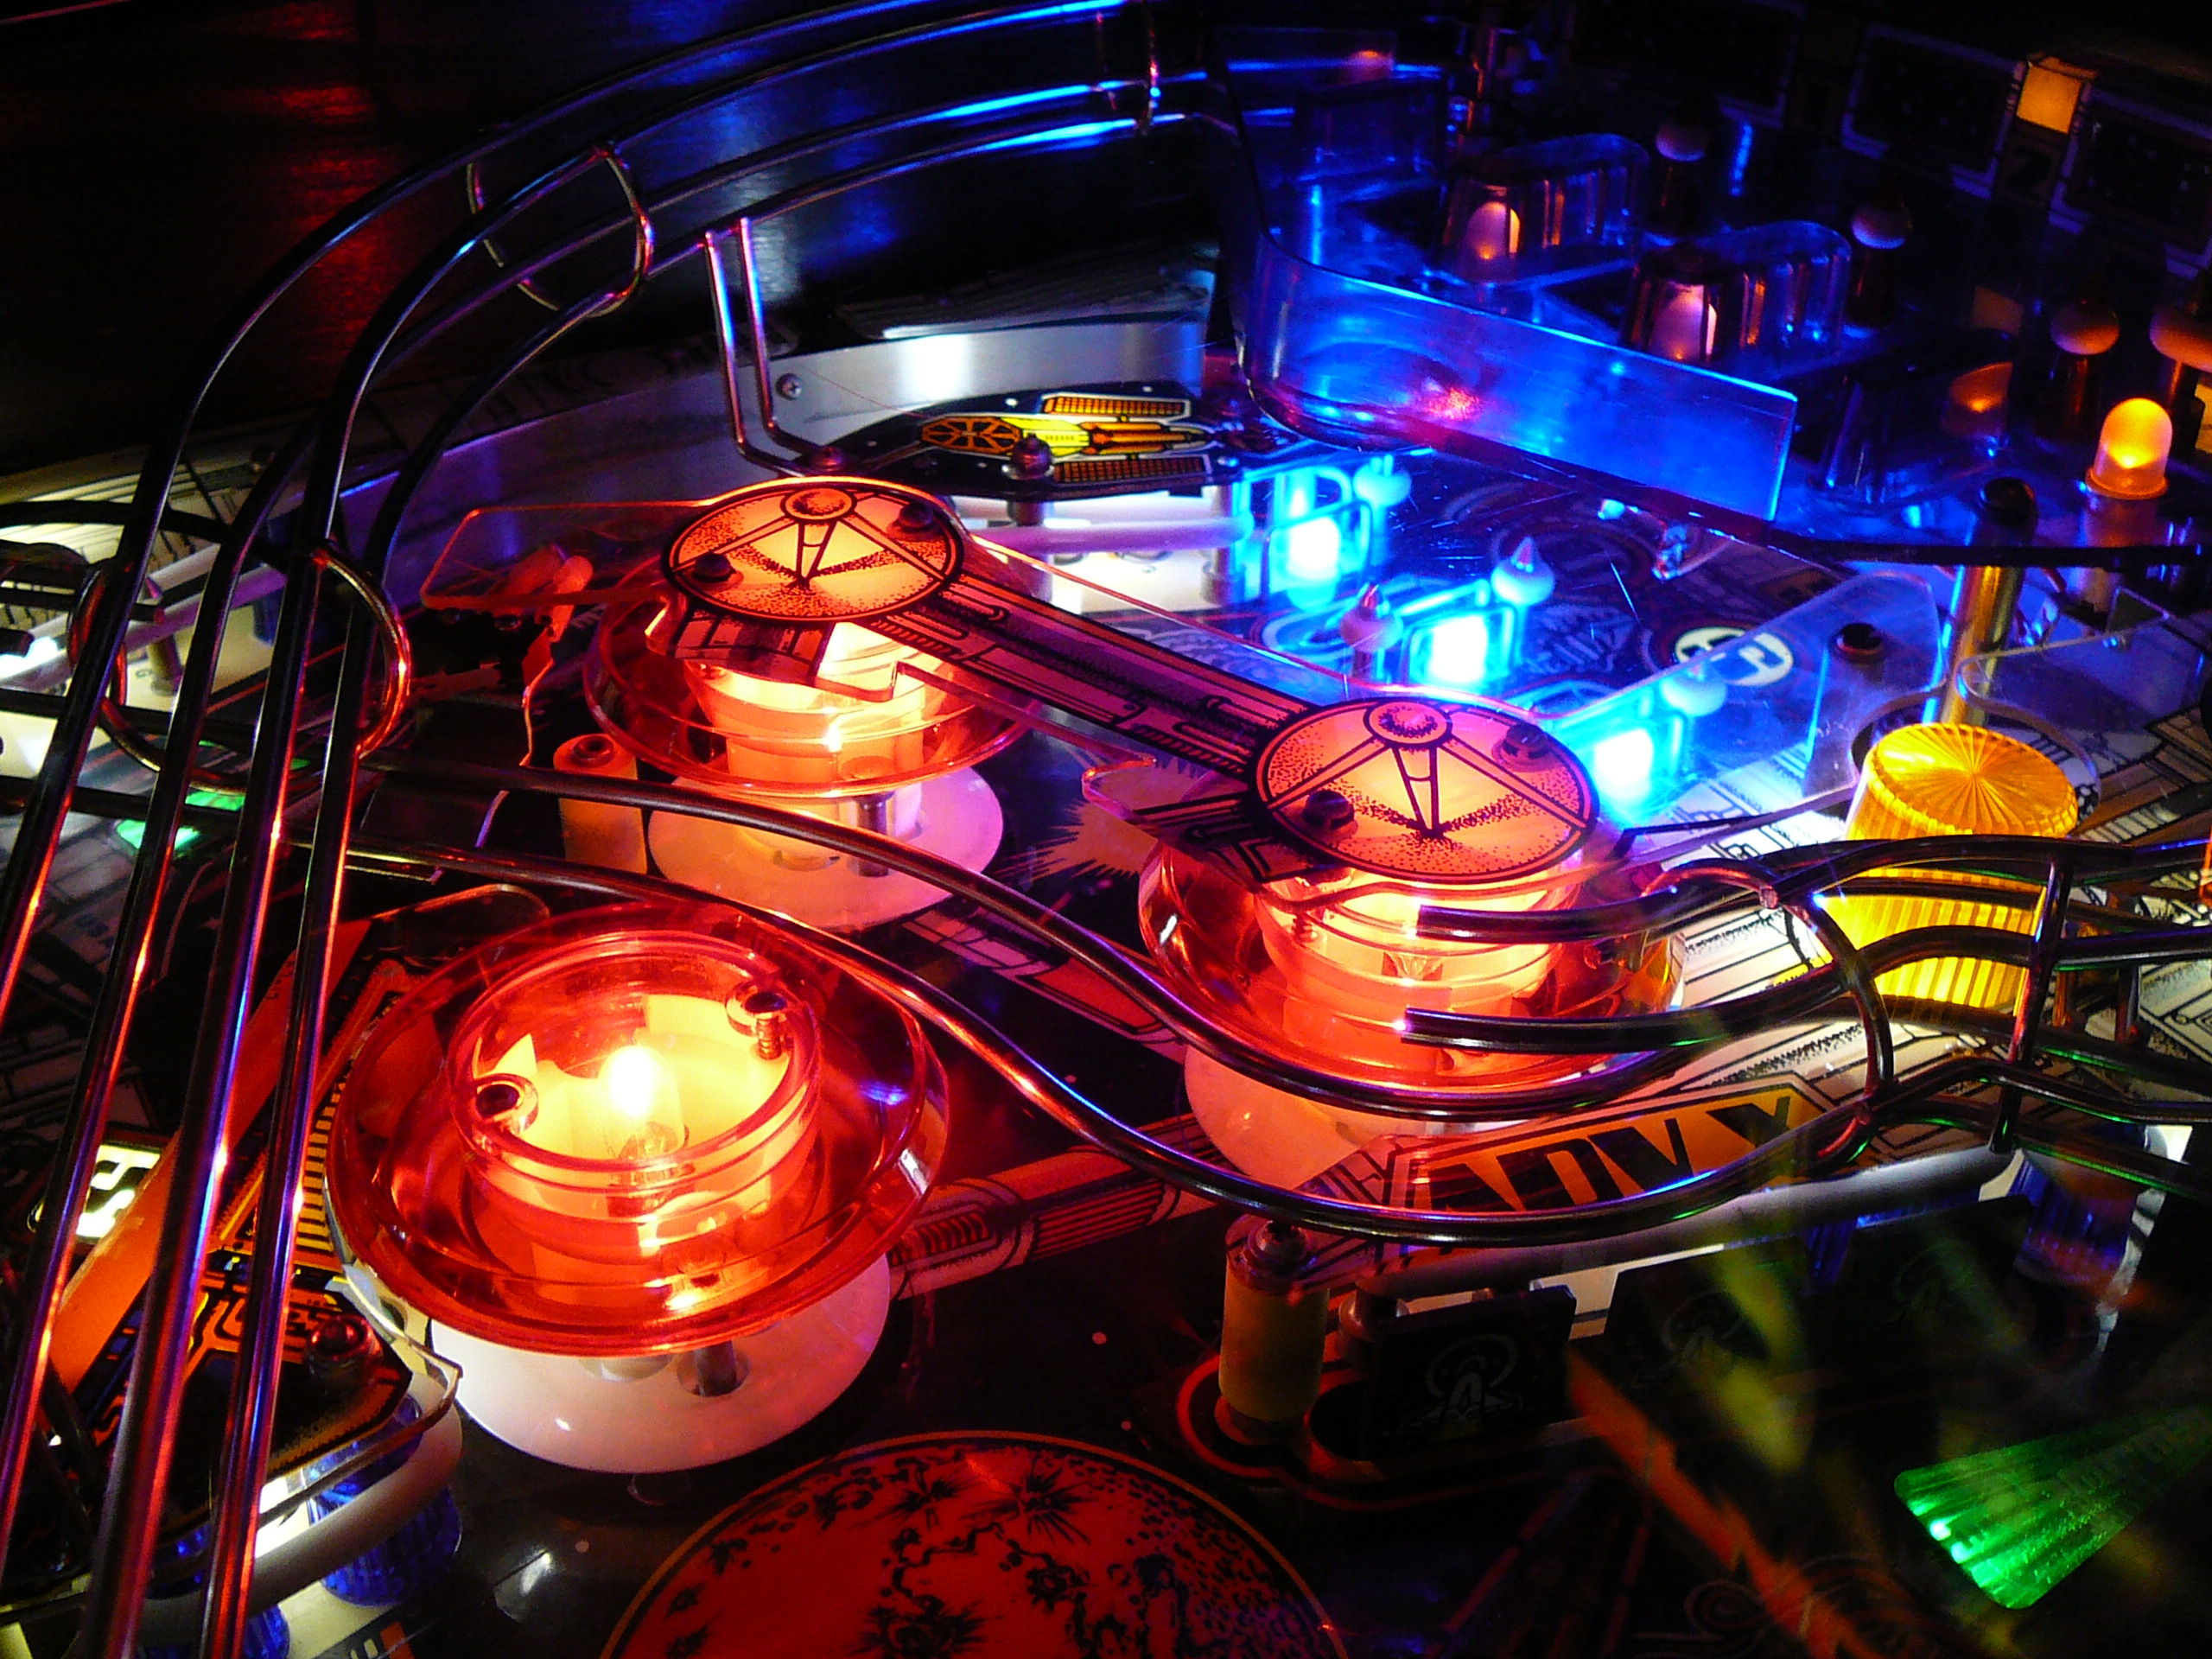
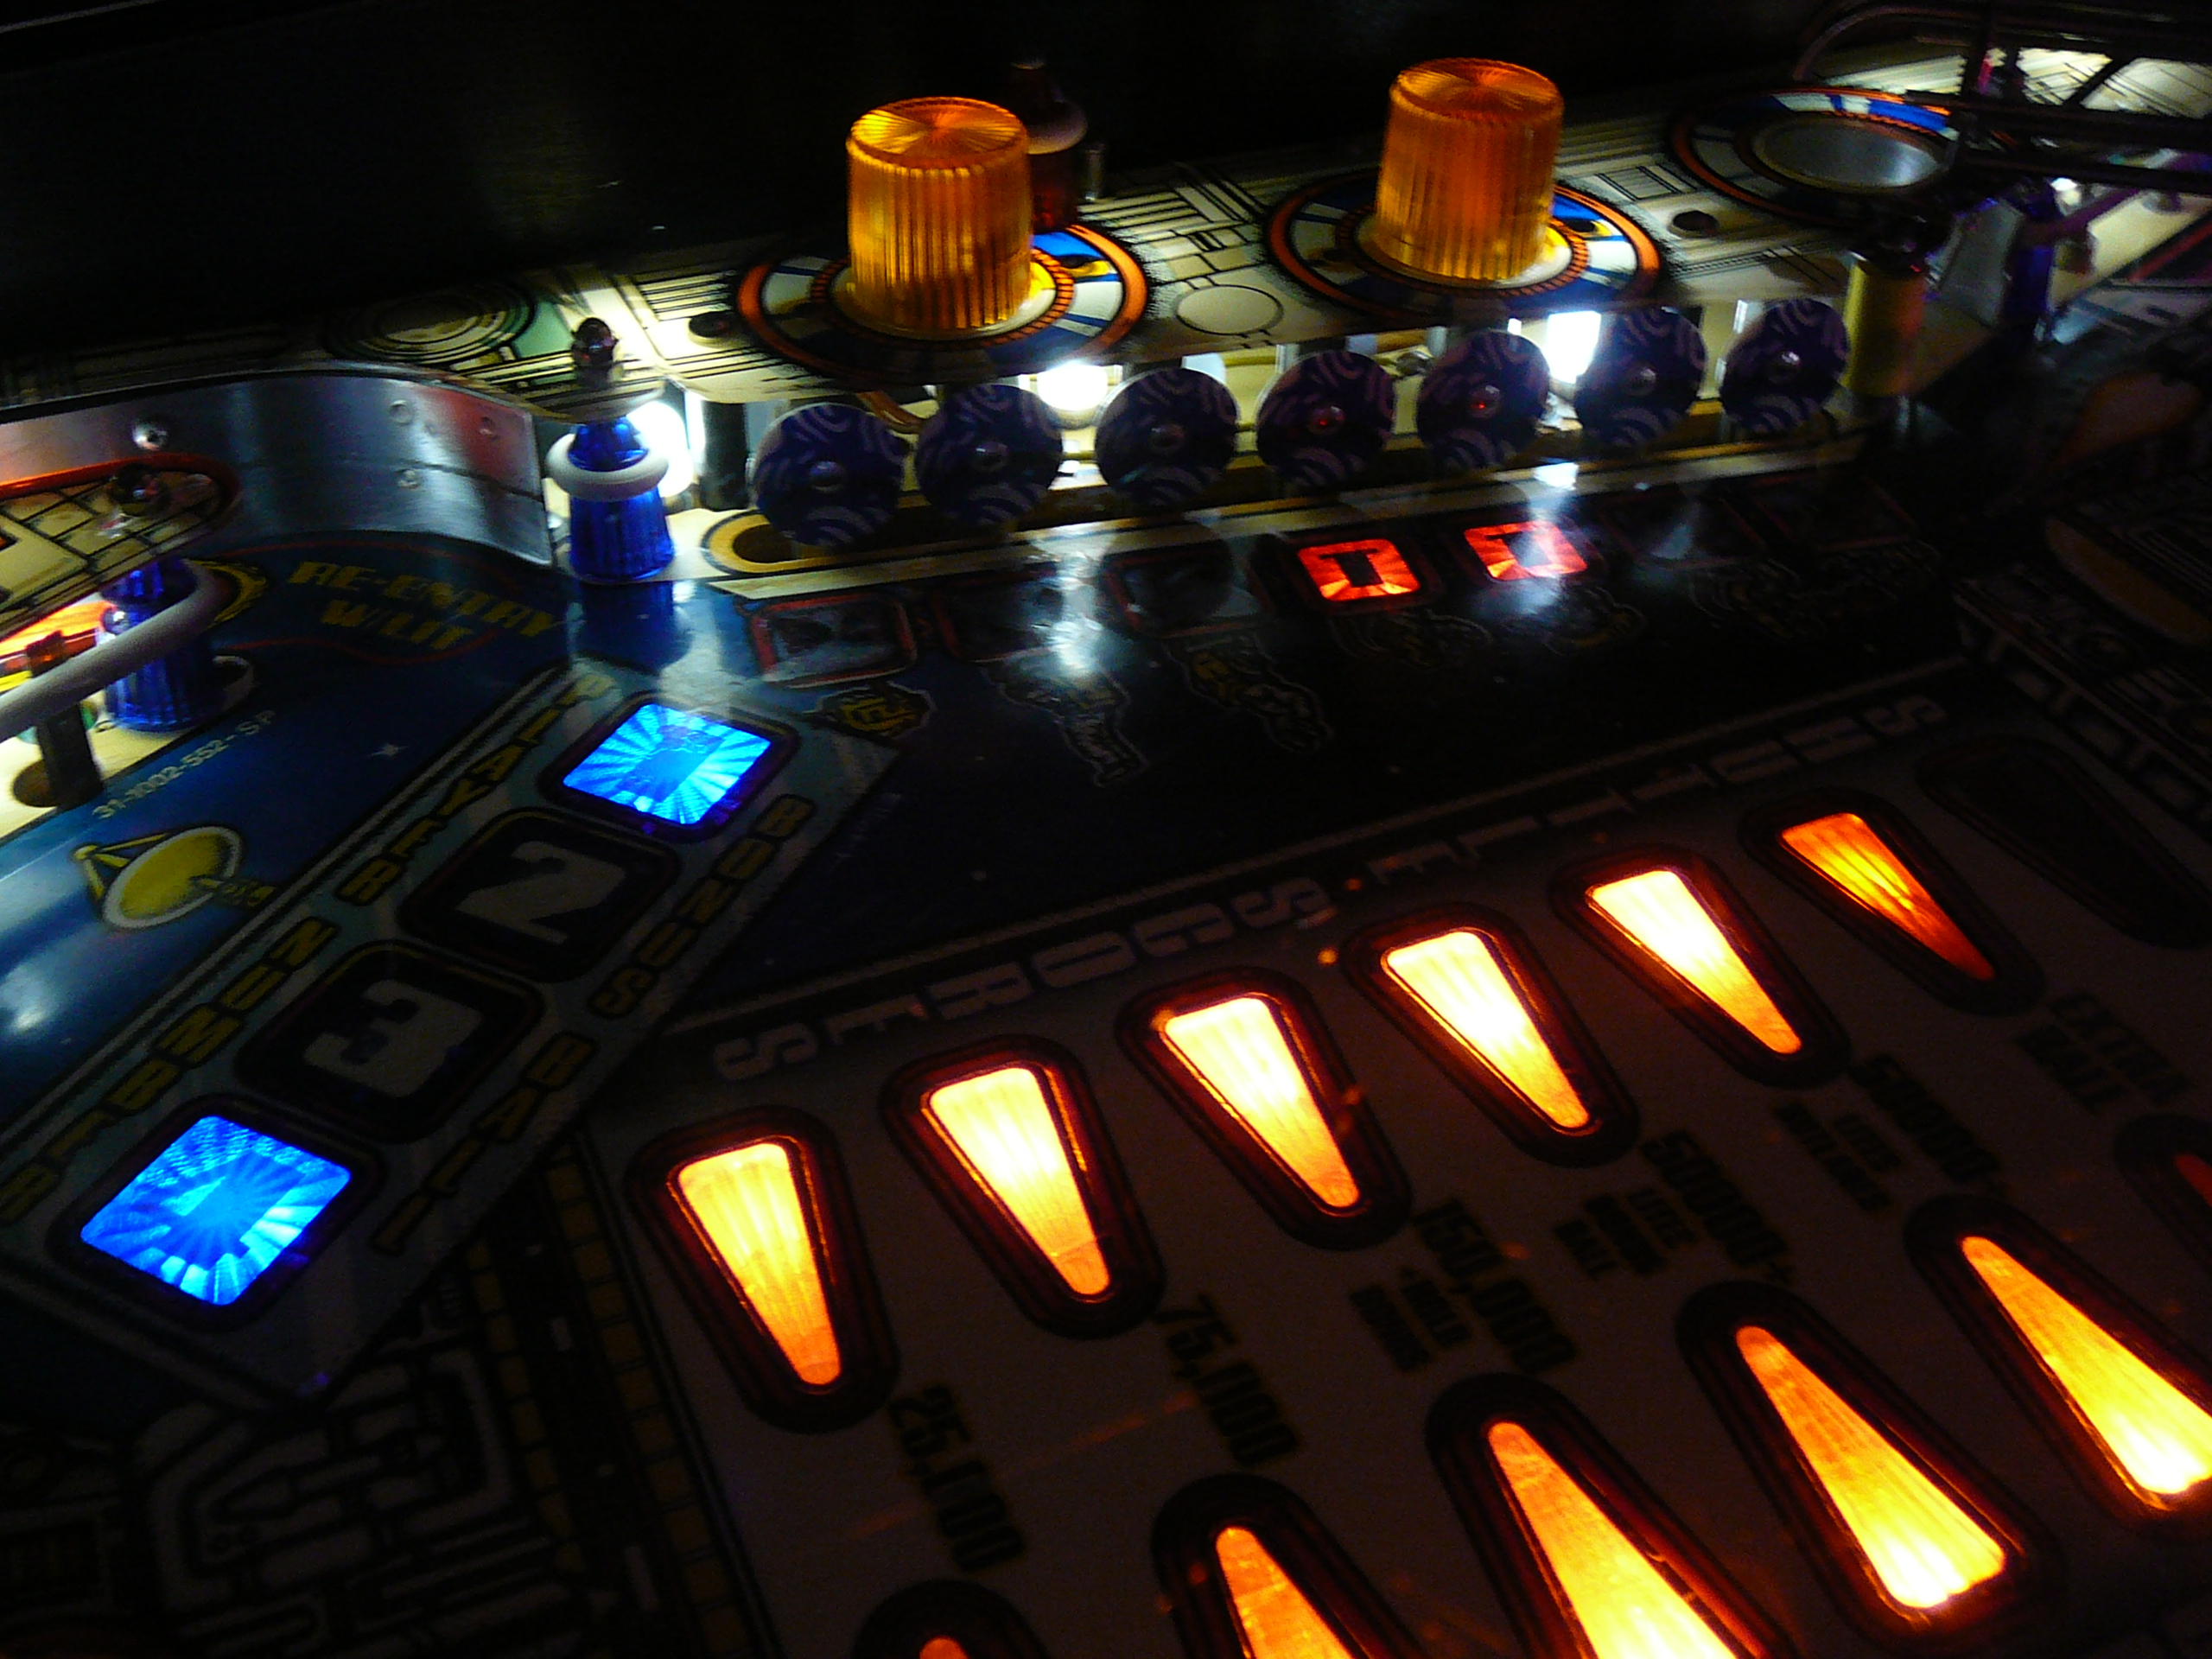
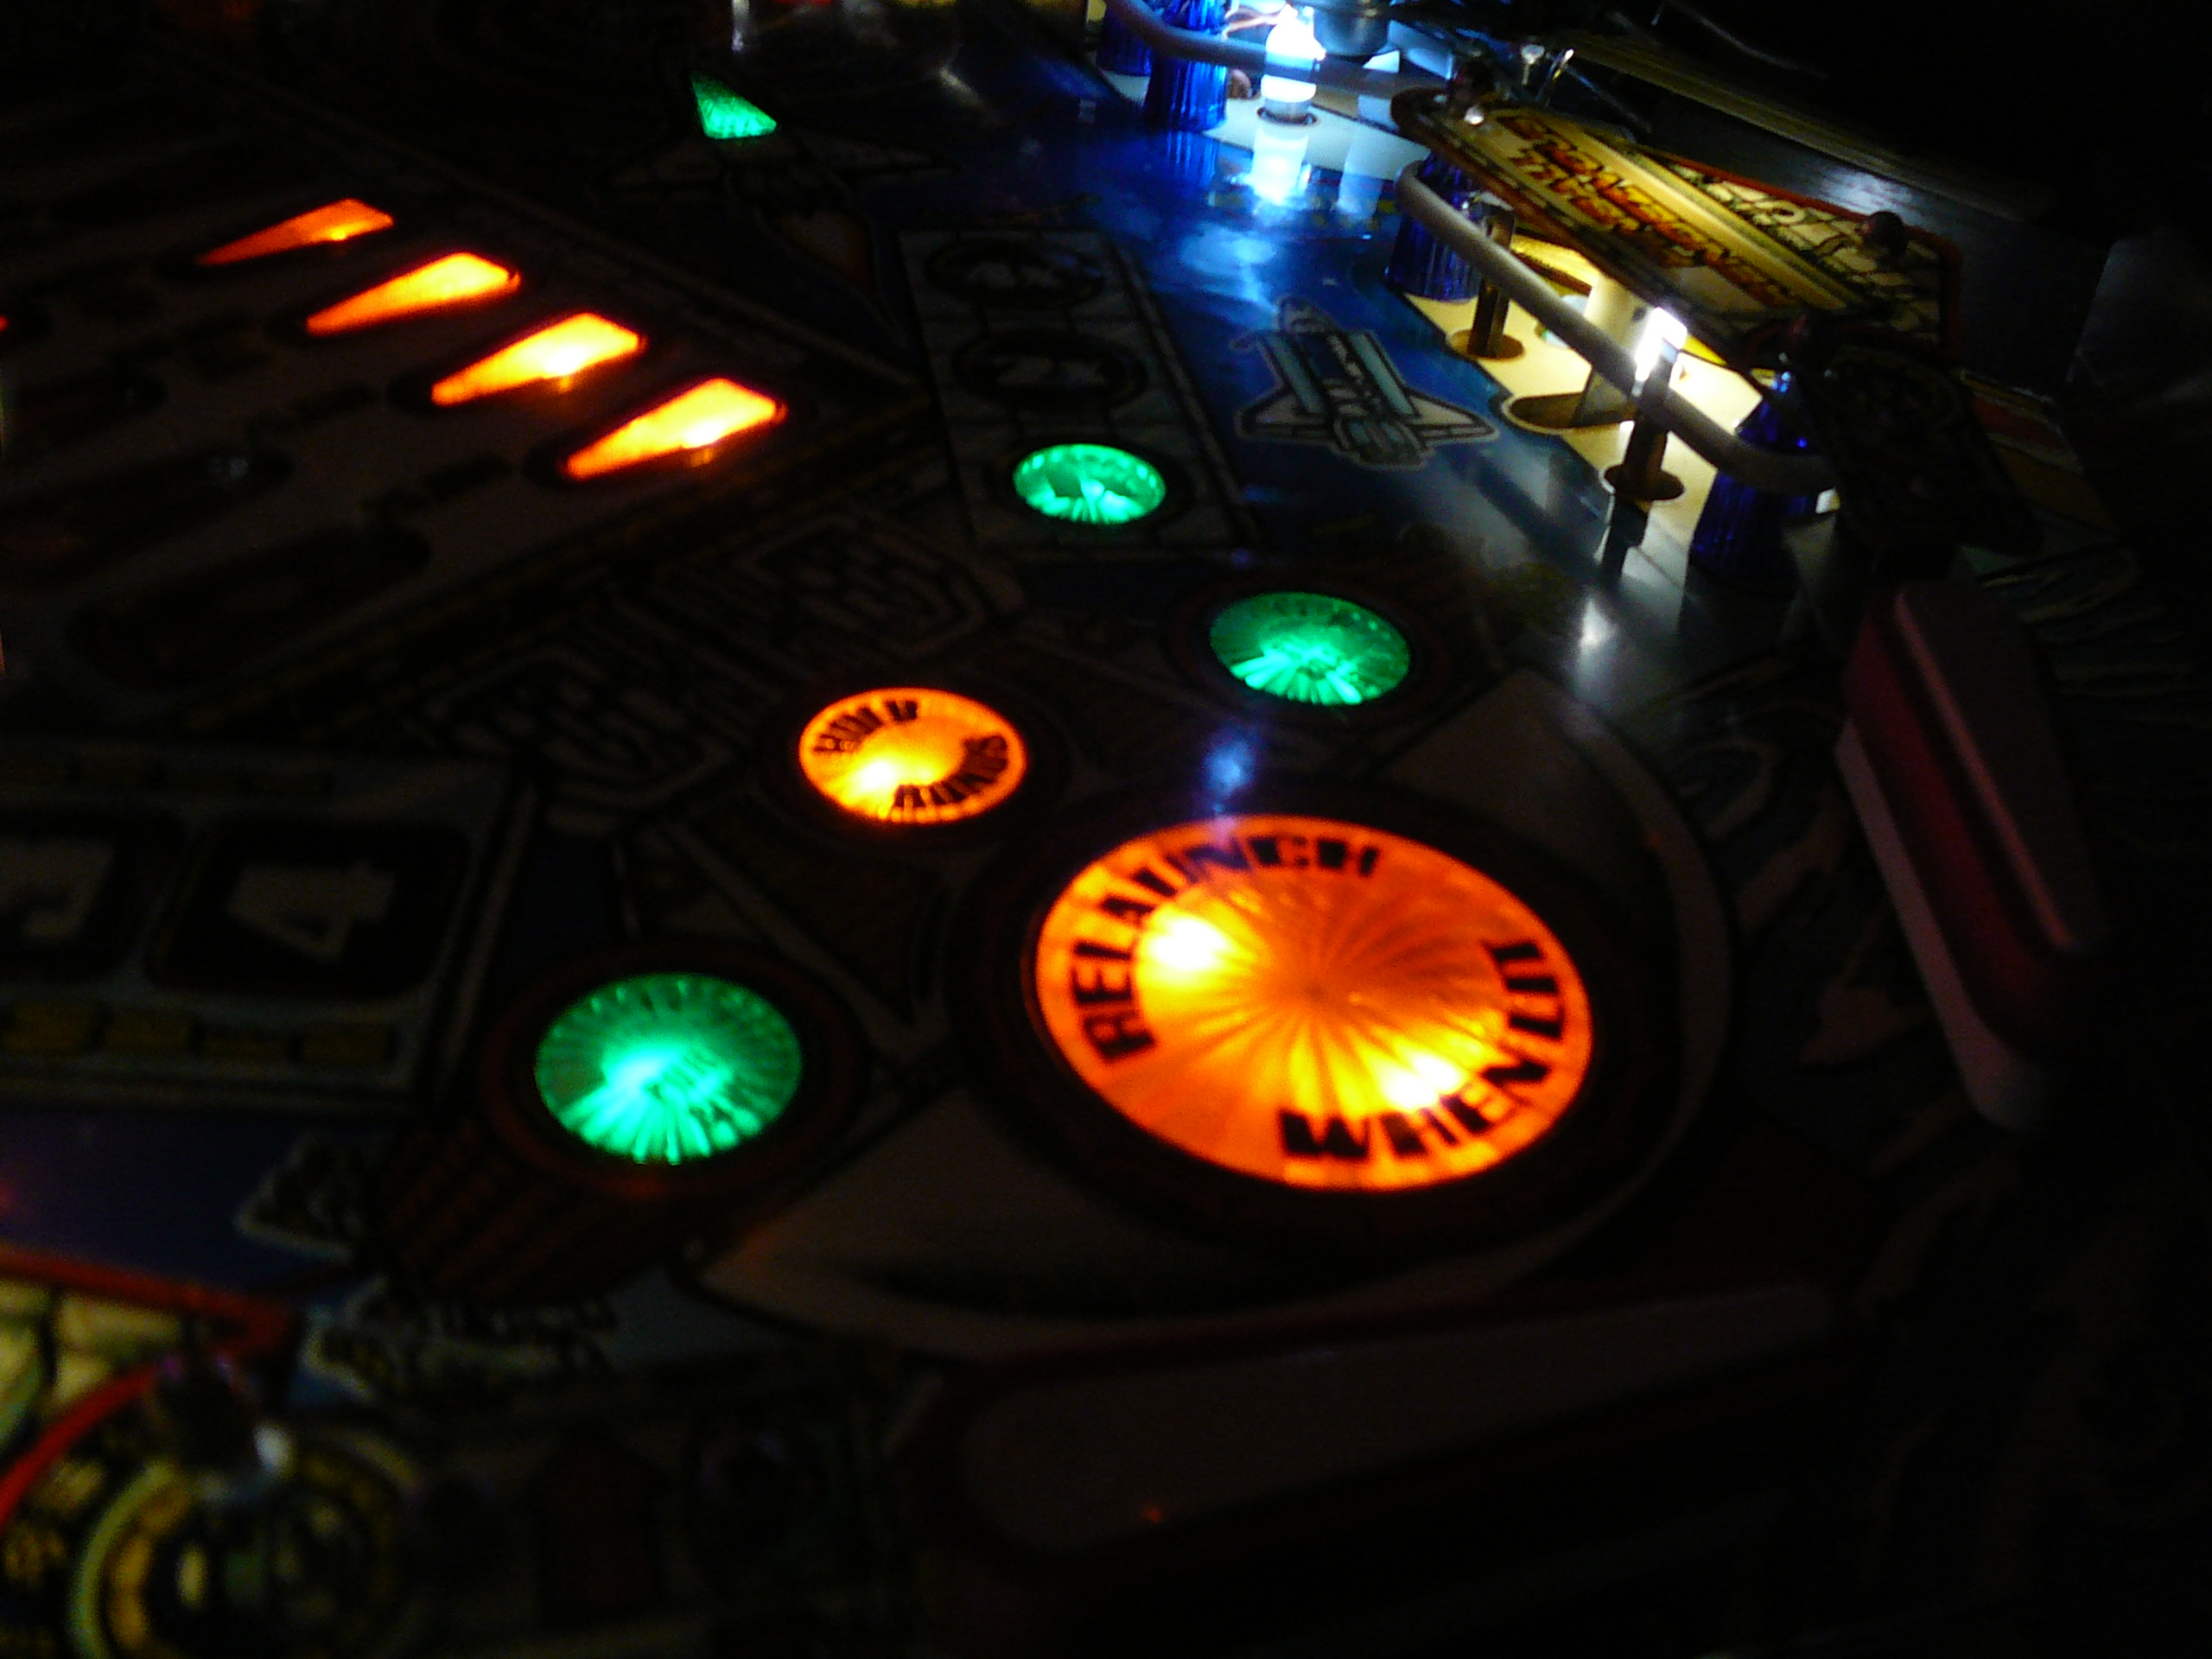
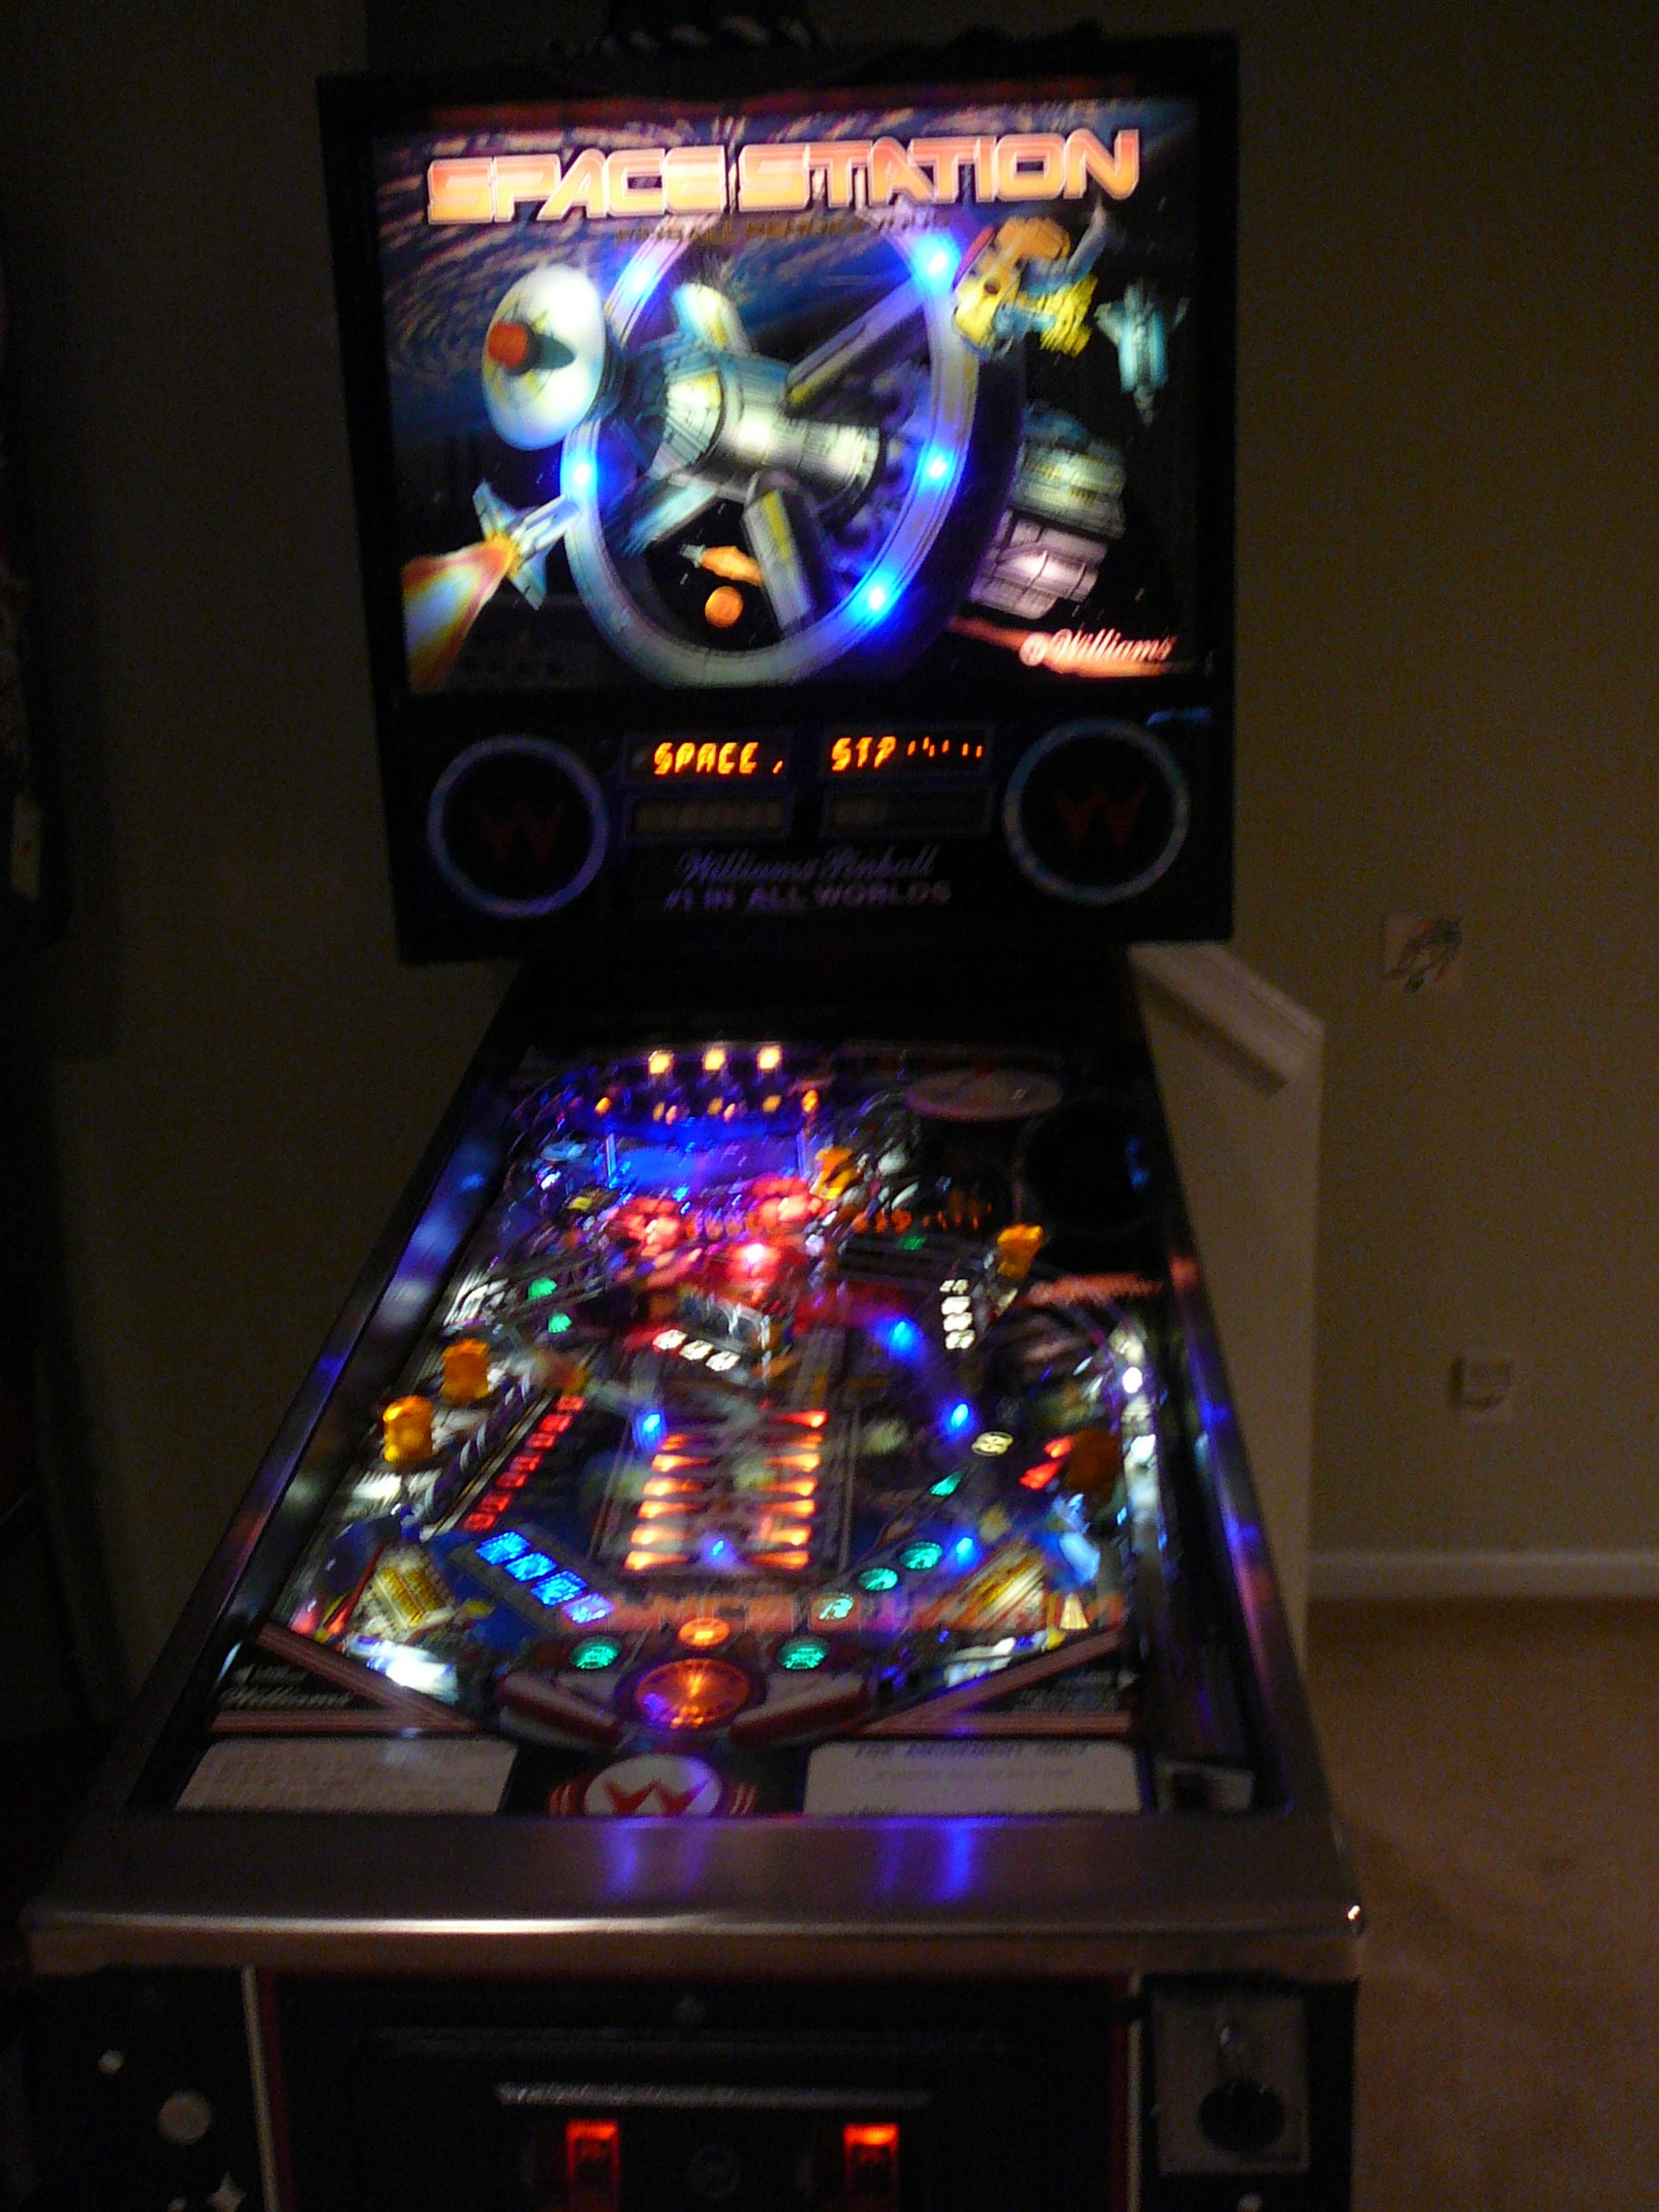
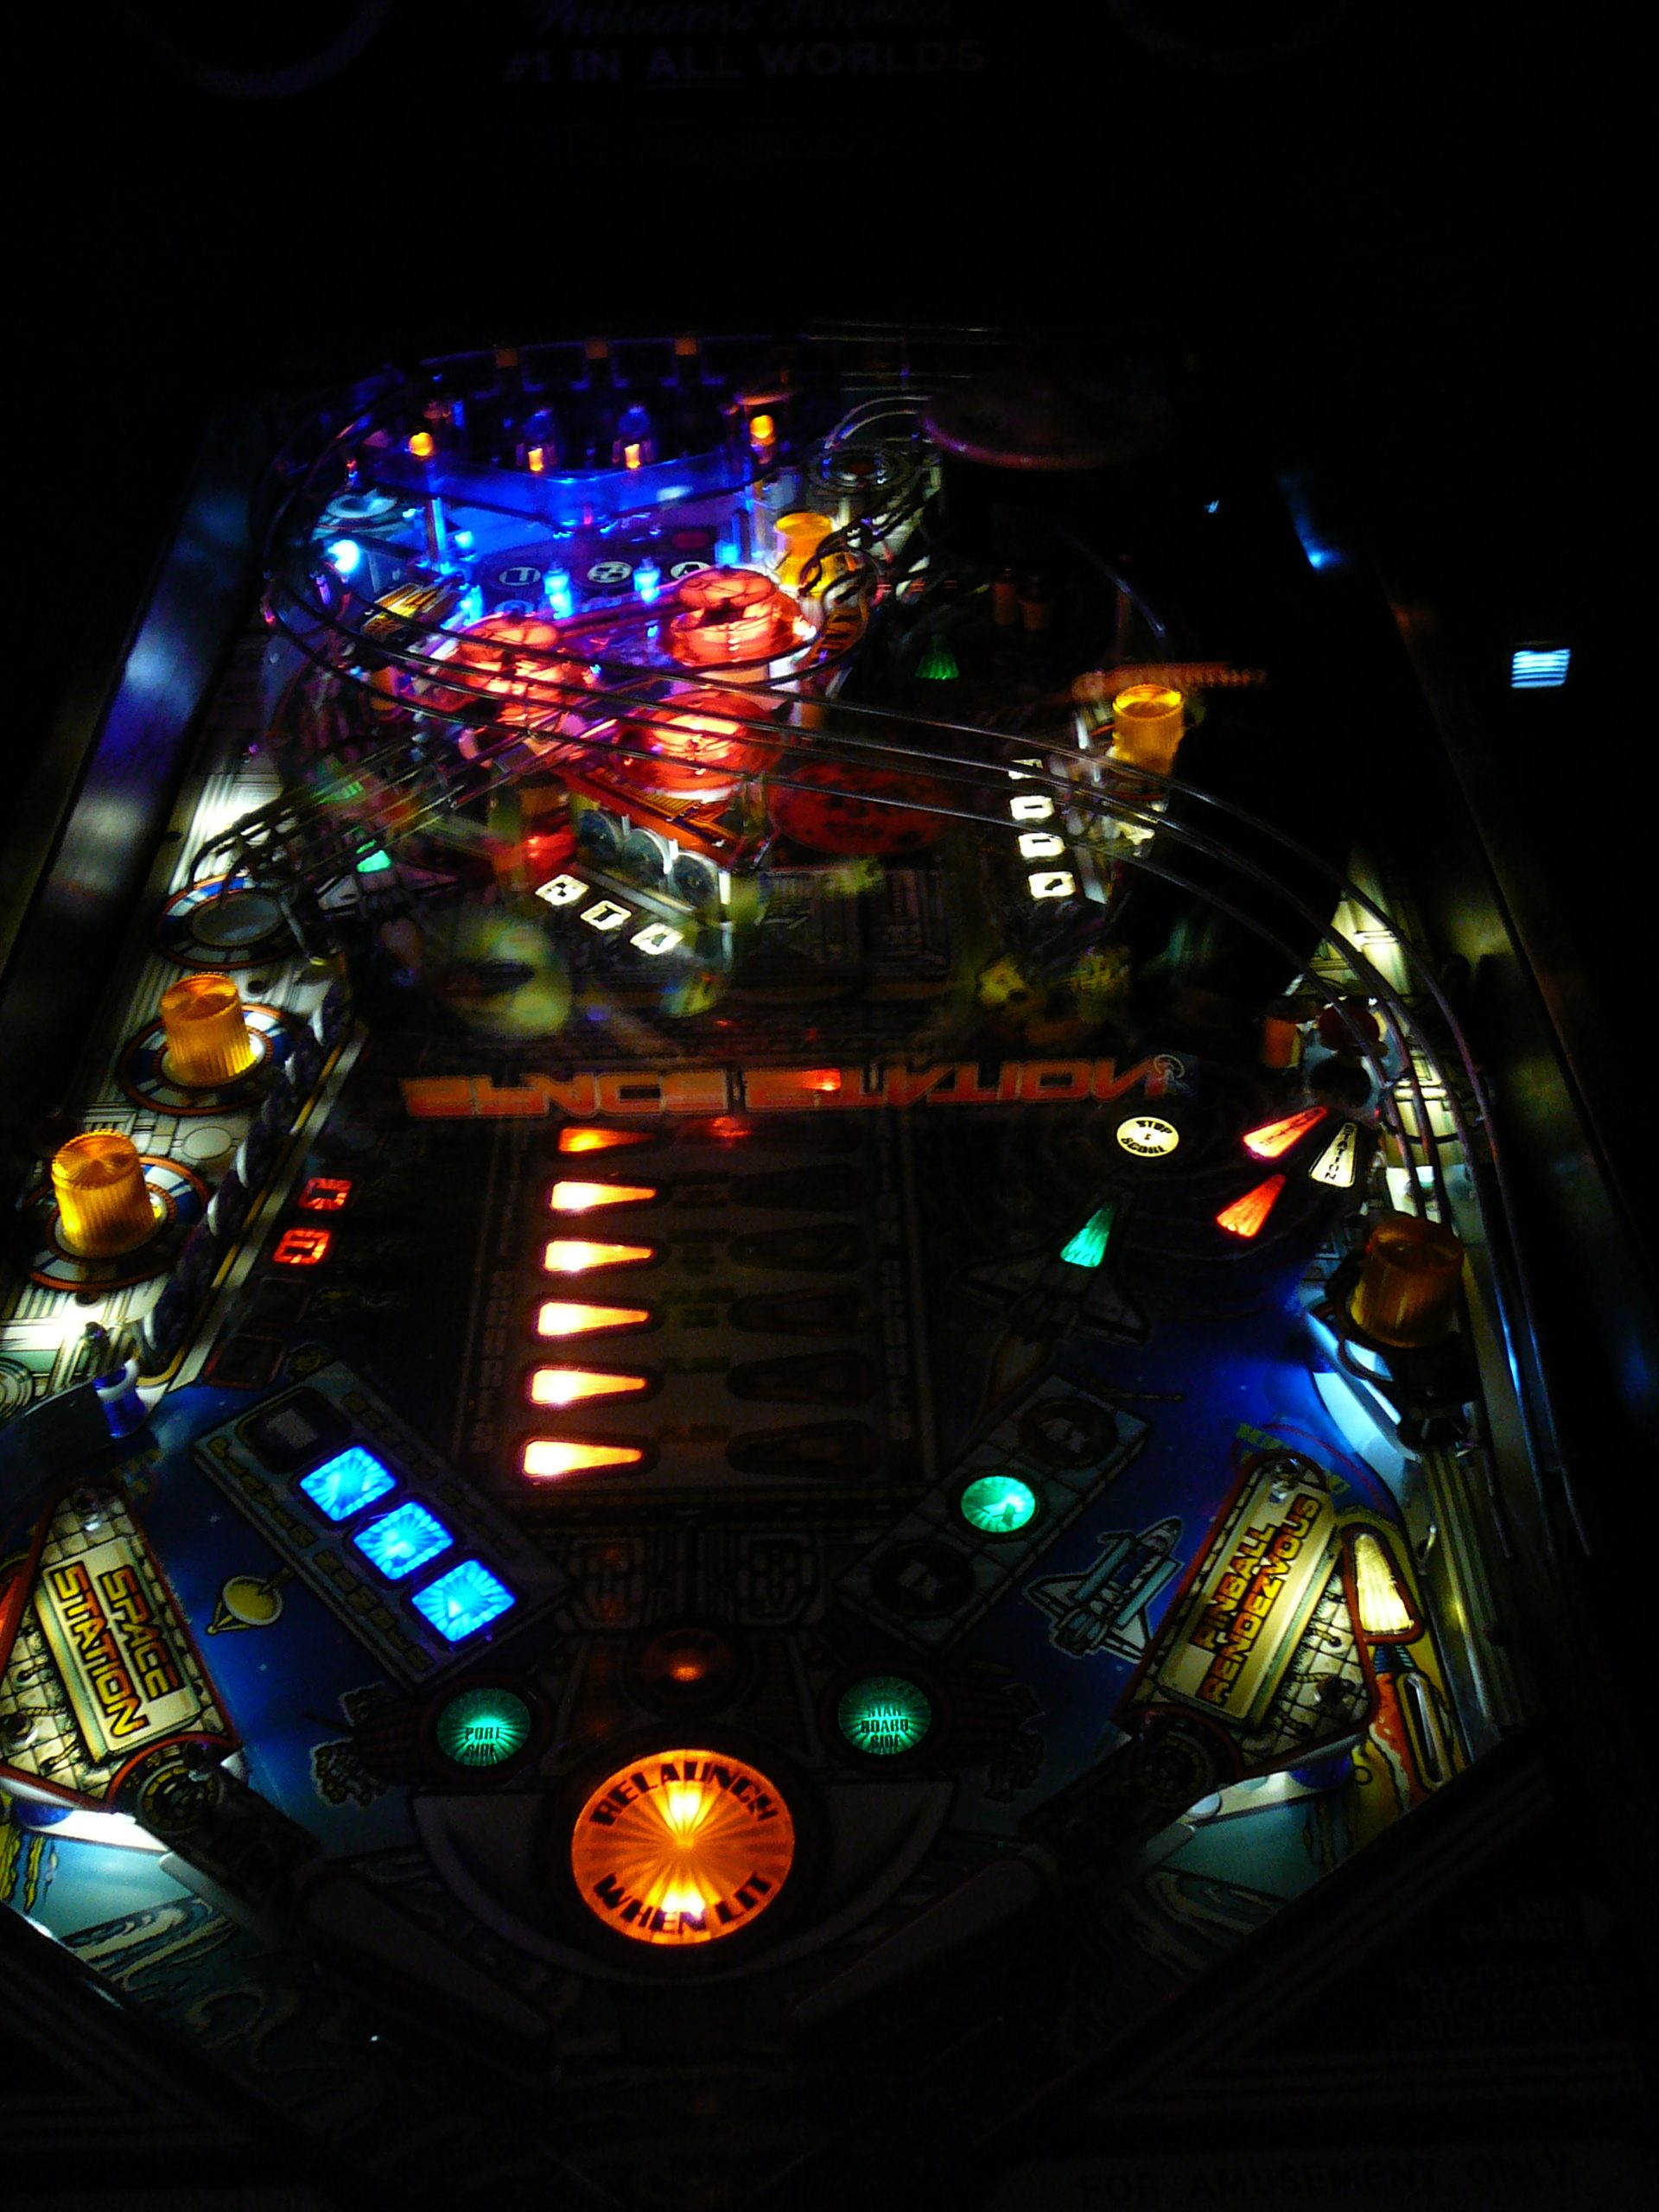
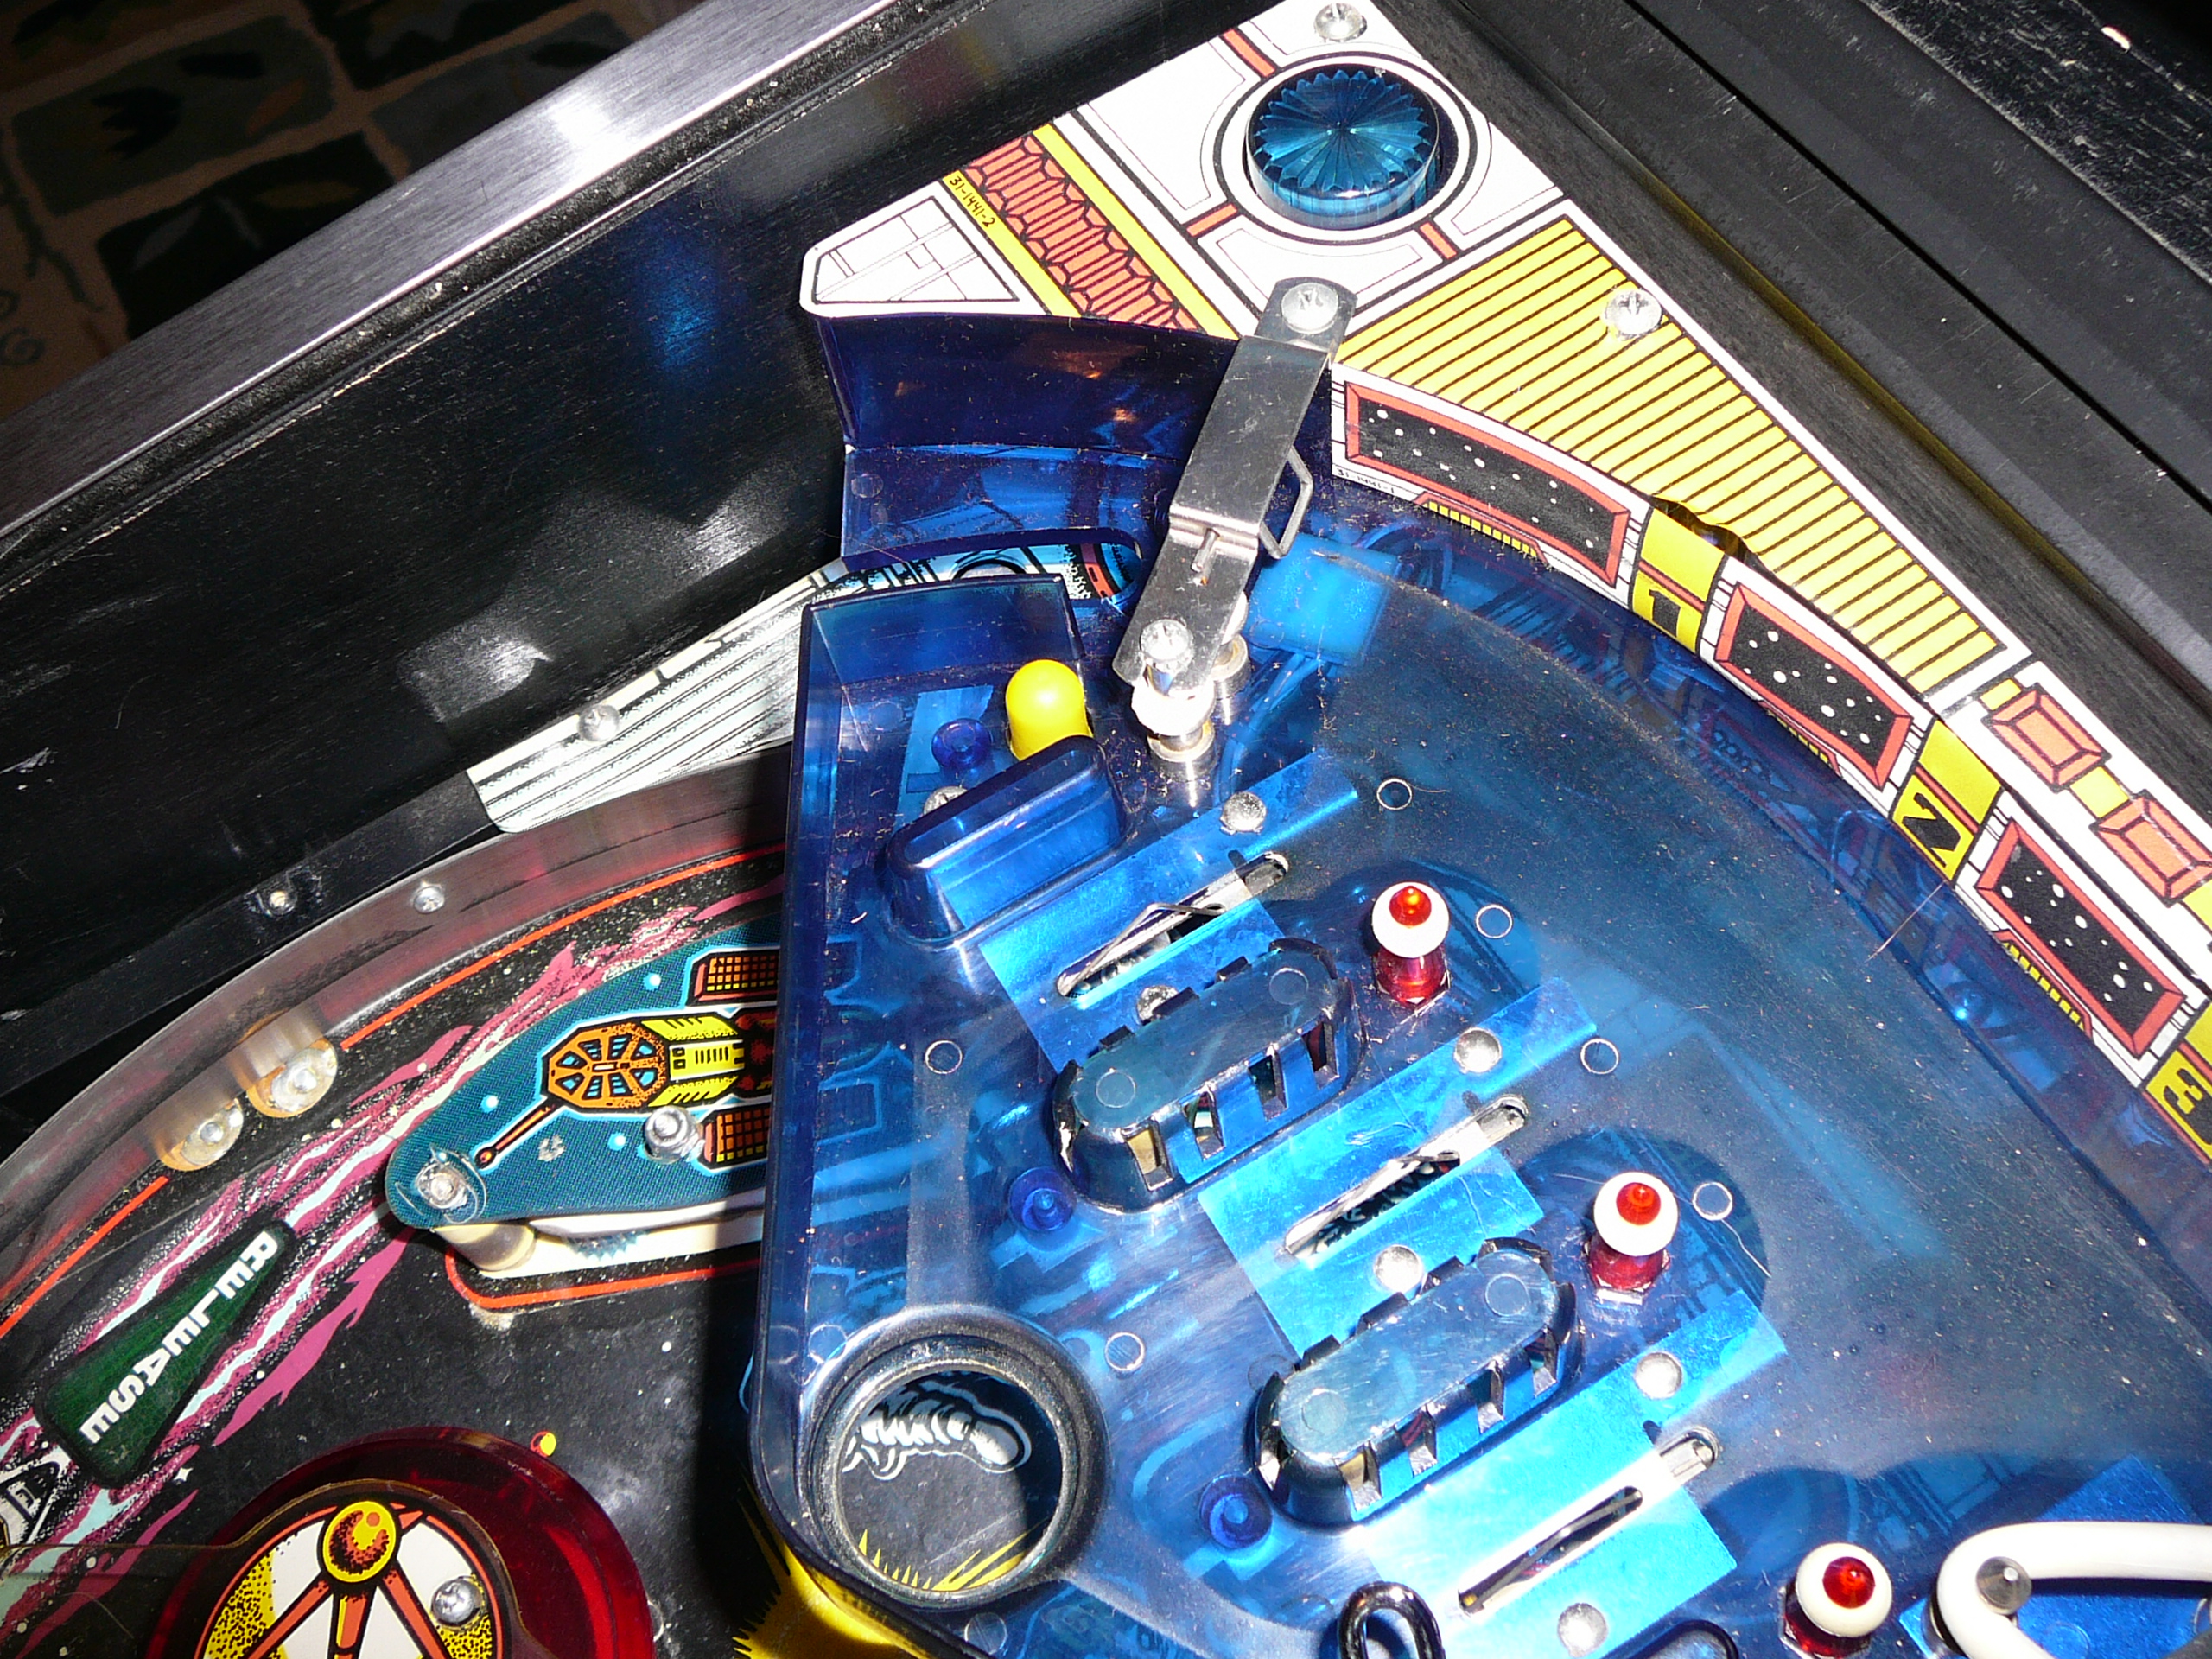
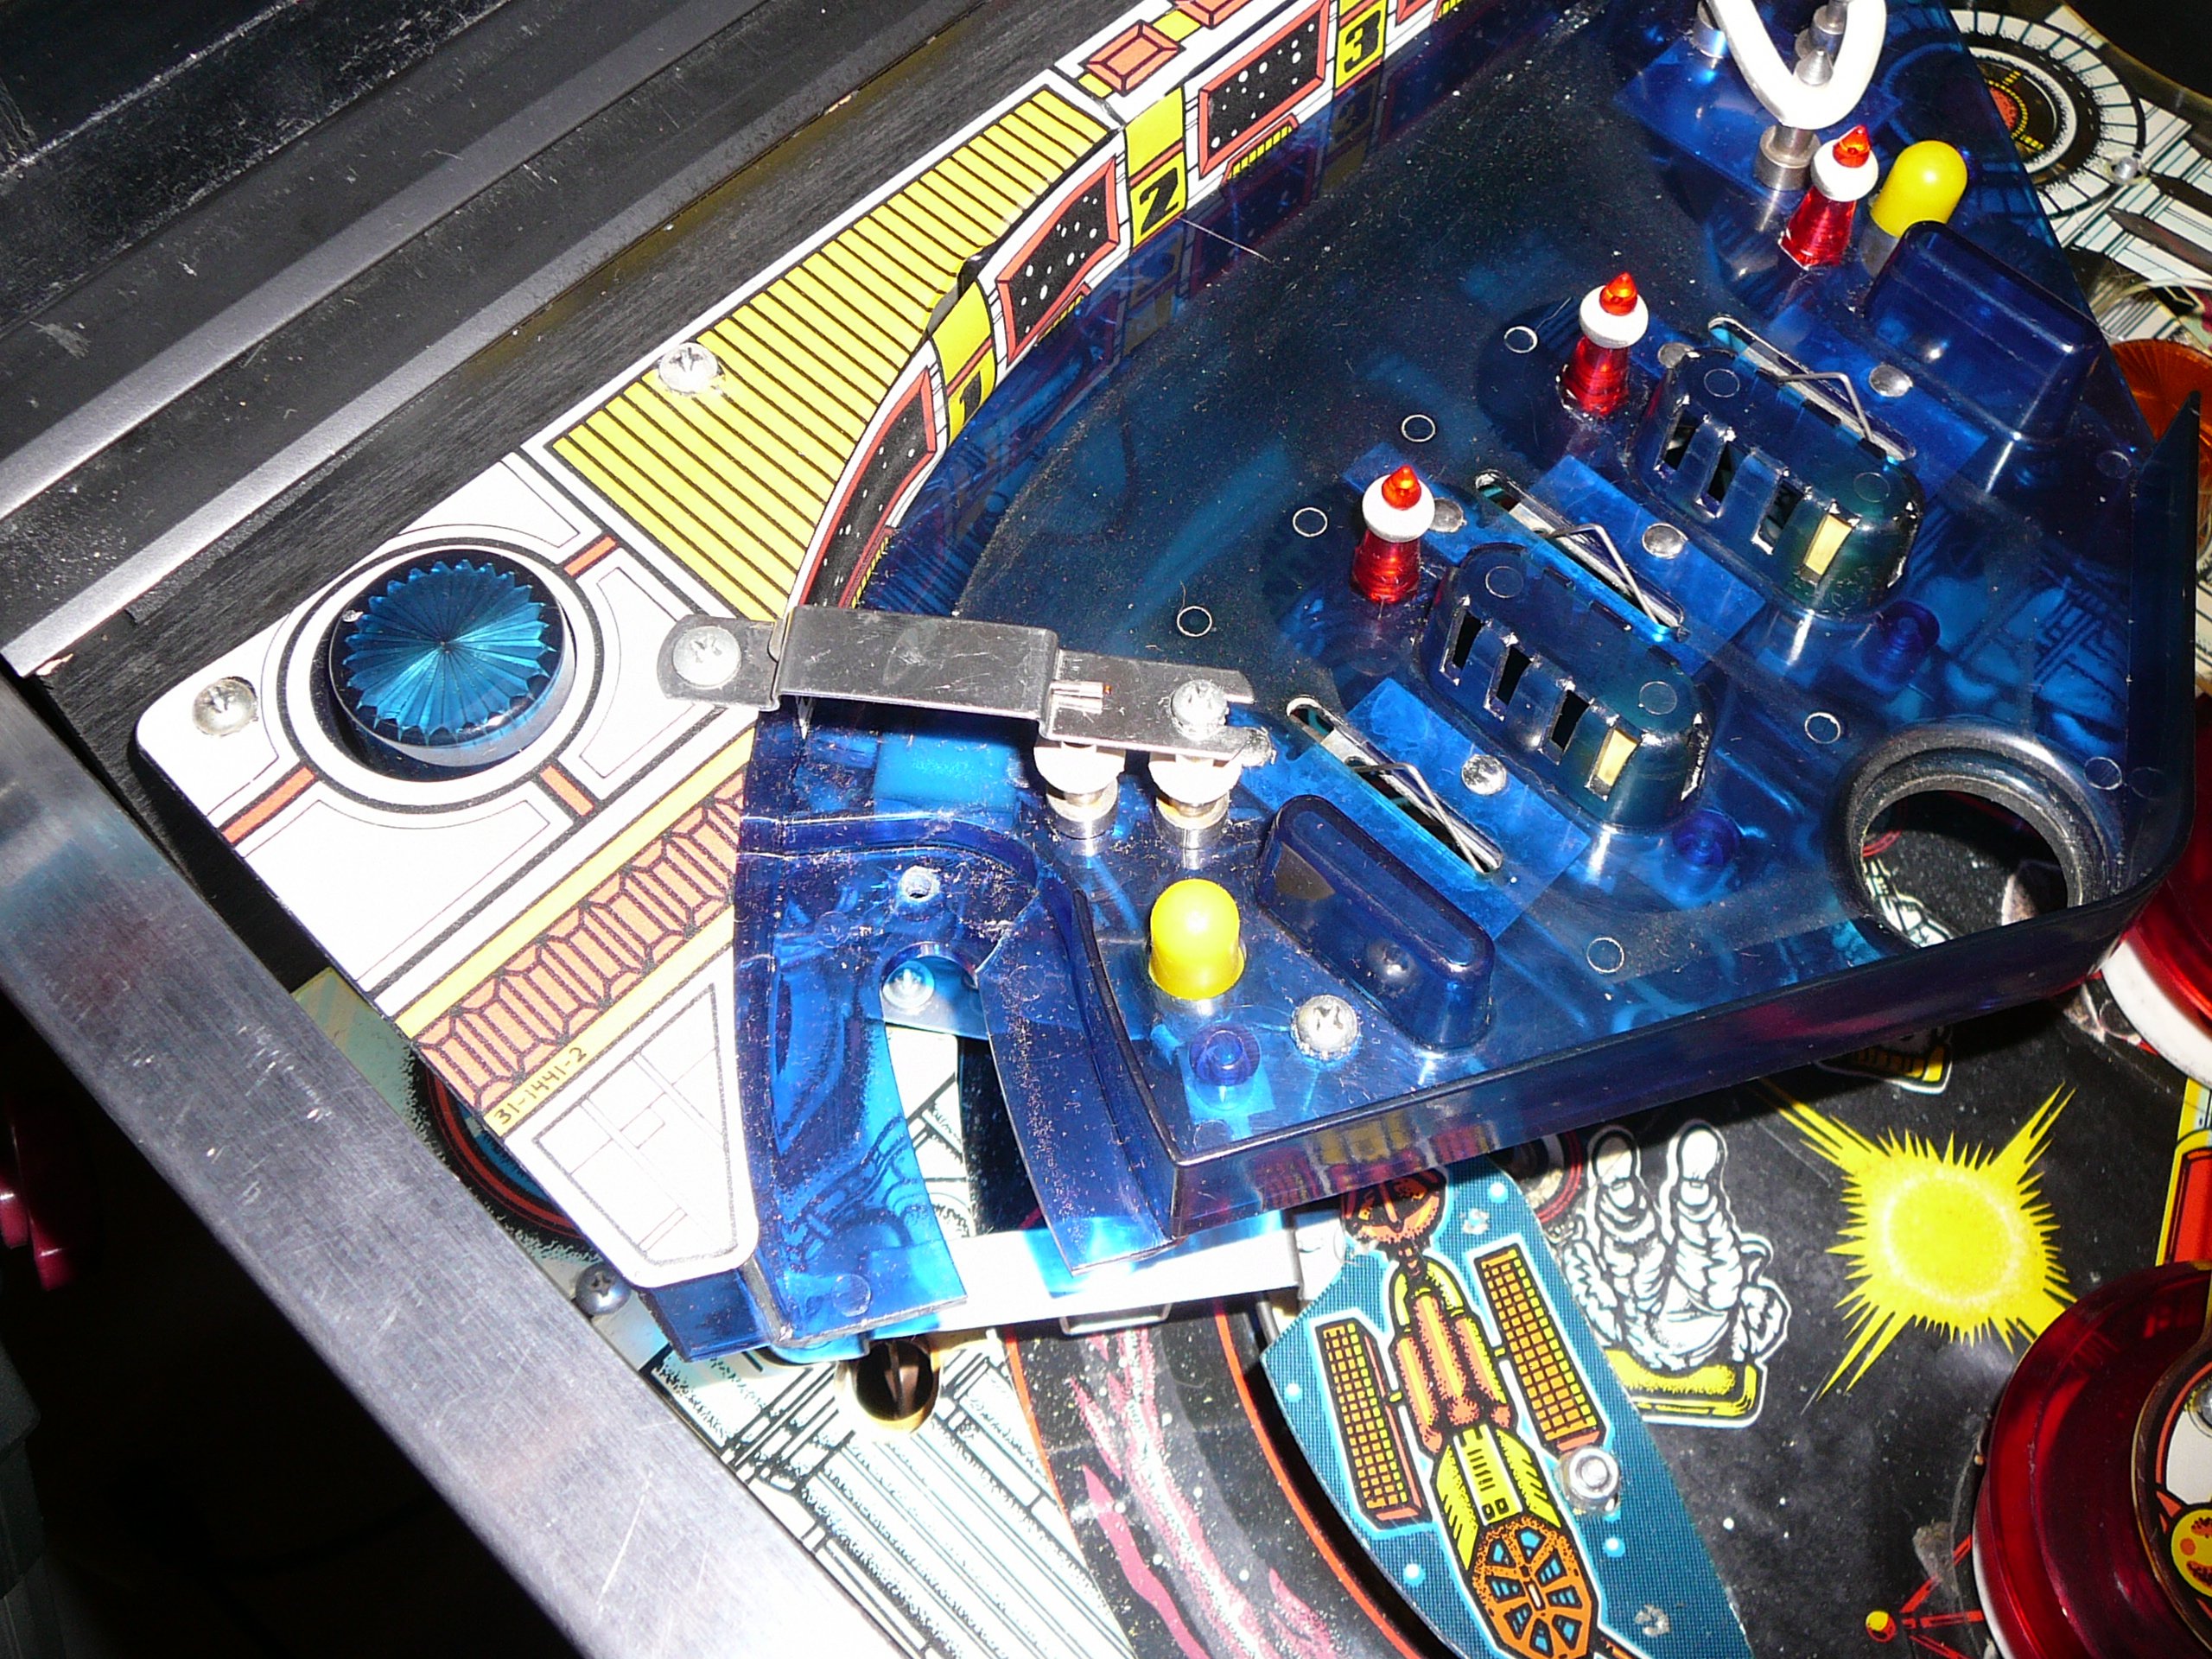
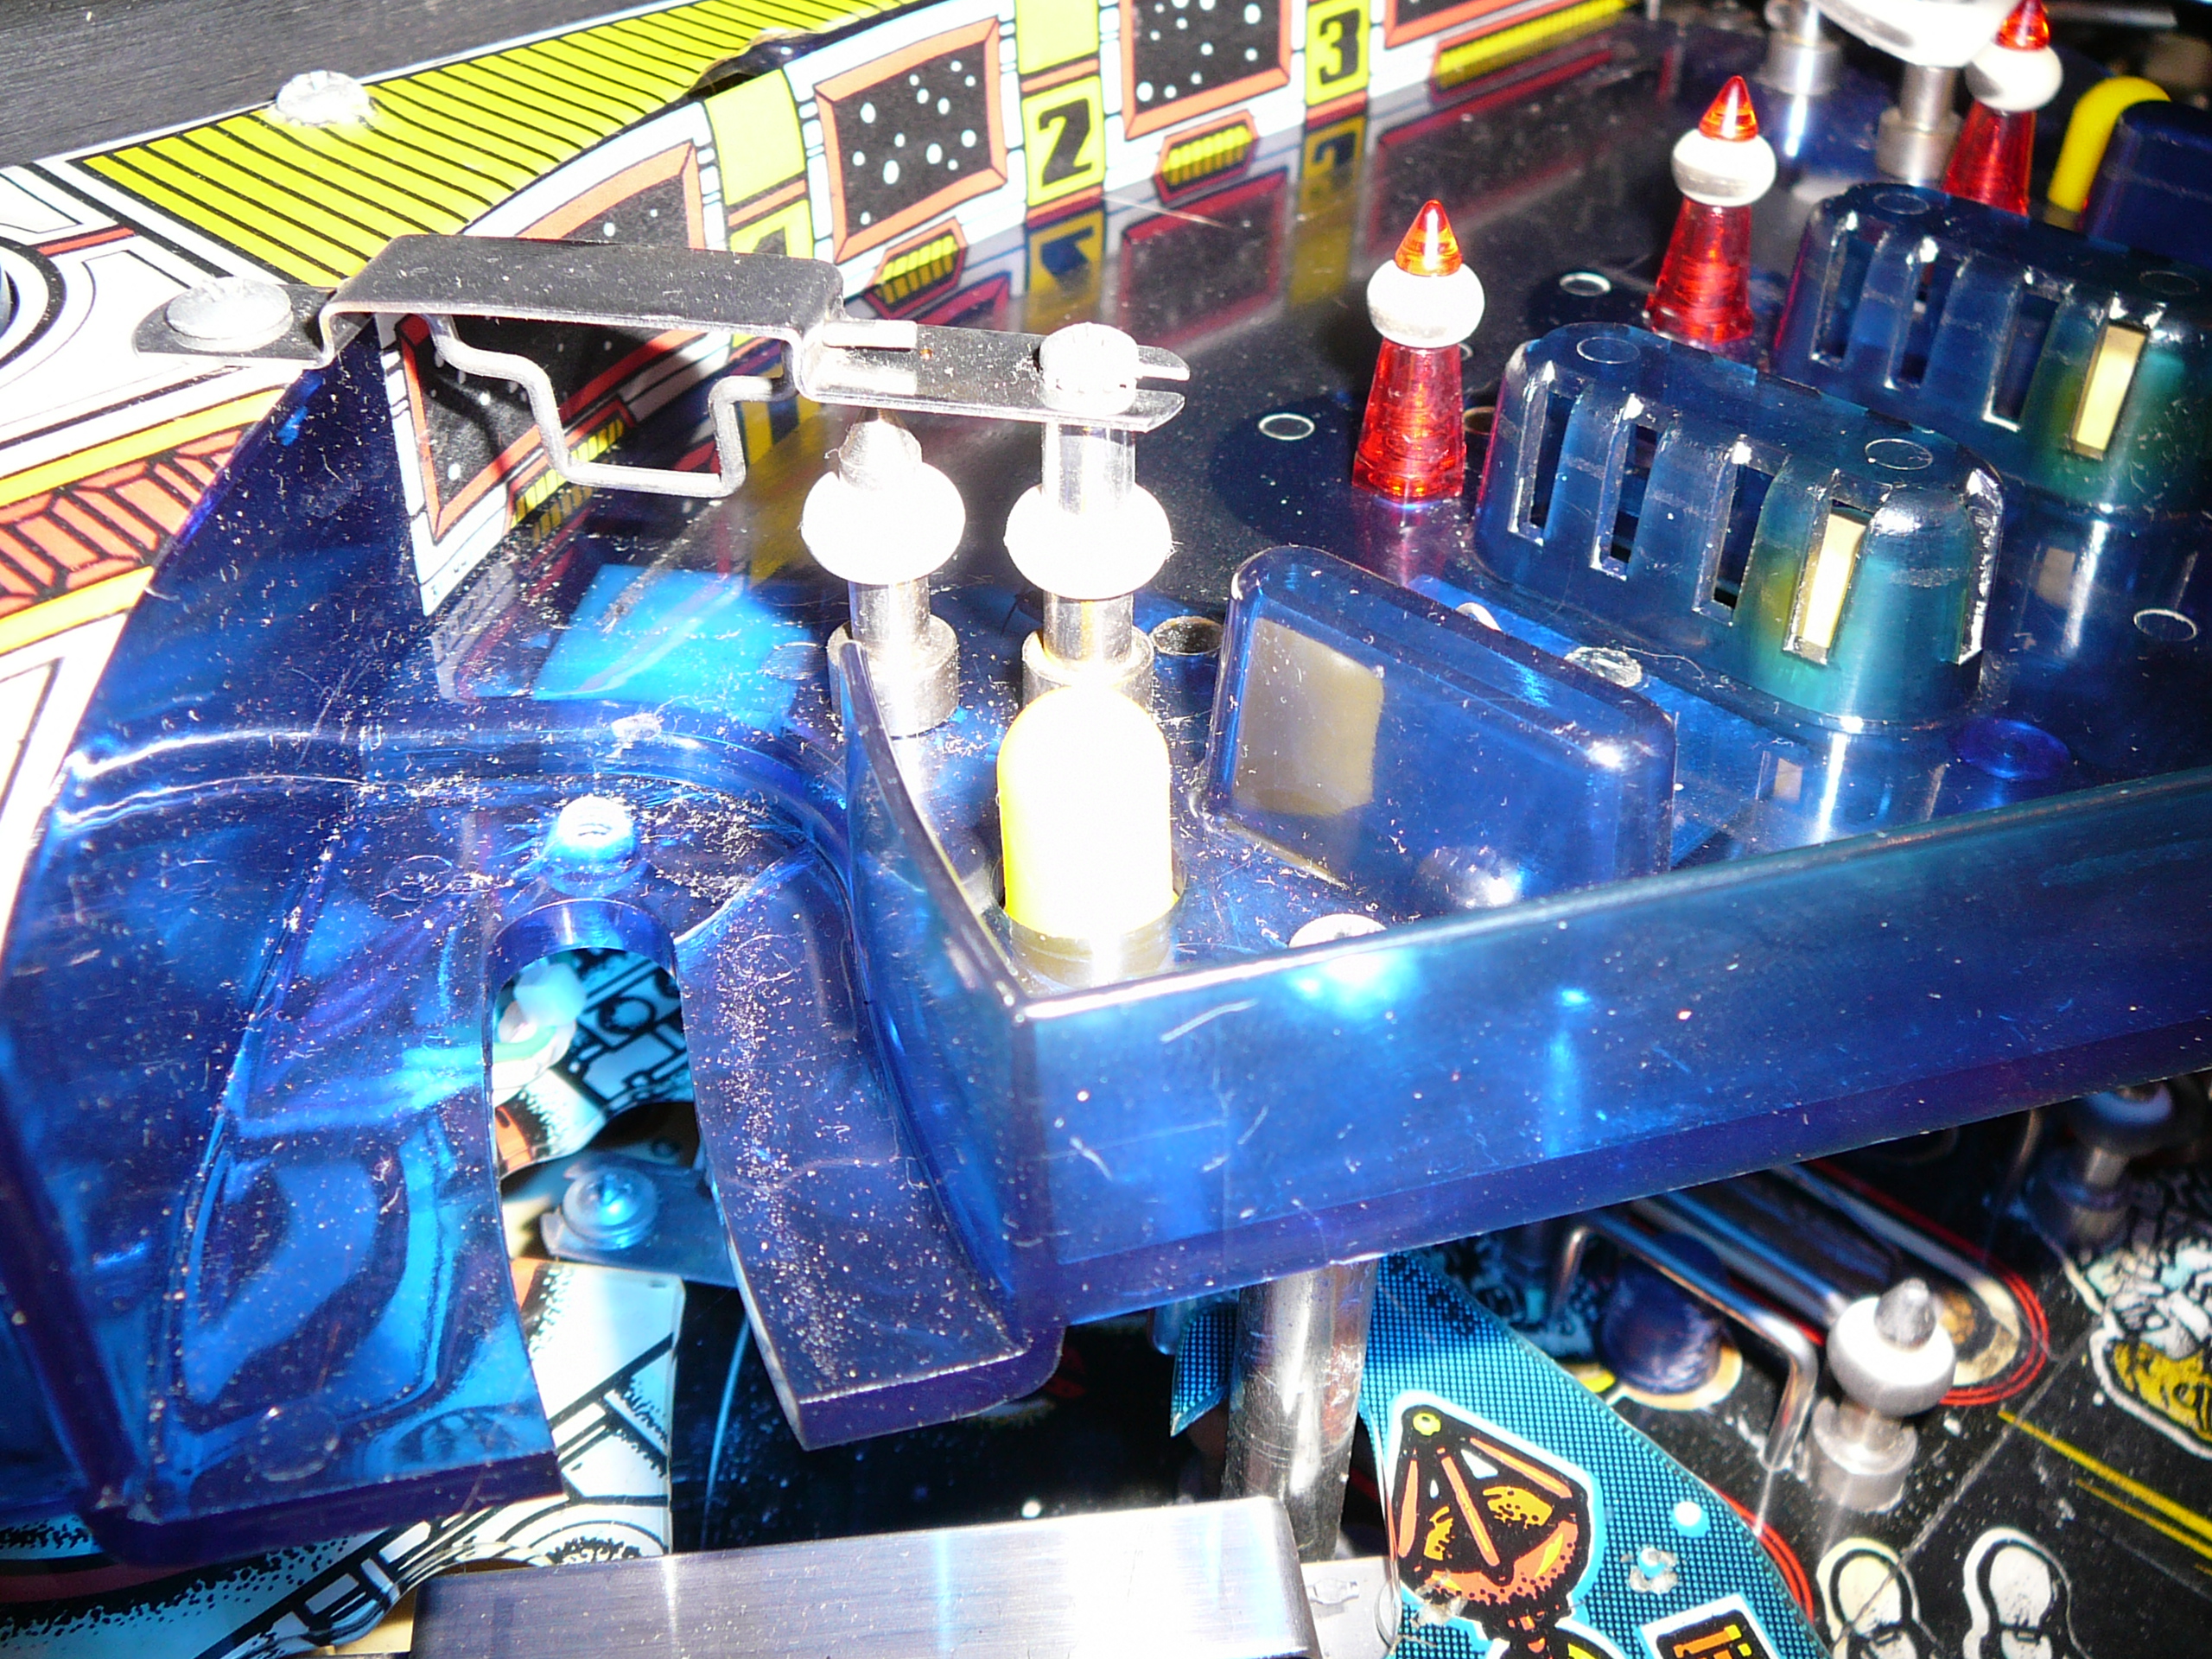
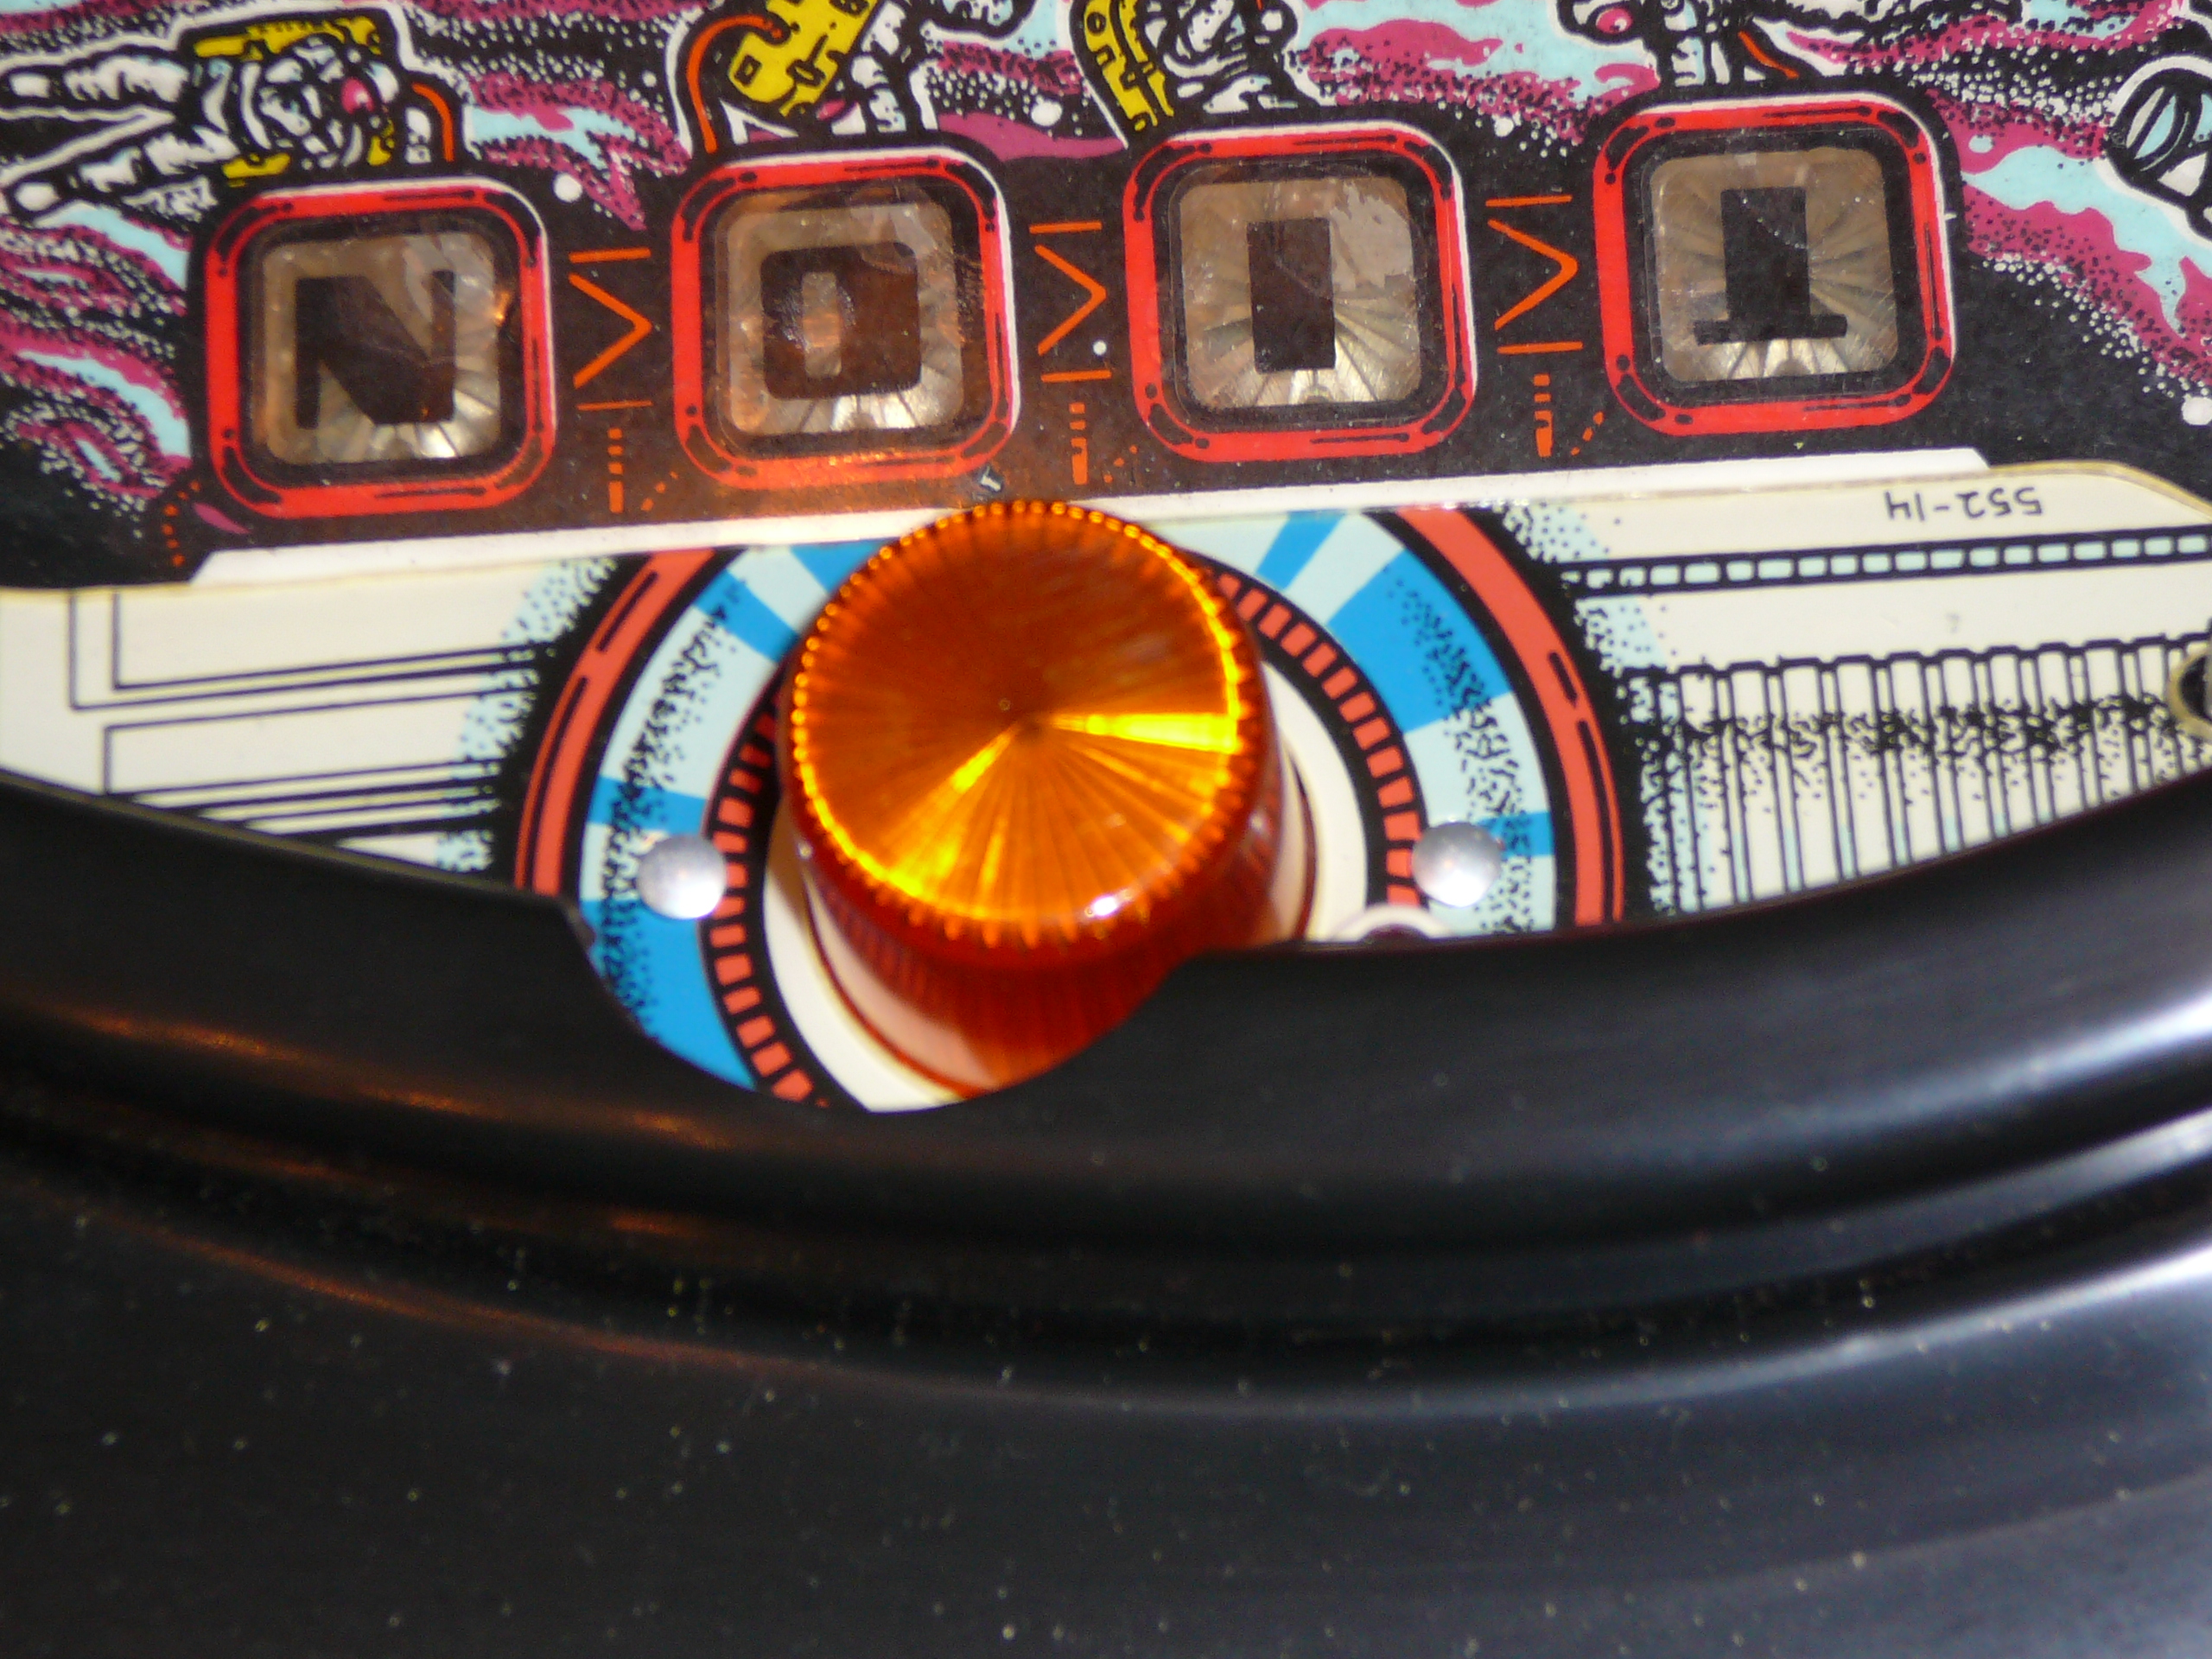
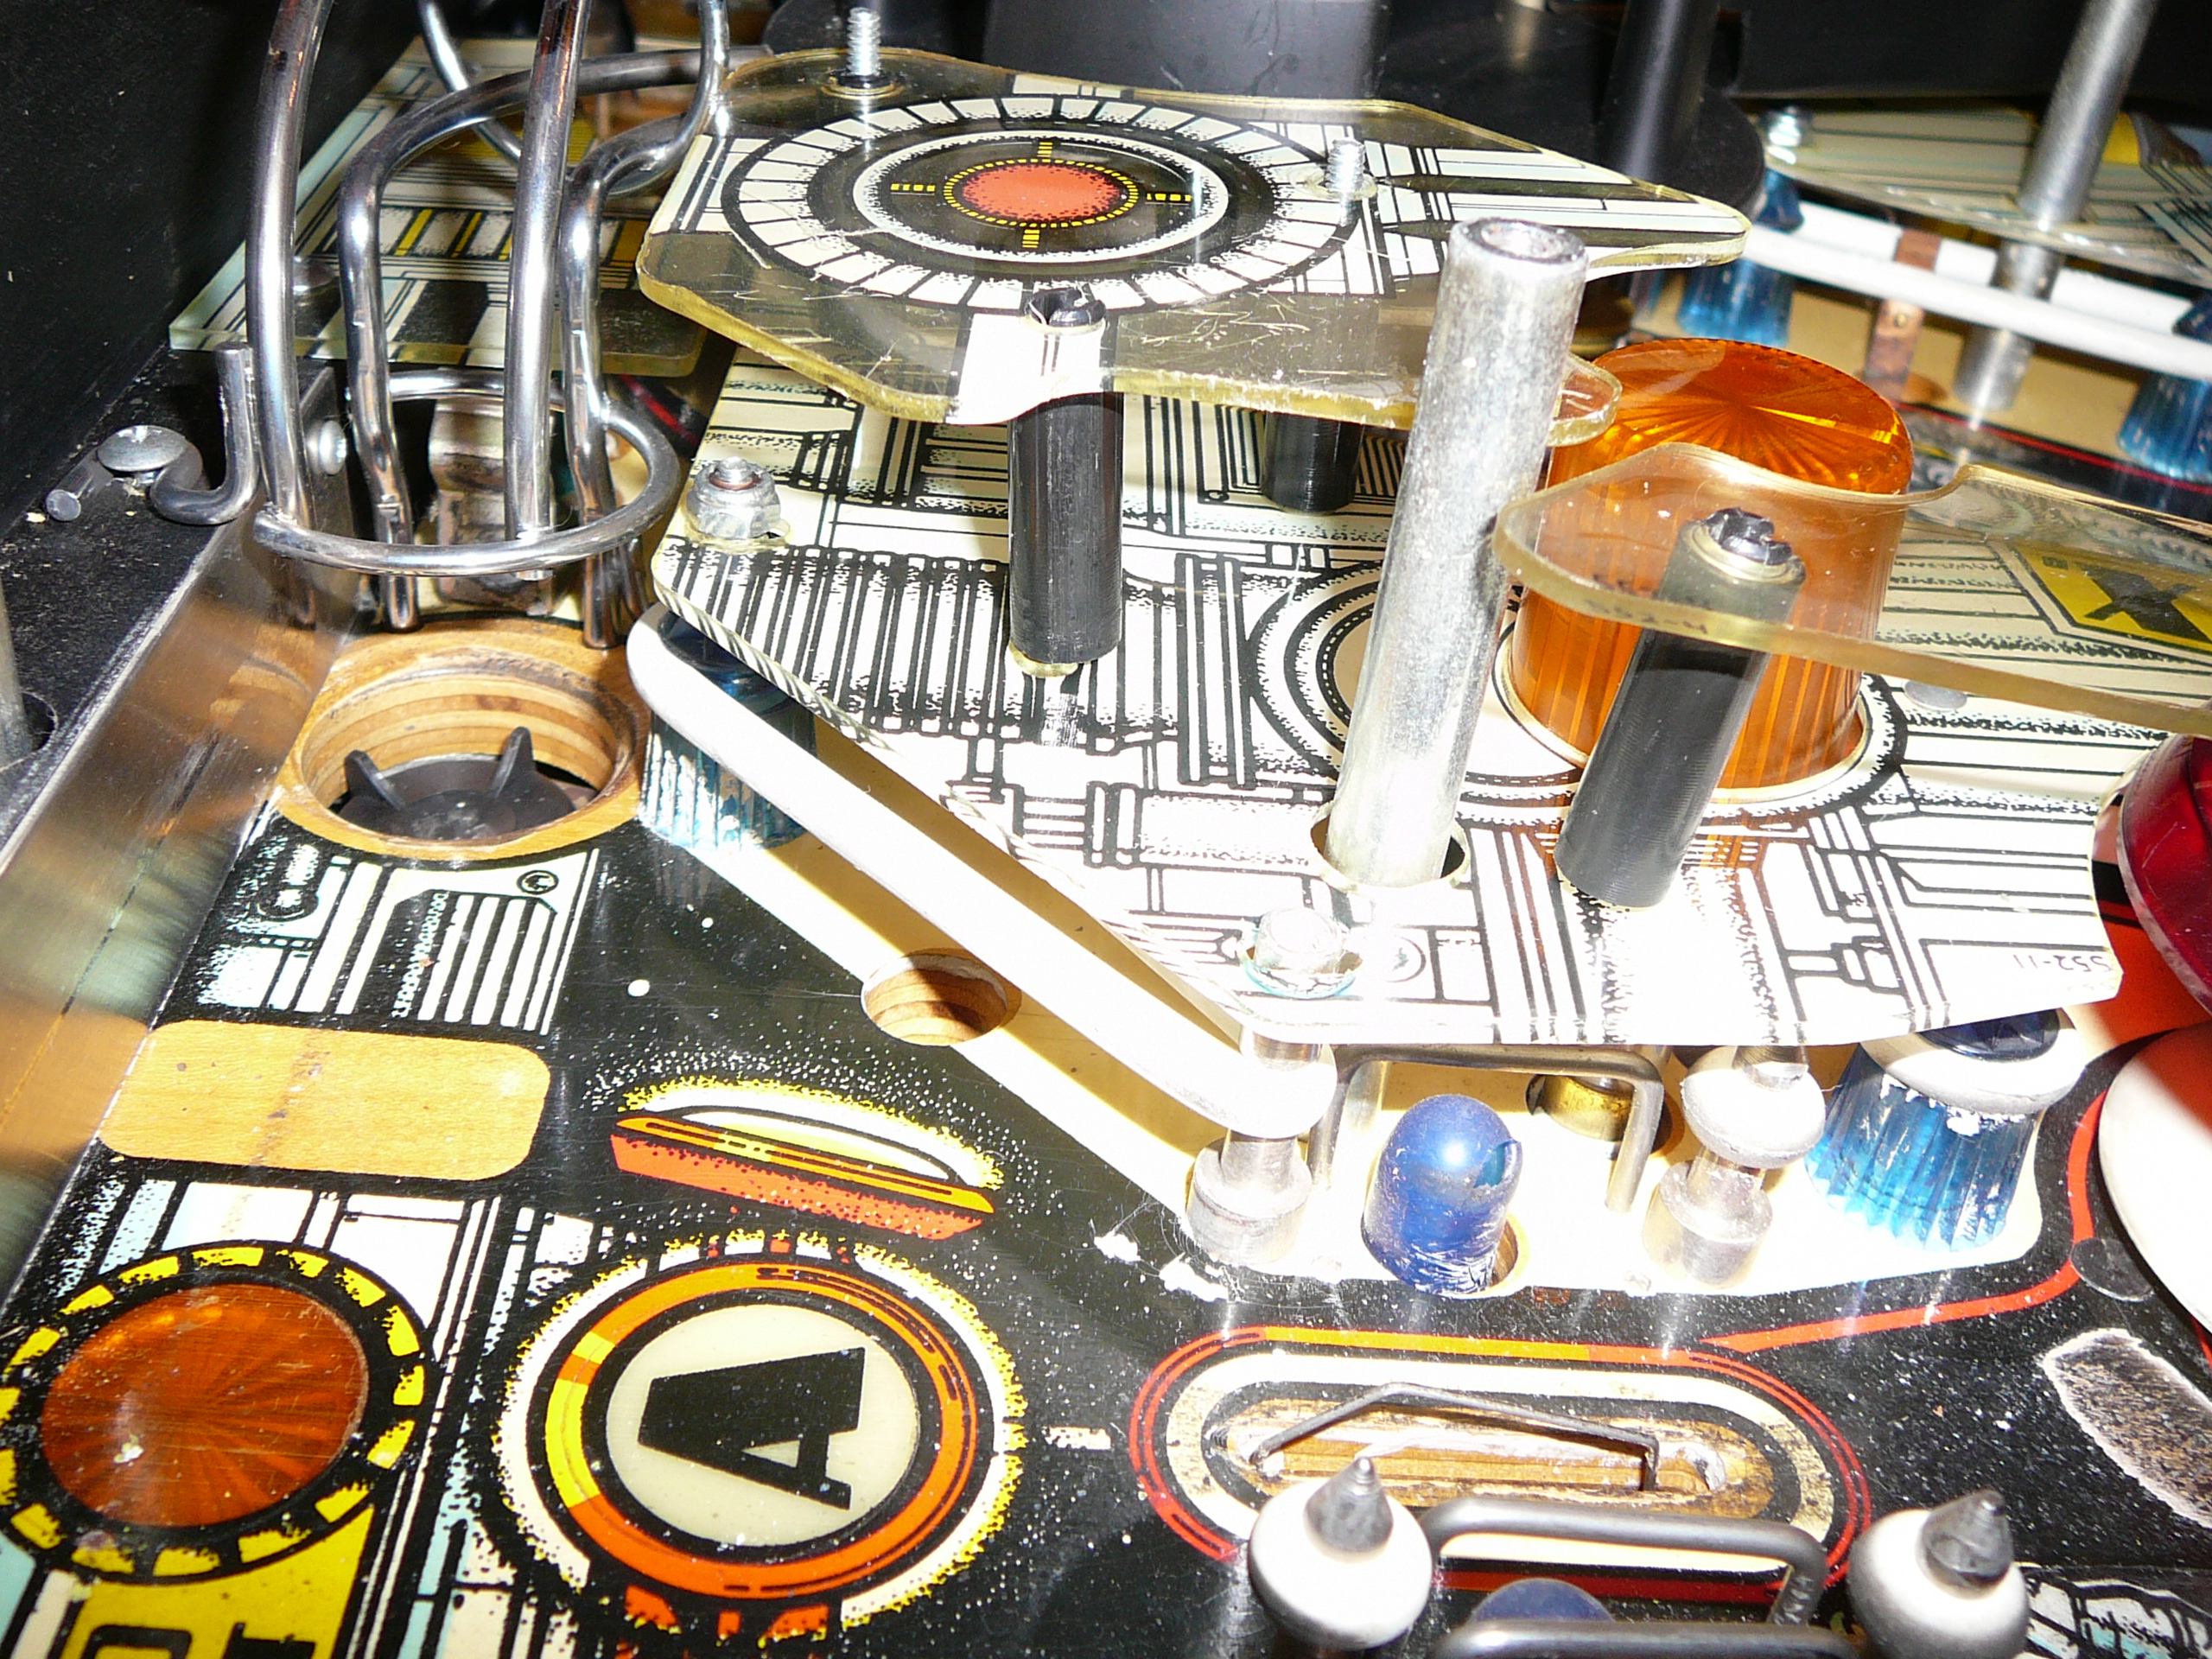
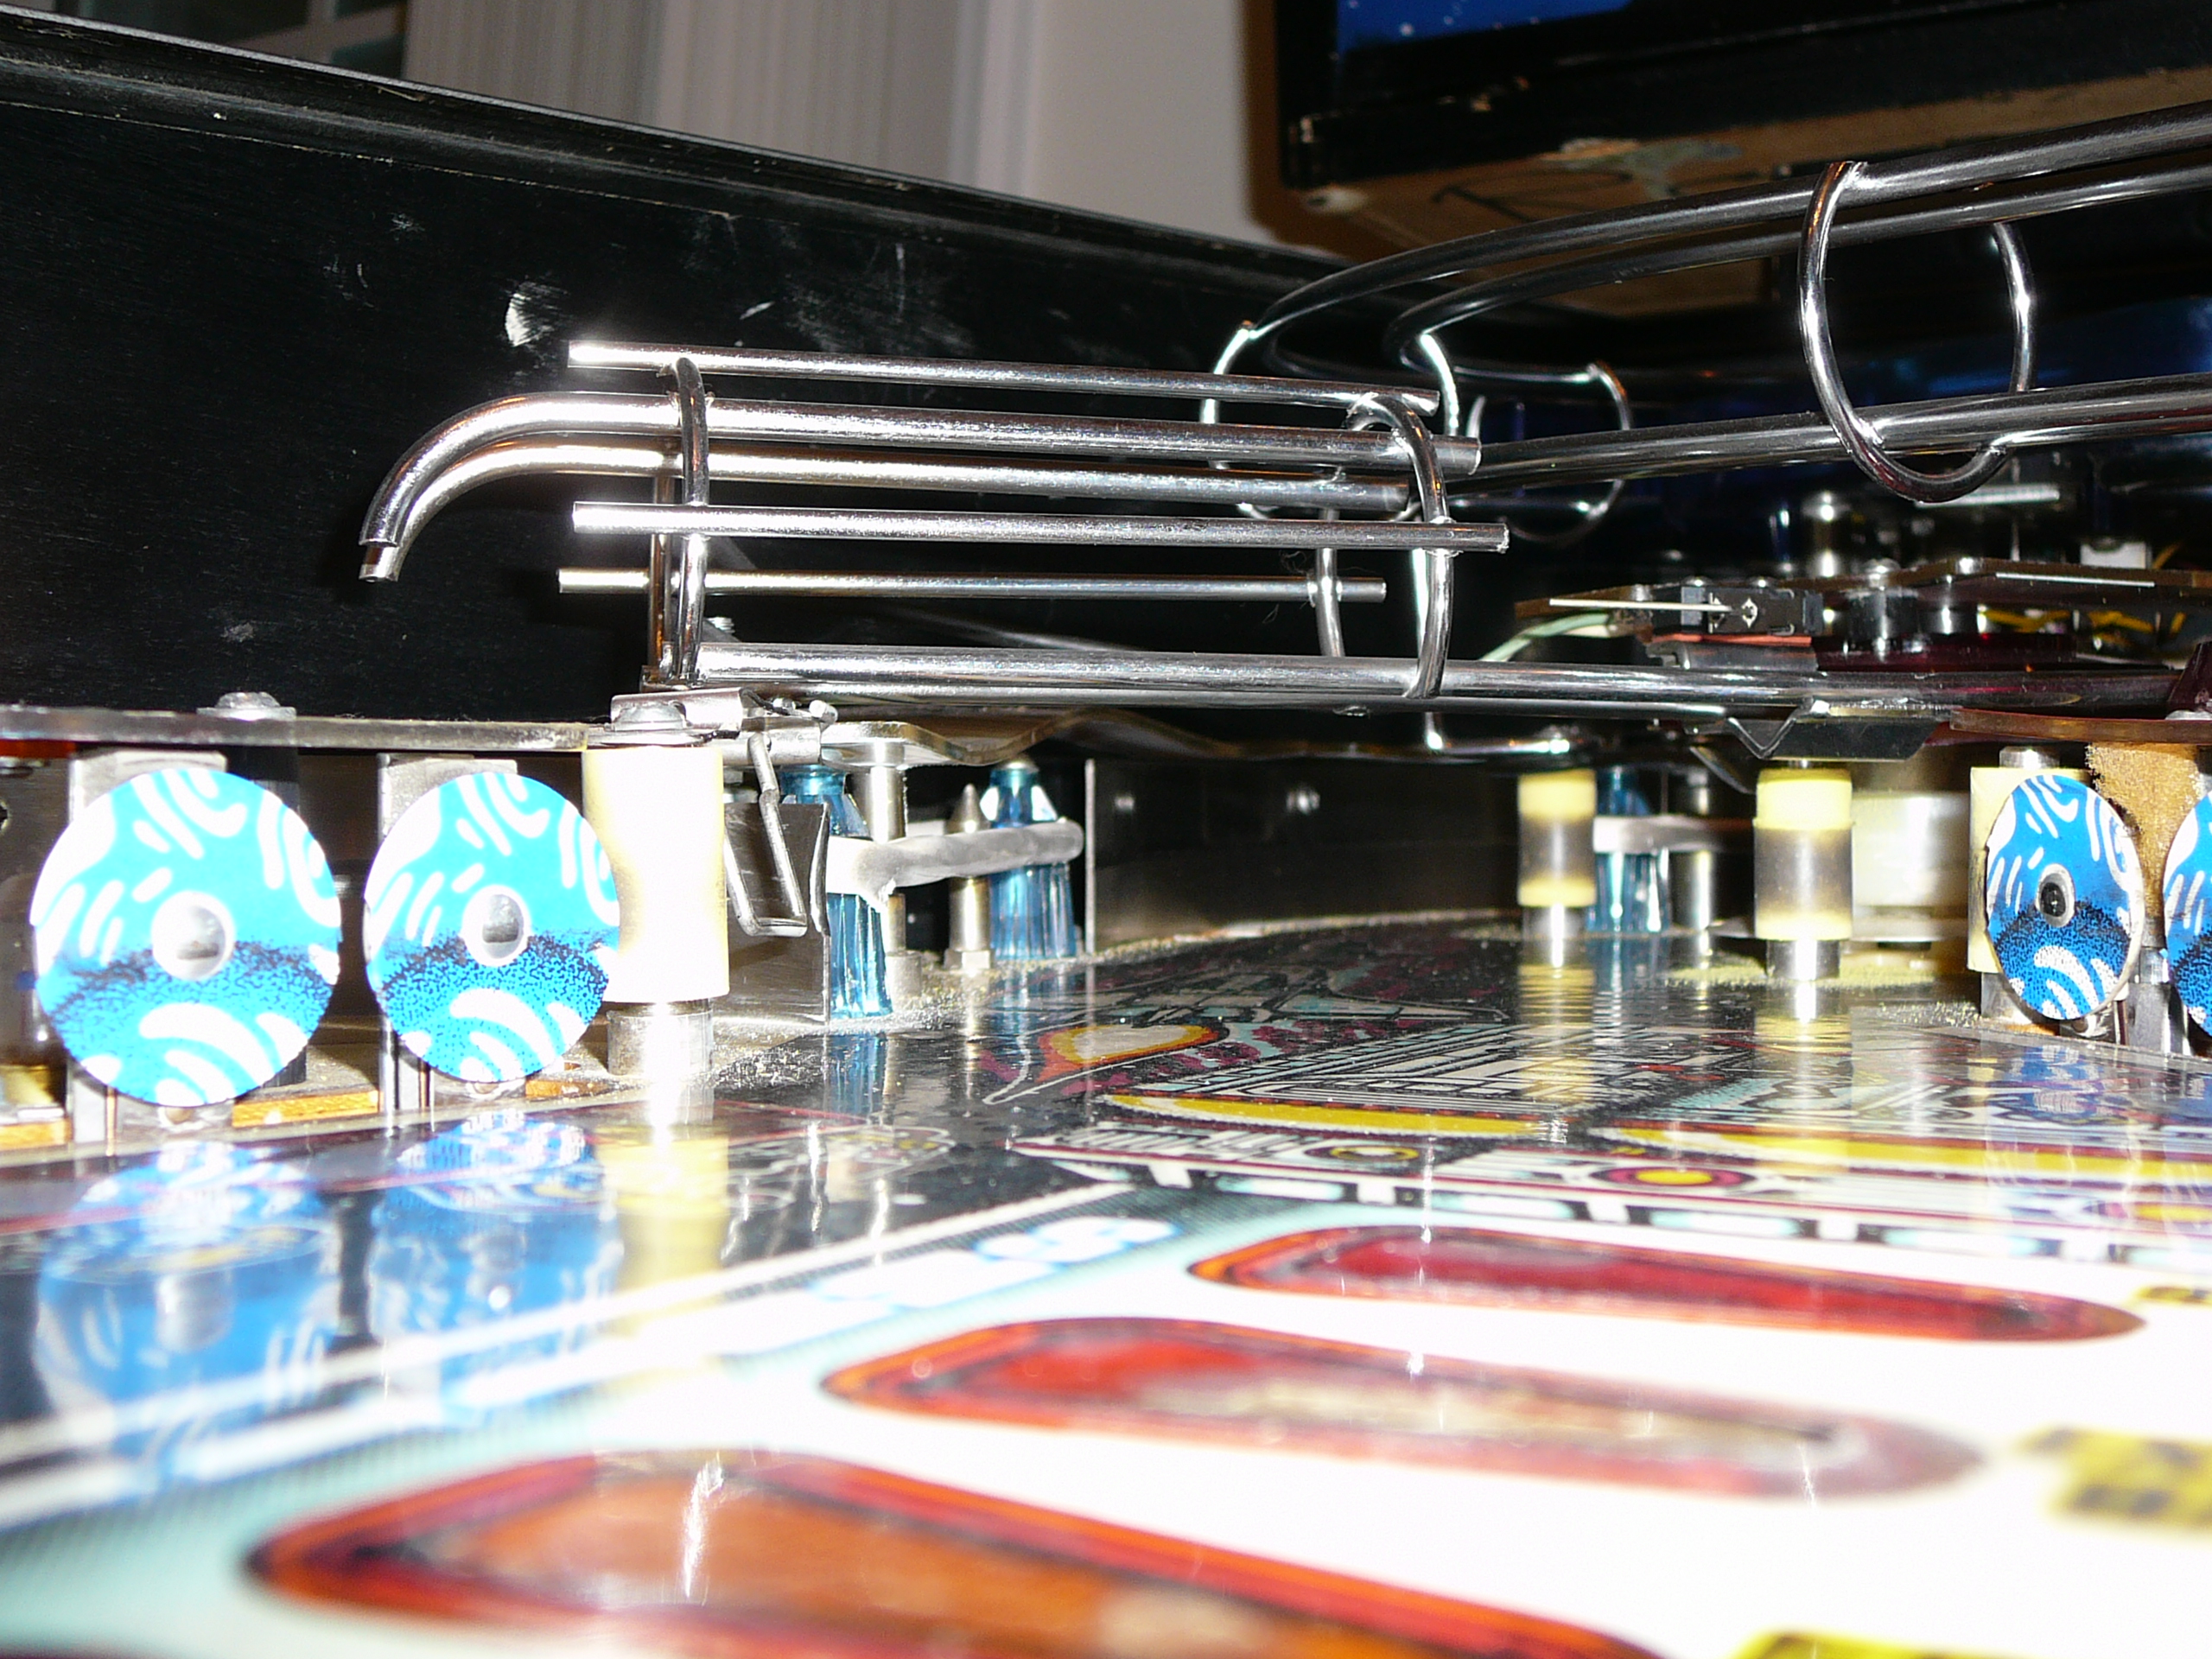
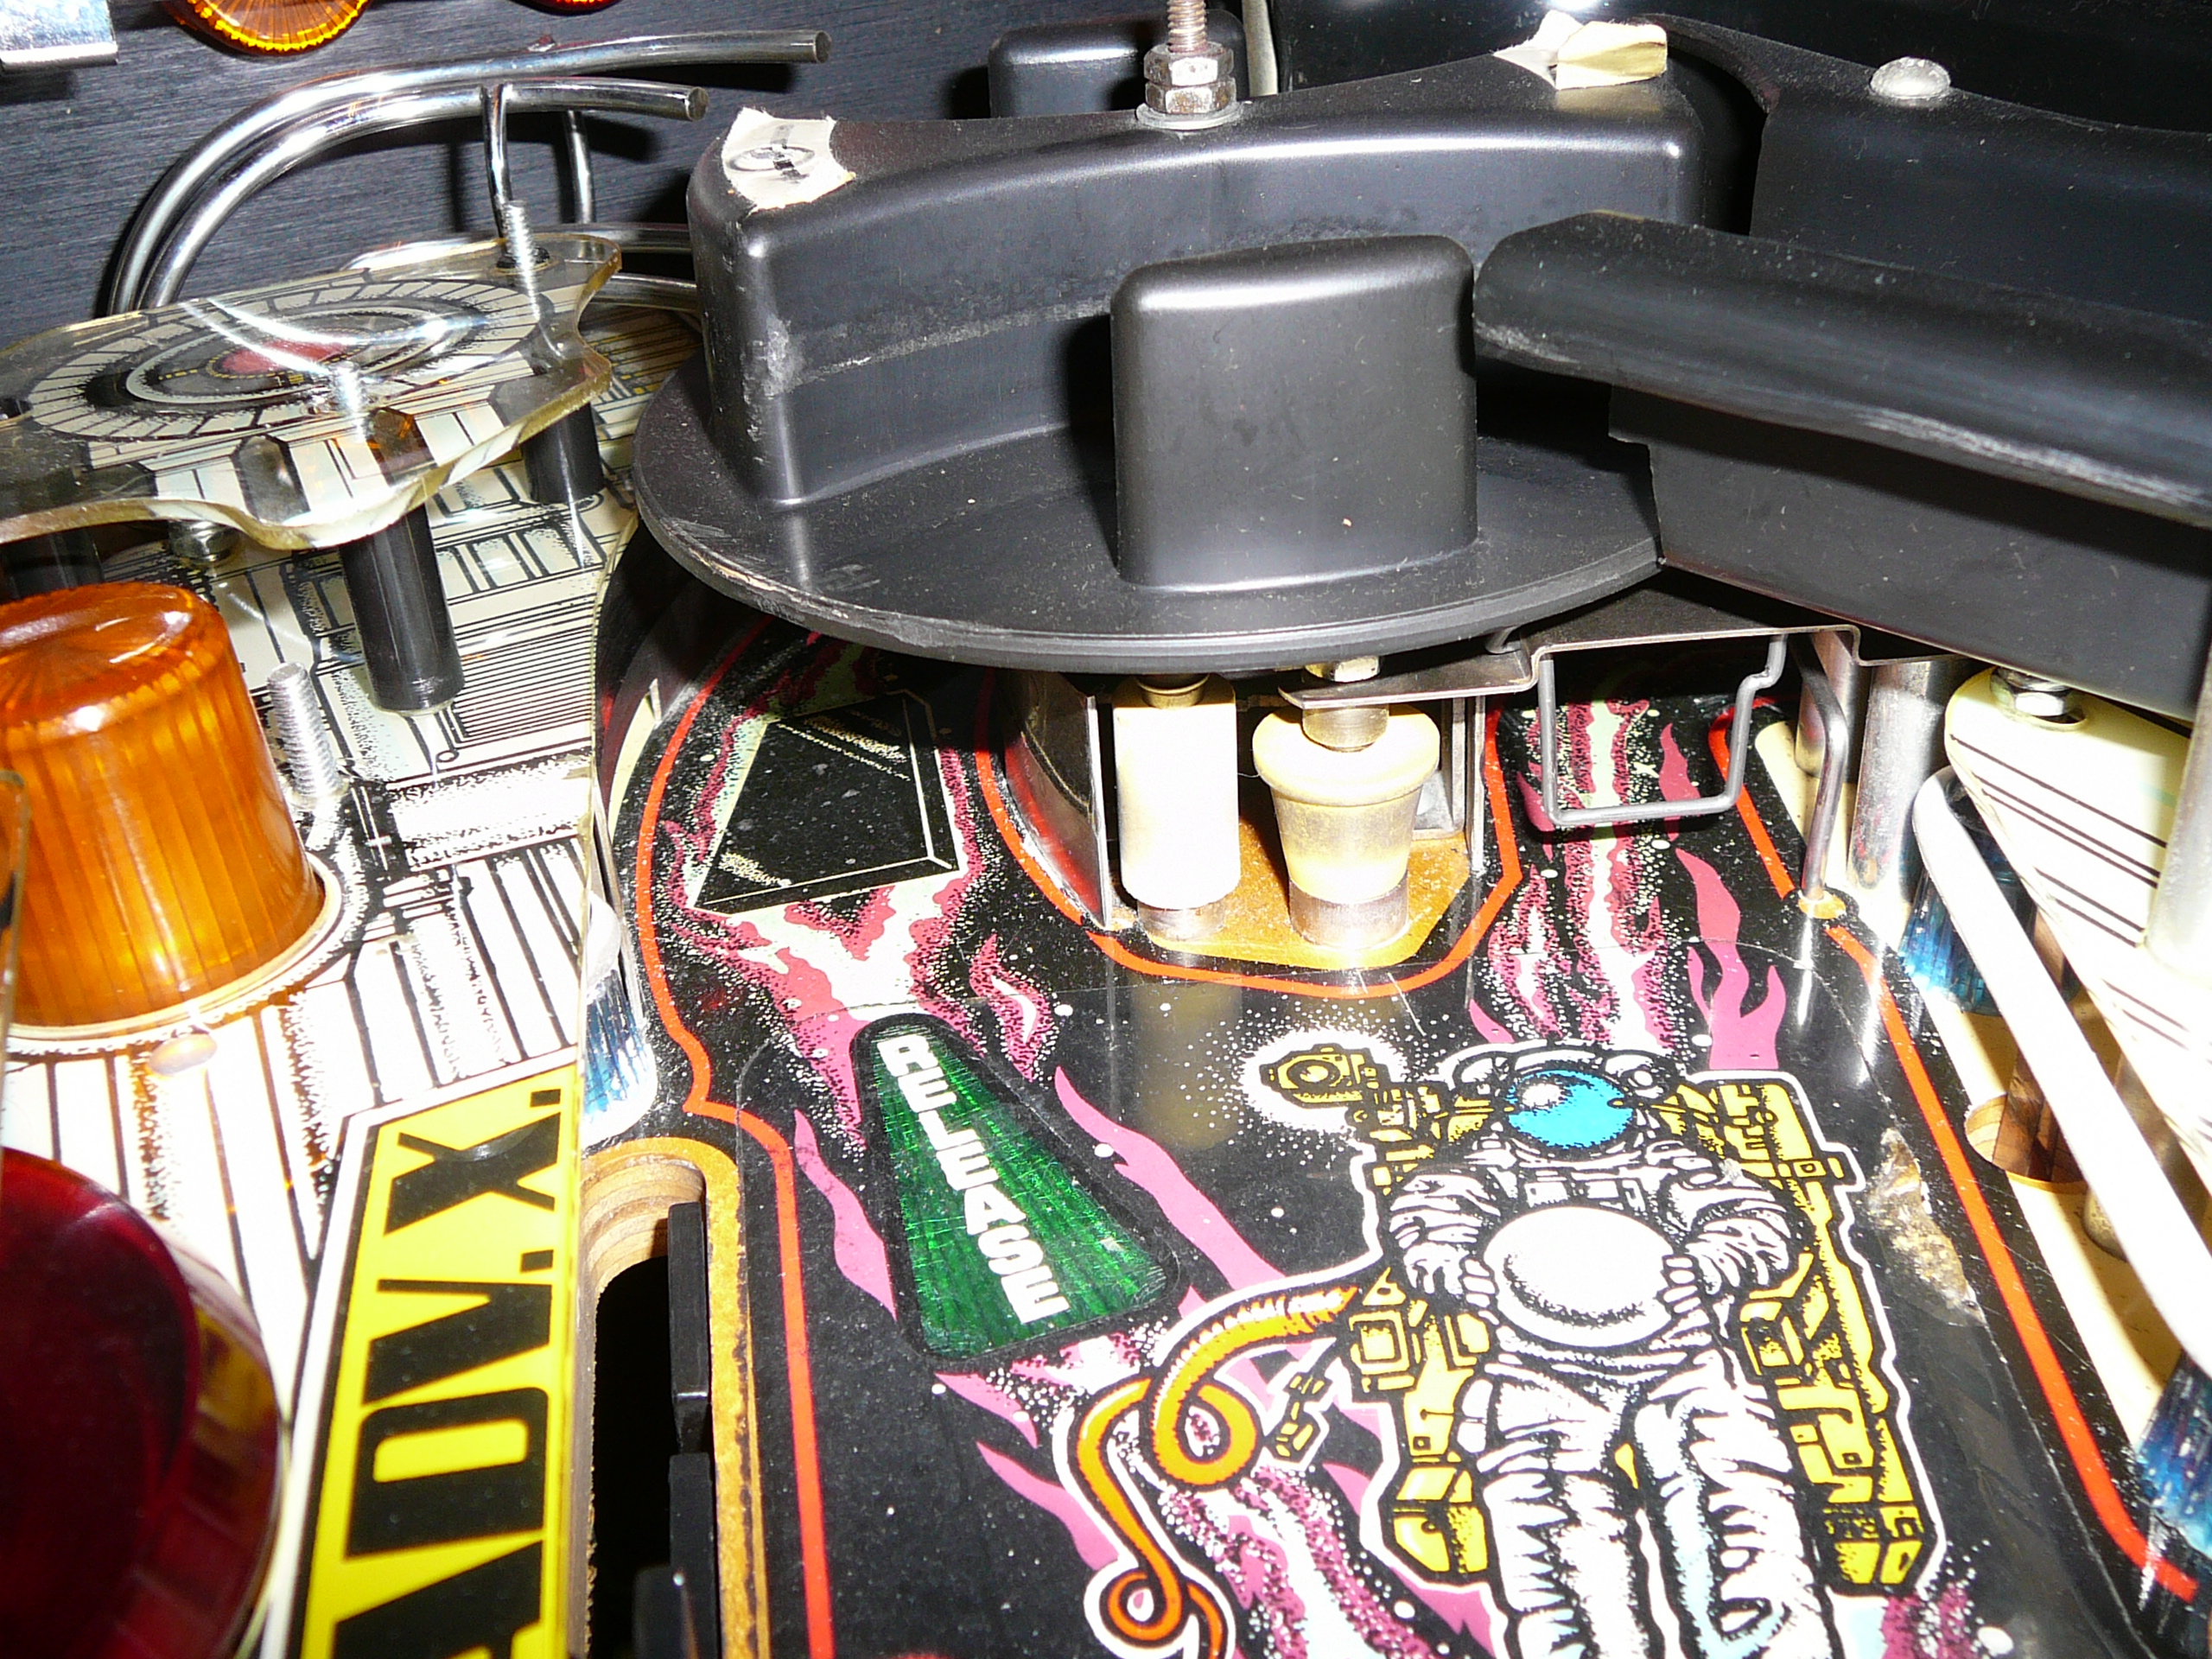
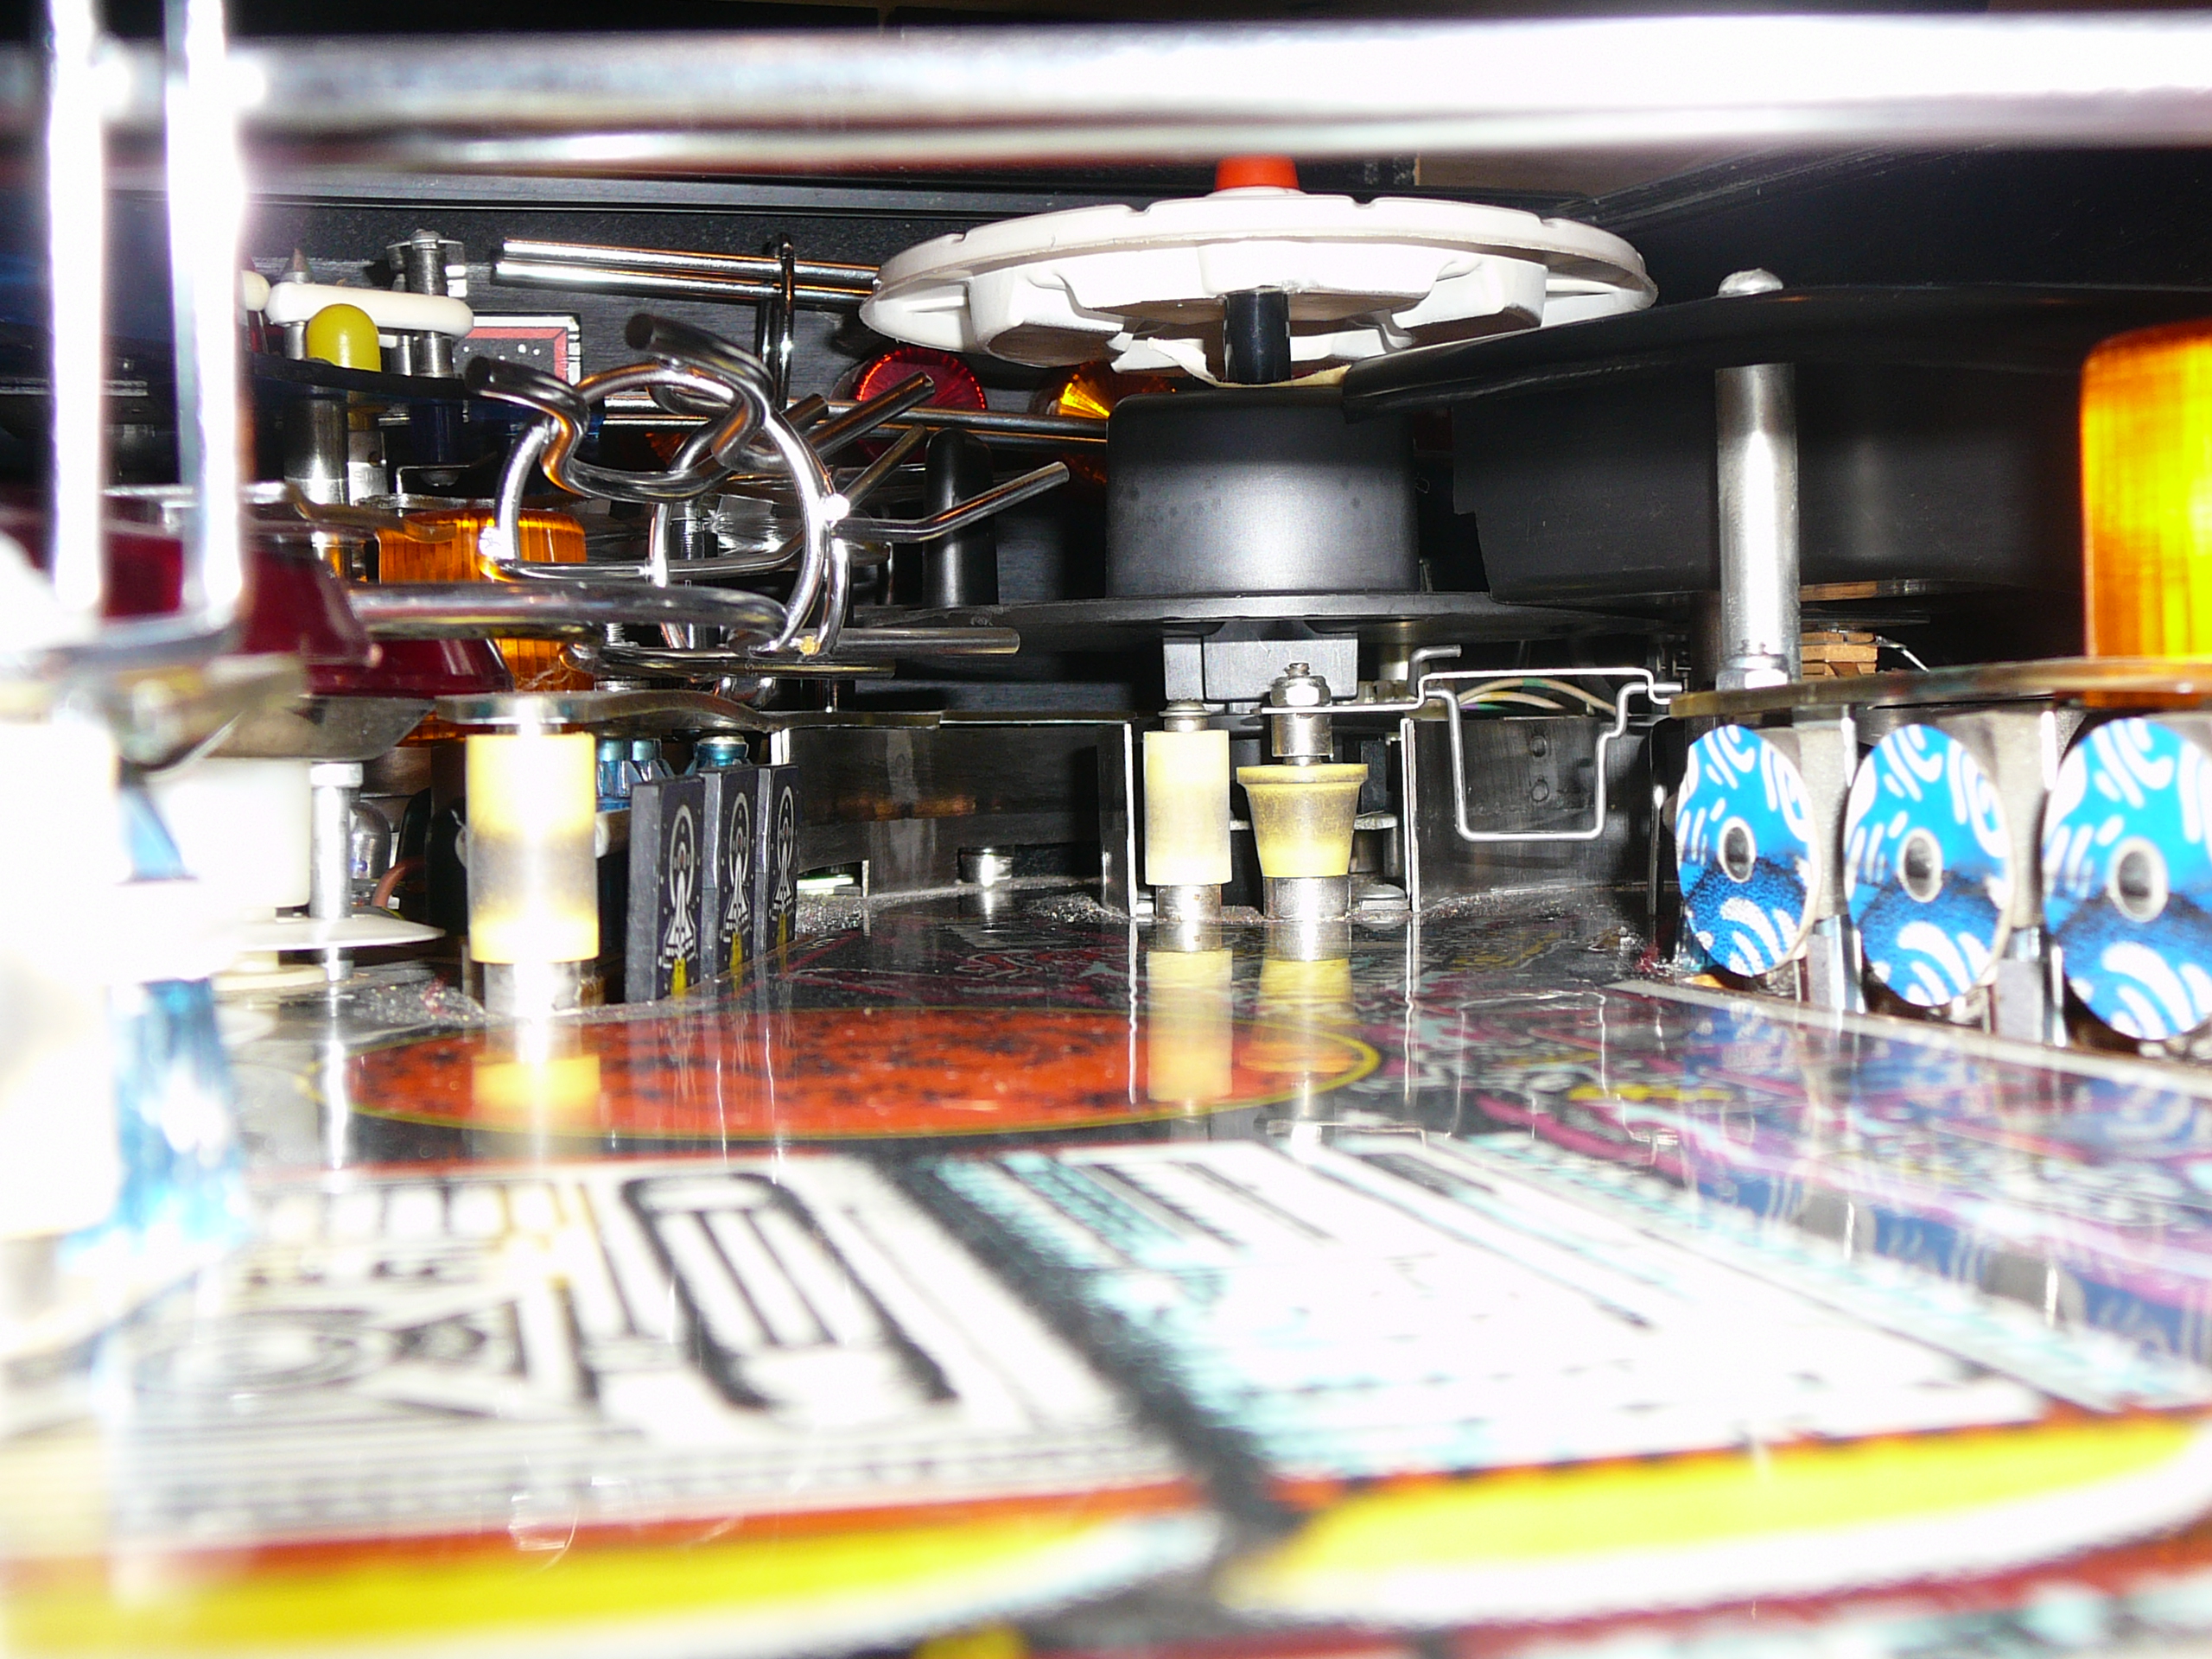
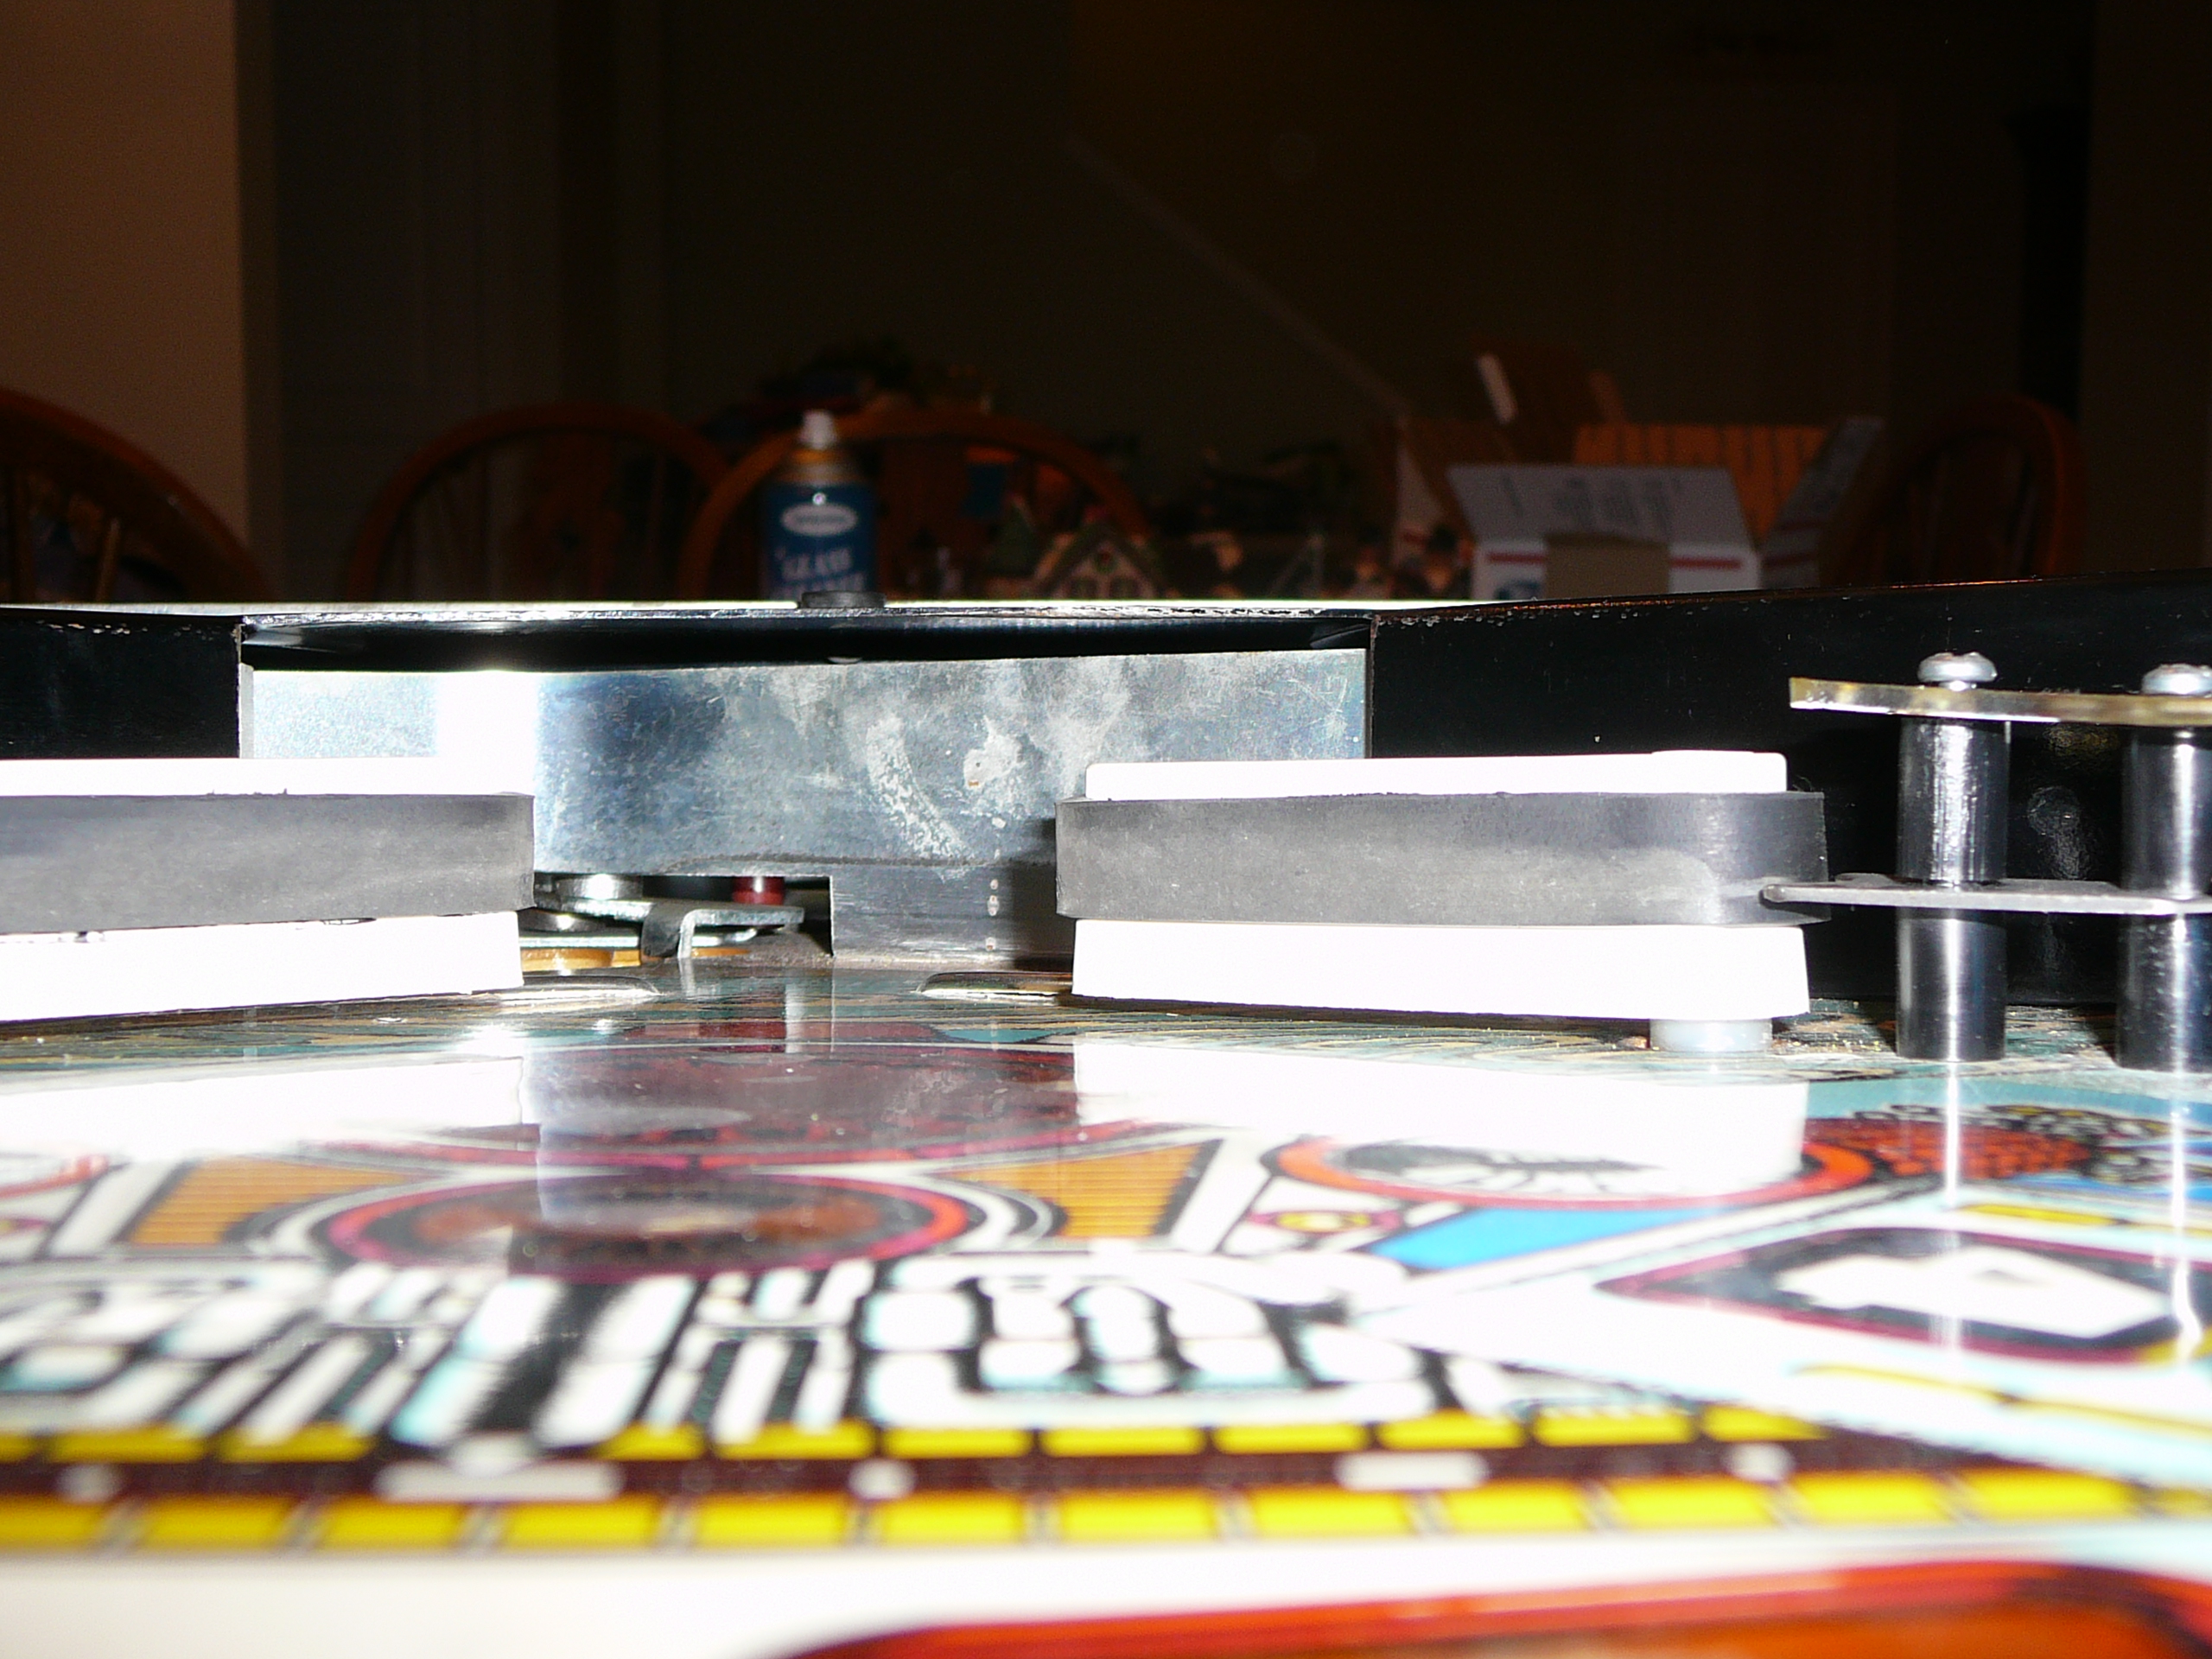
The playfield turned out really well. All that’s left is for me to paint the coin door and touch up the cabinet paint.
I’ll just leave a little eye candy here for you…..

Dec 18
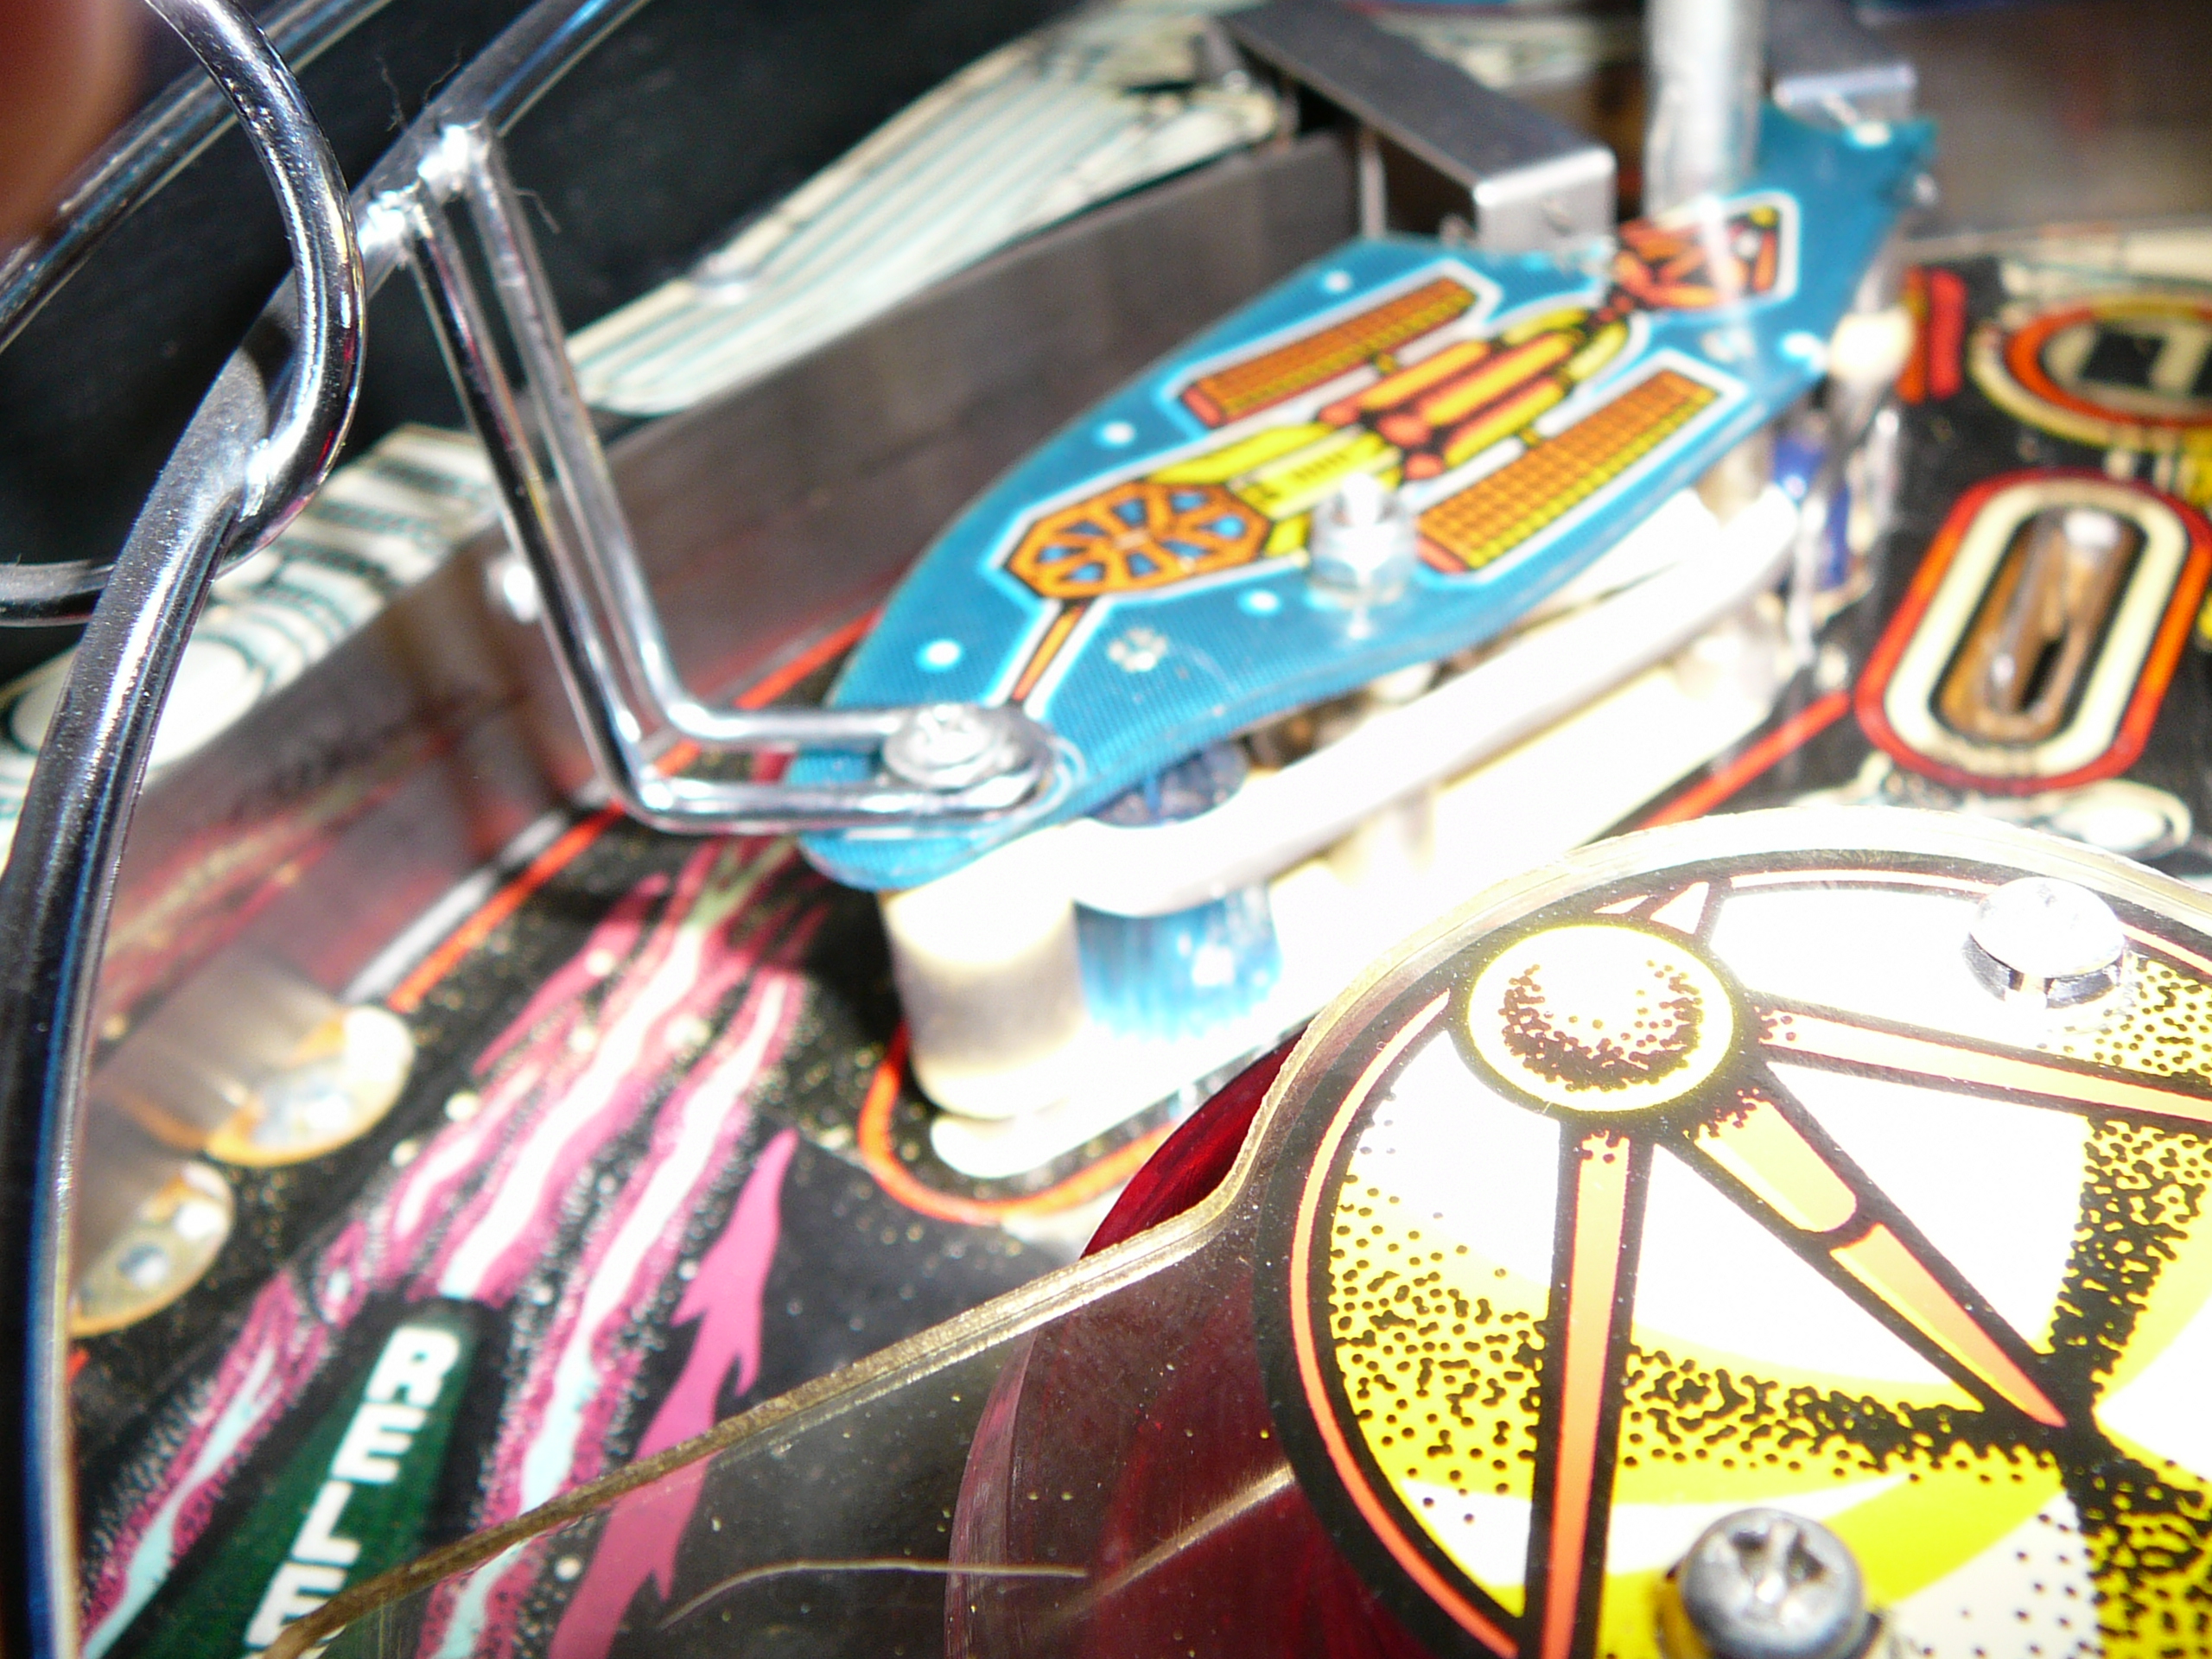
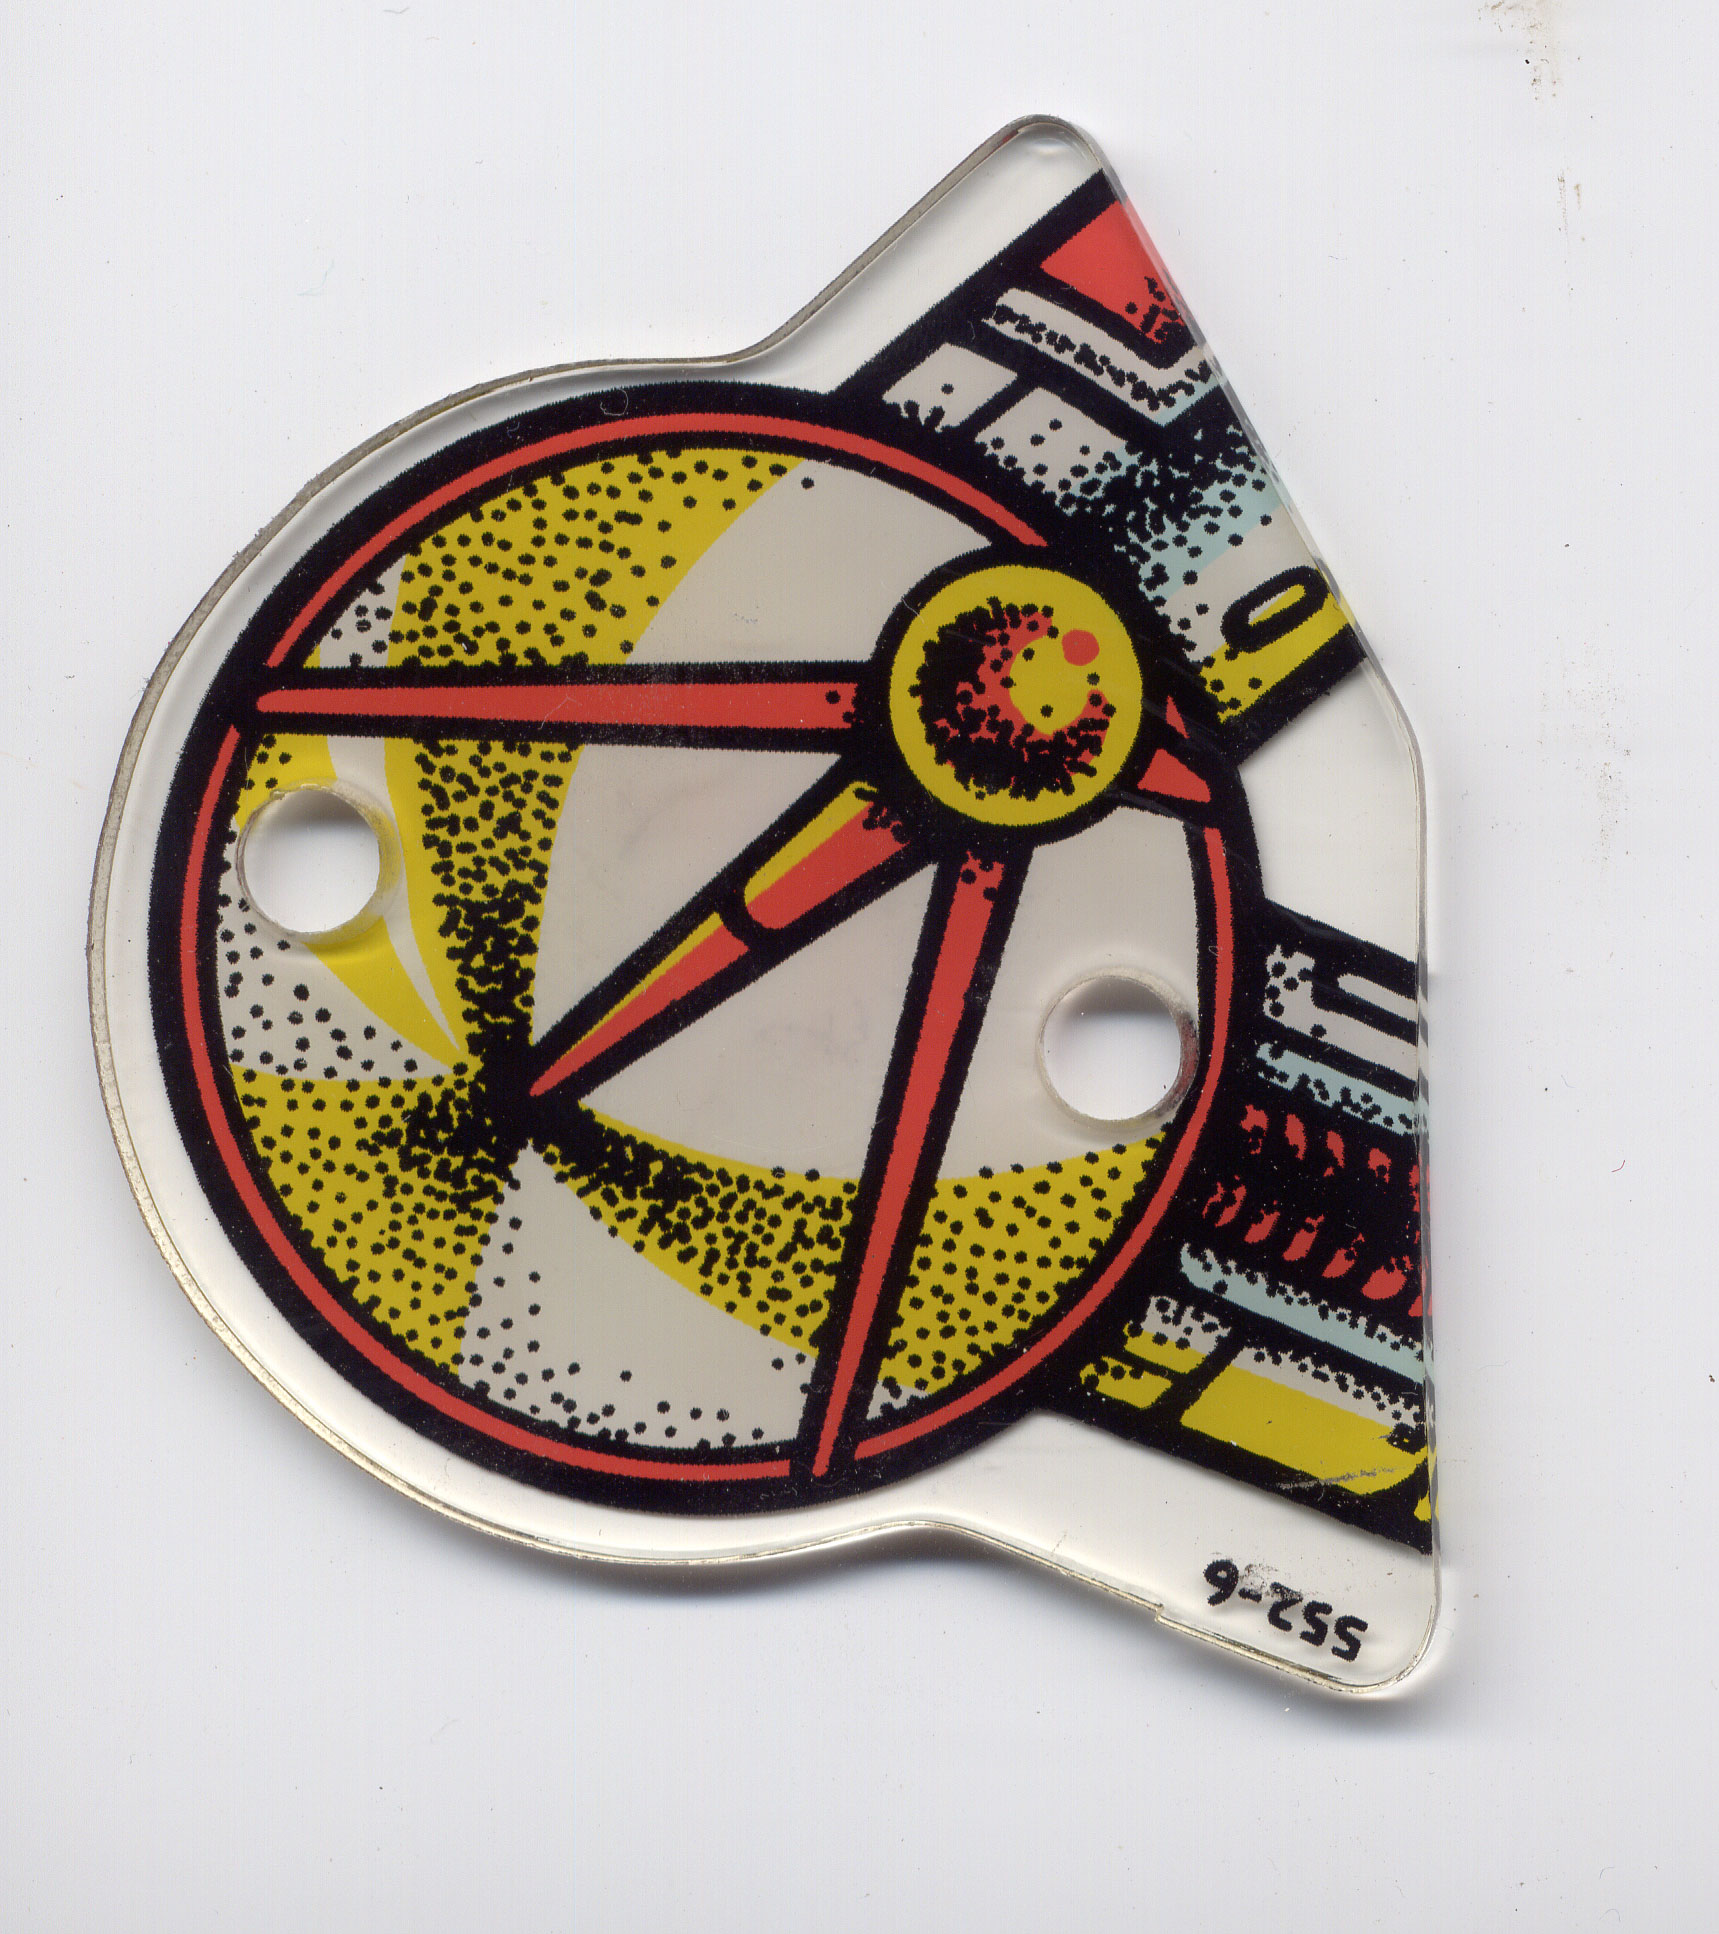
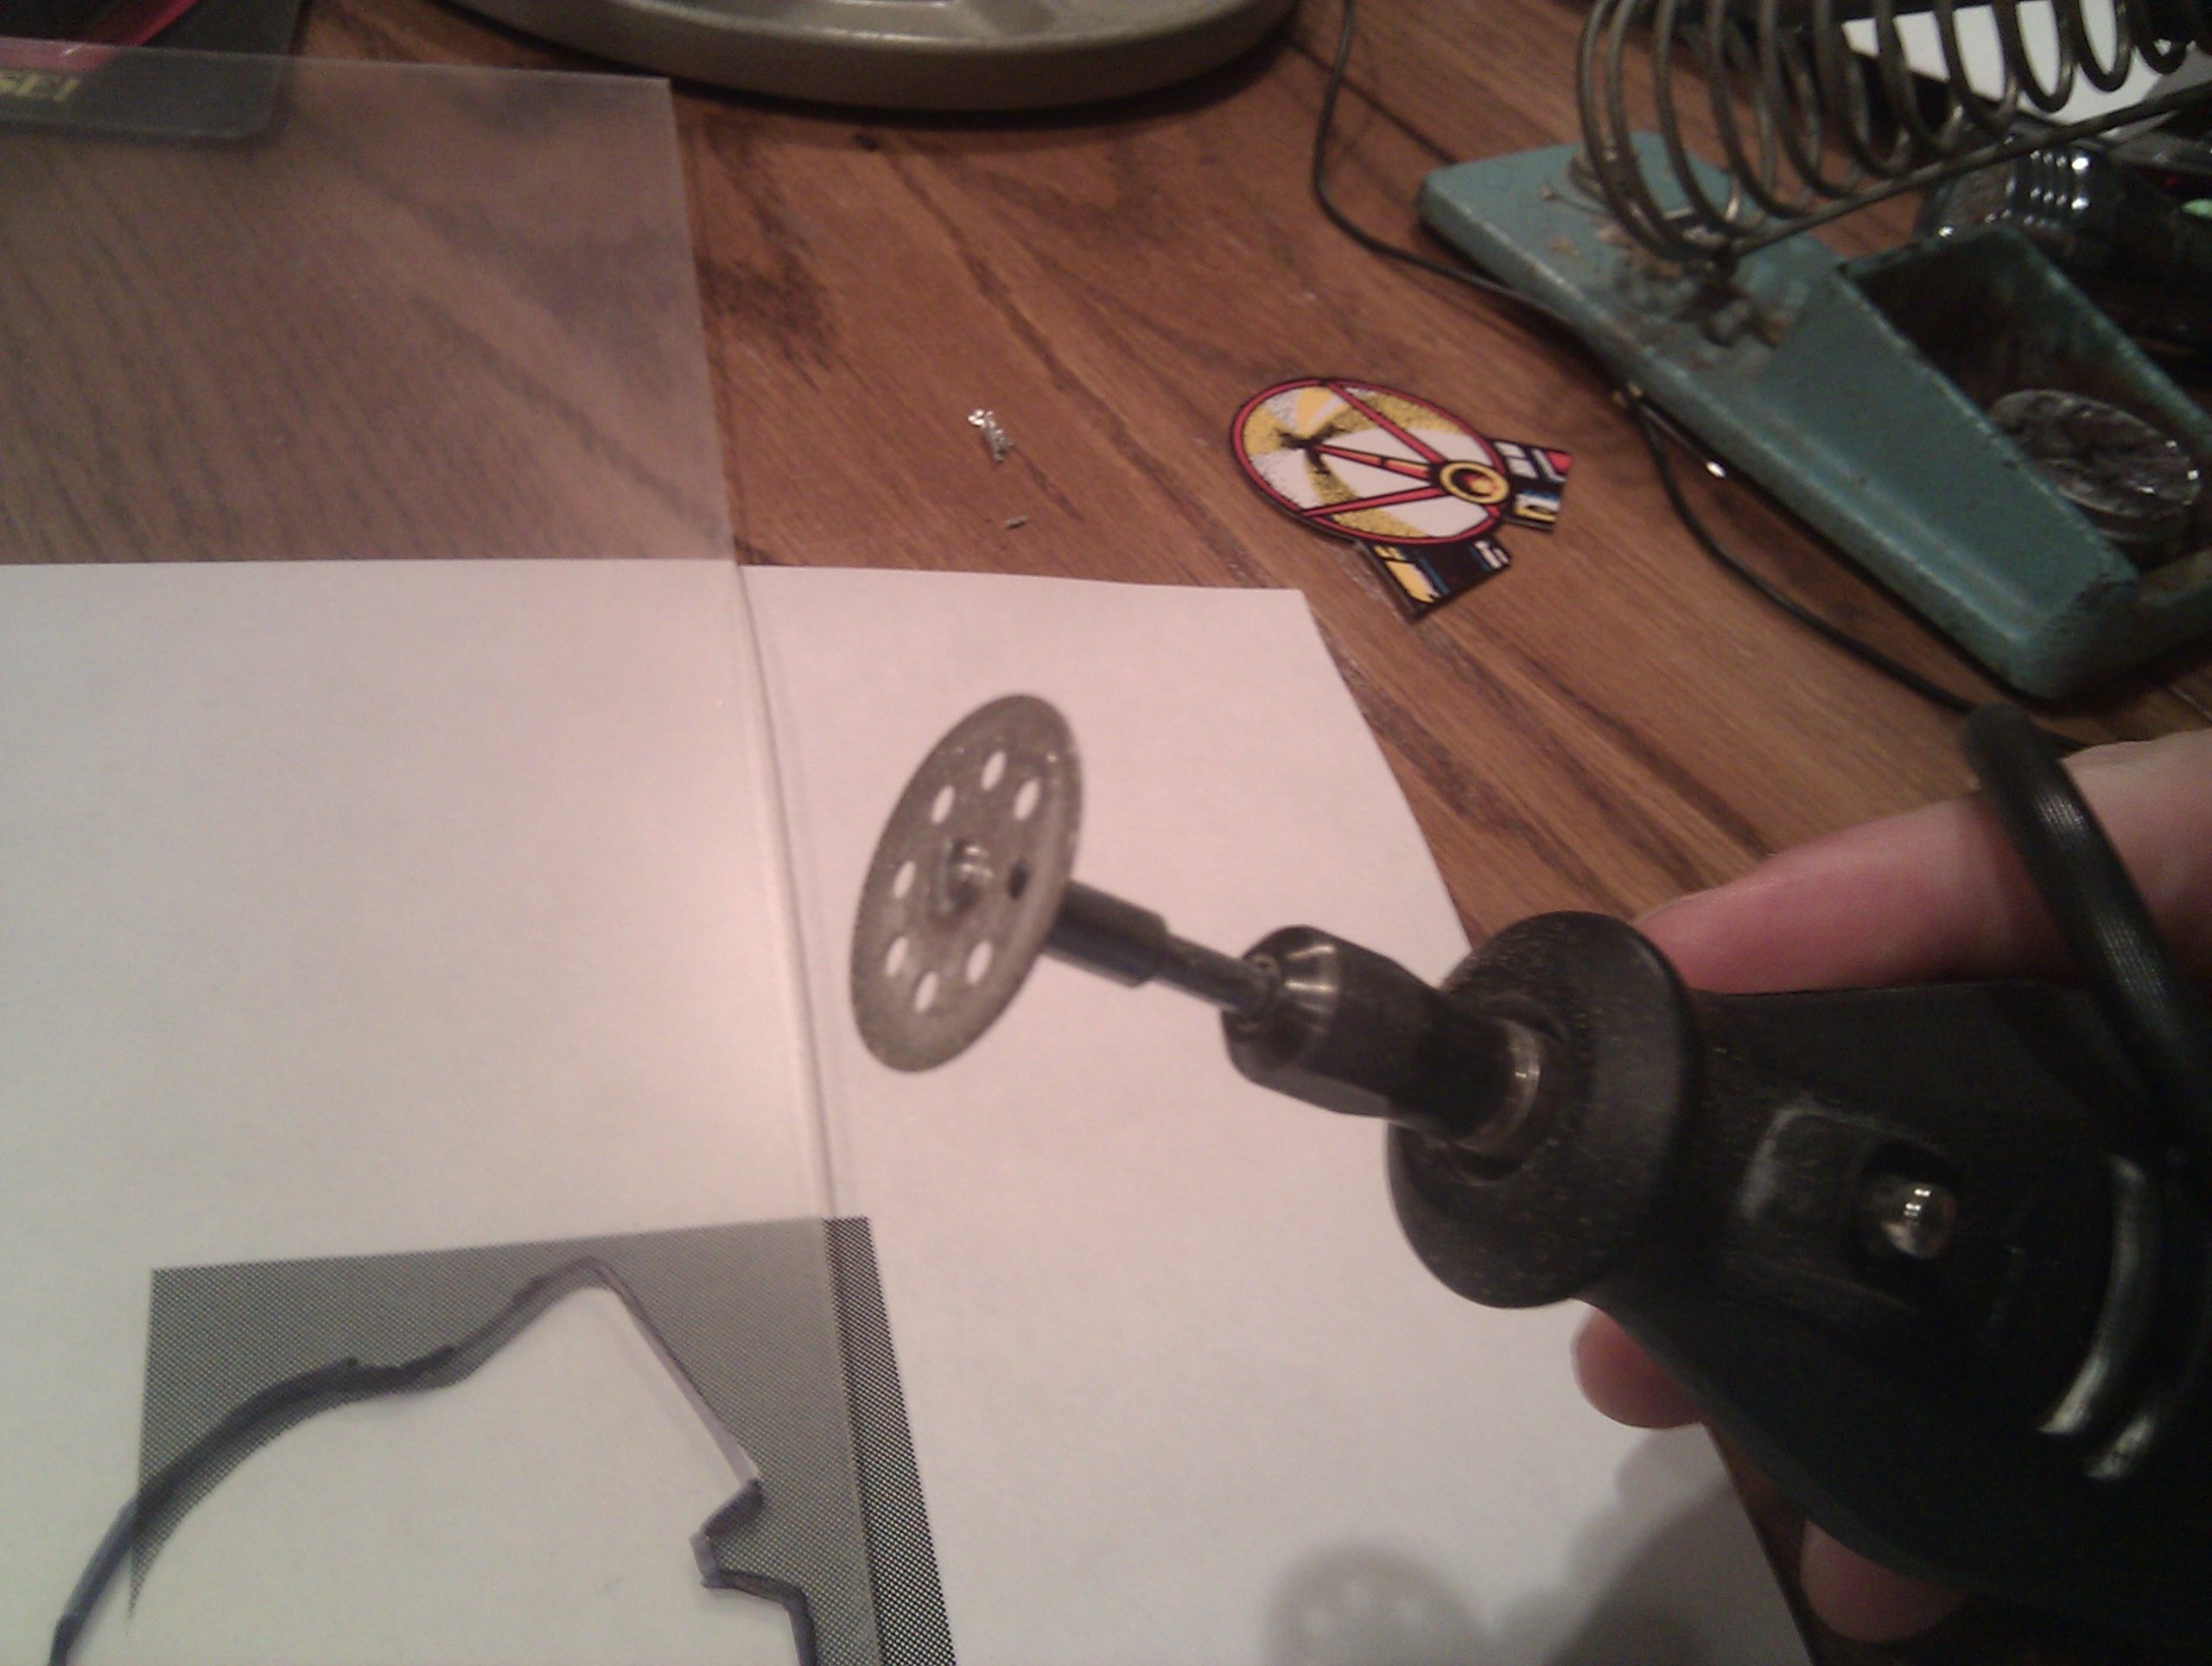
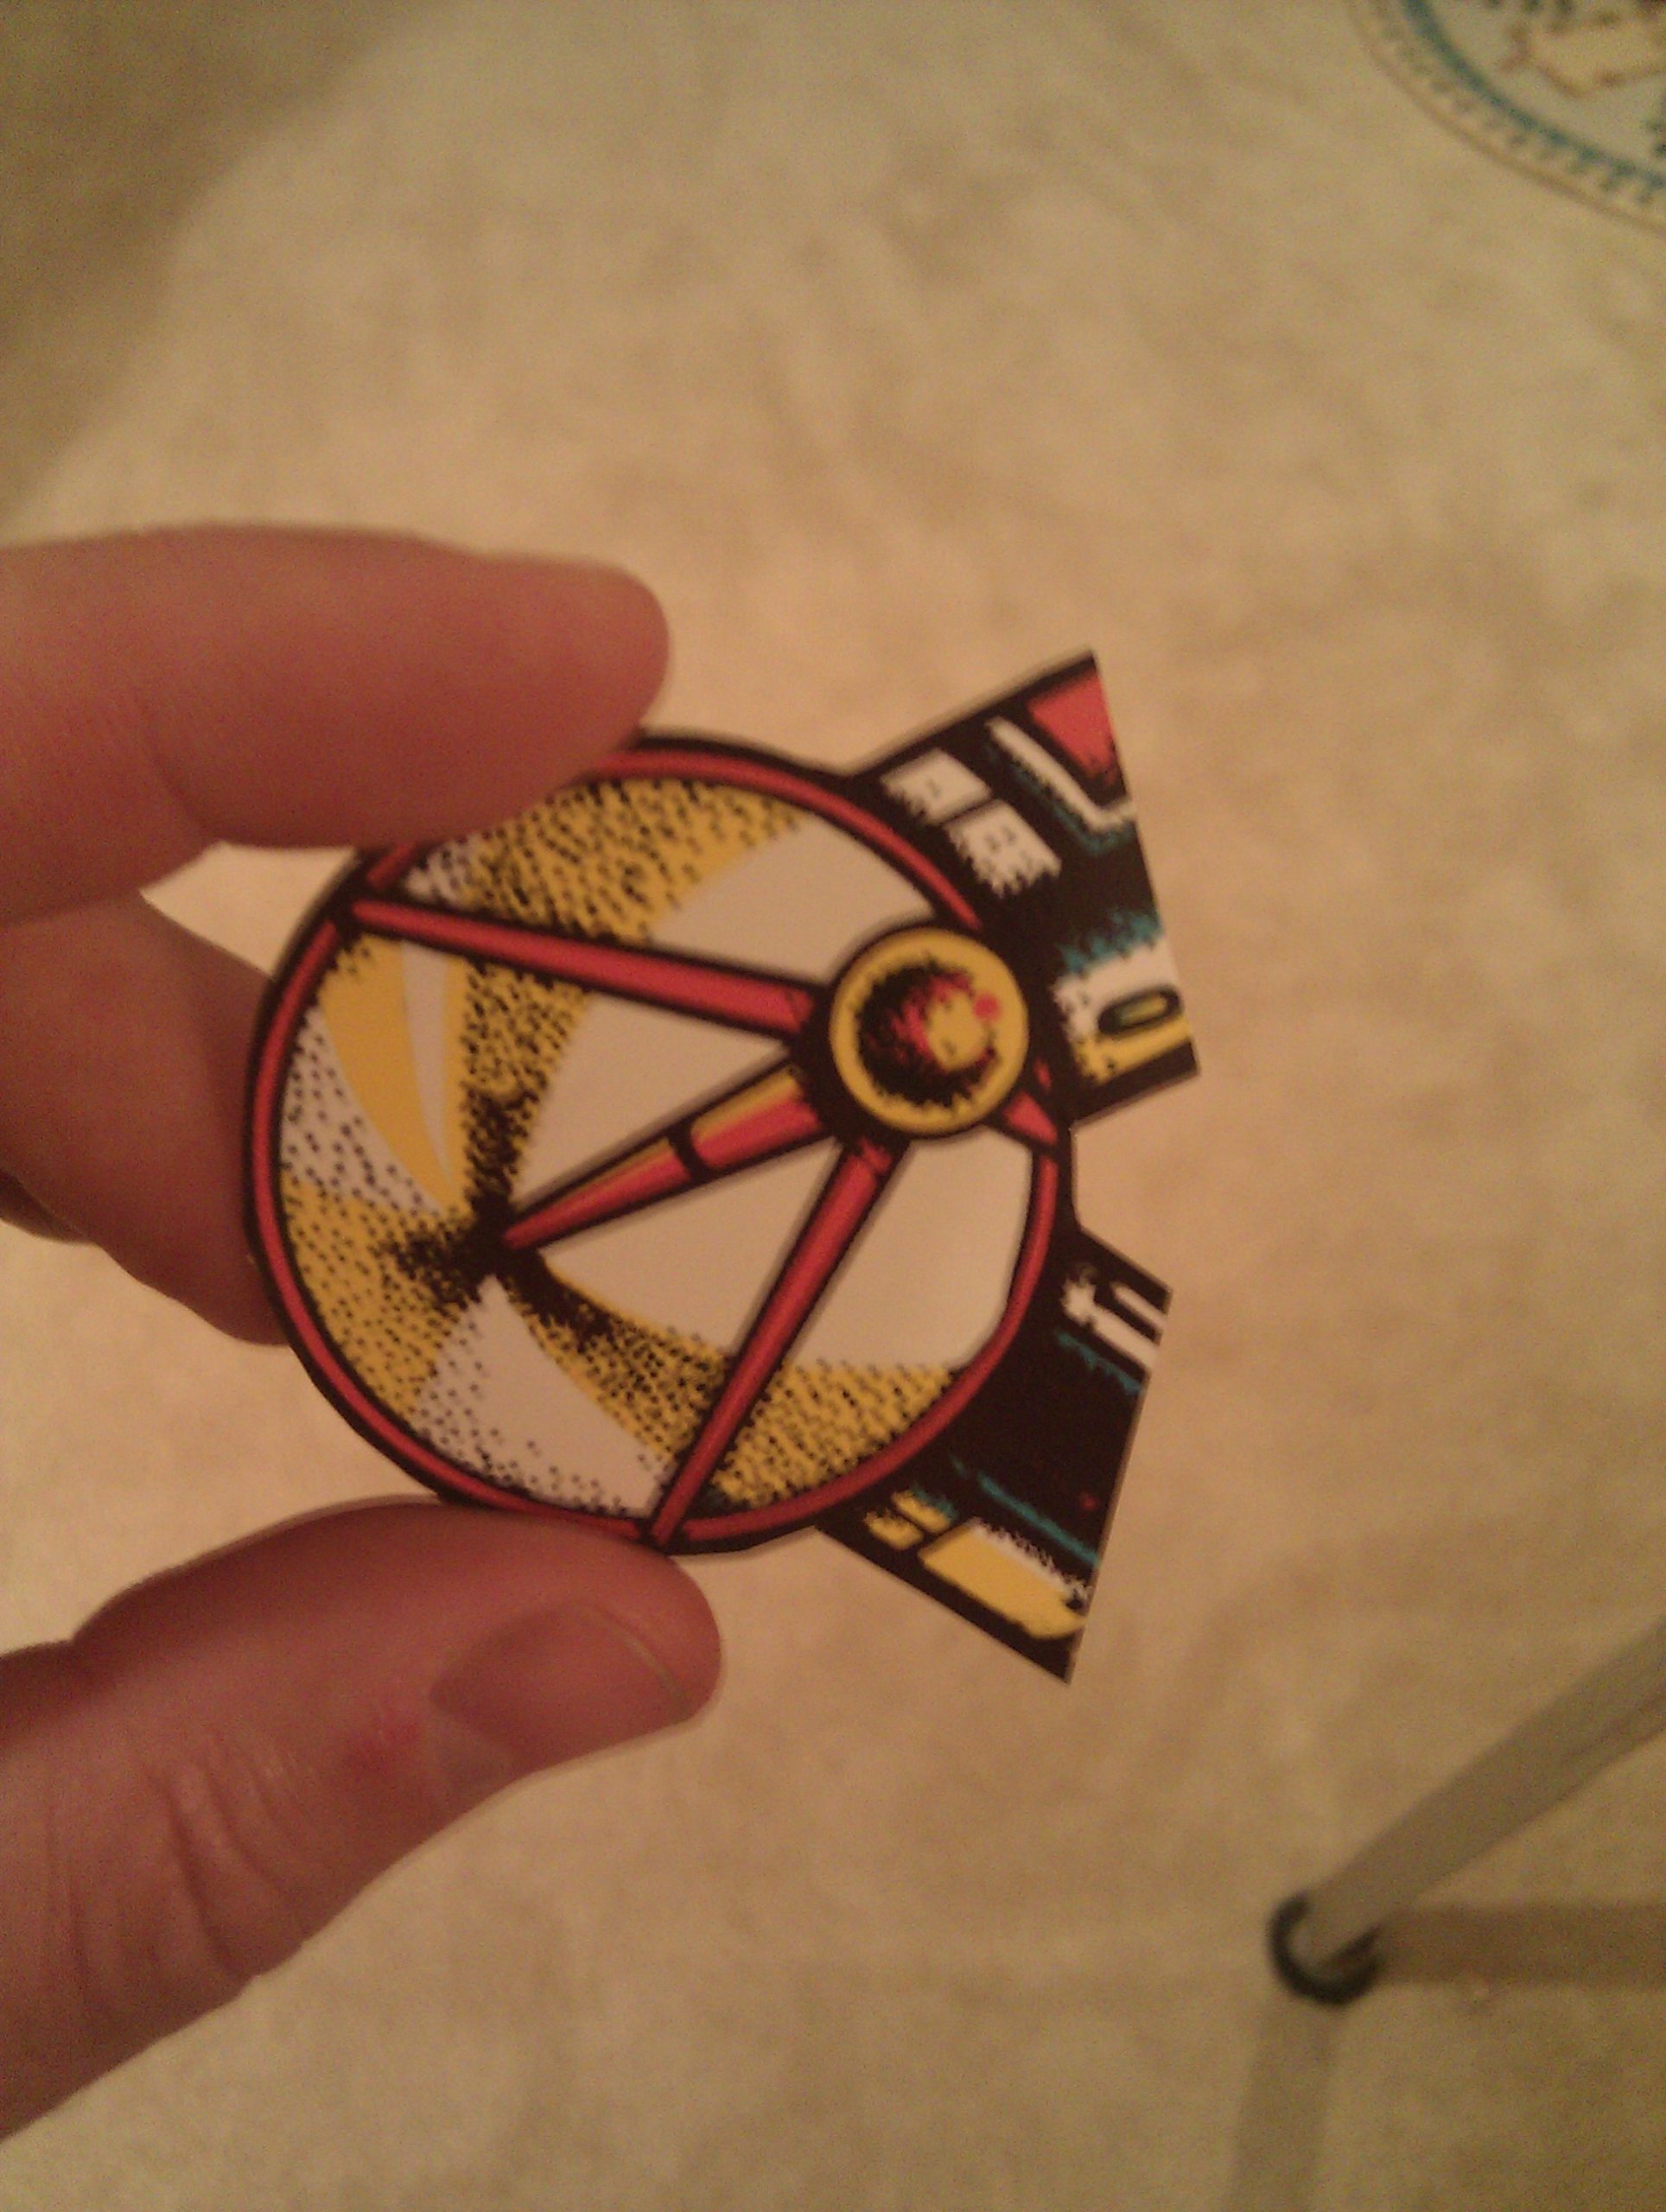
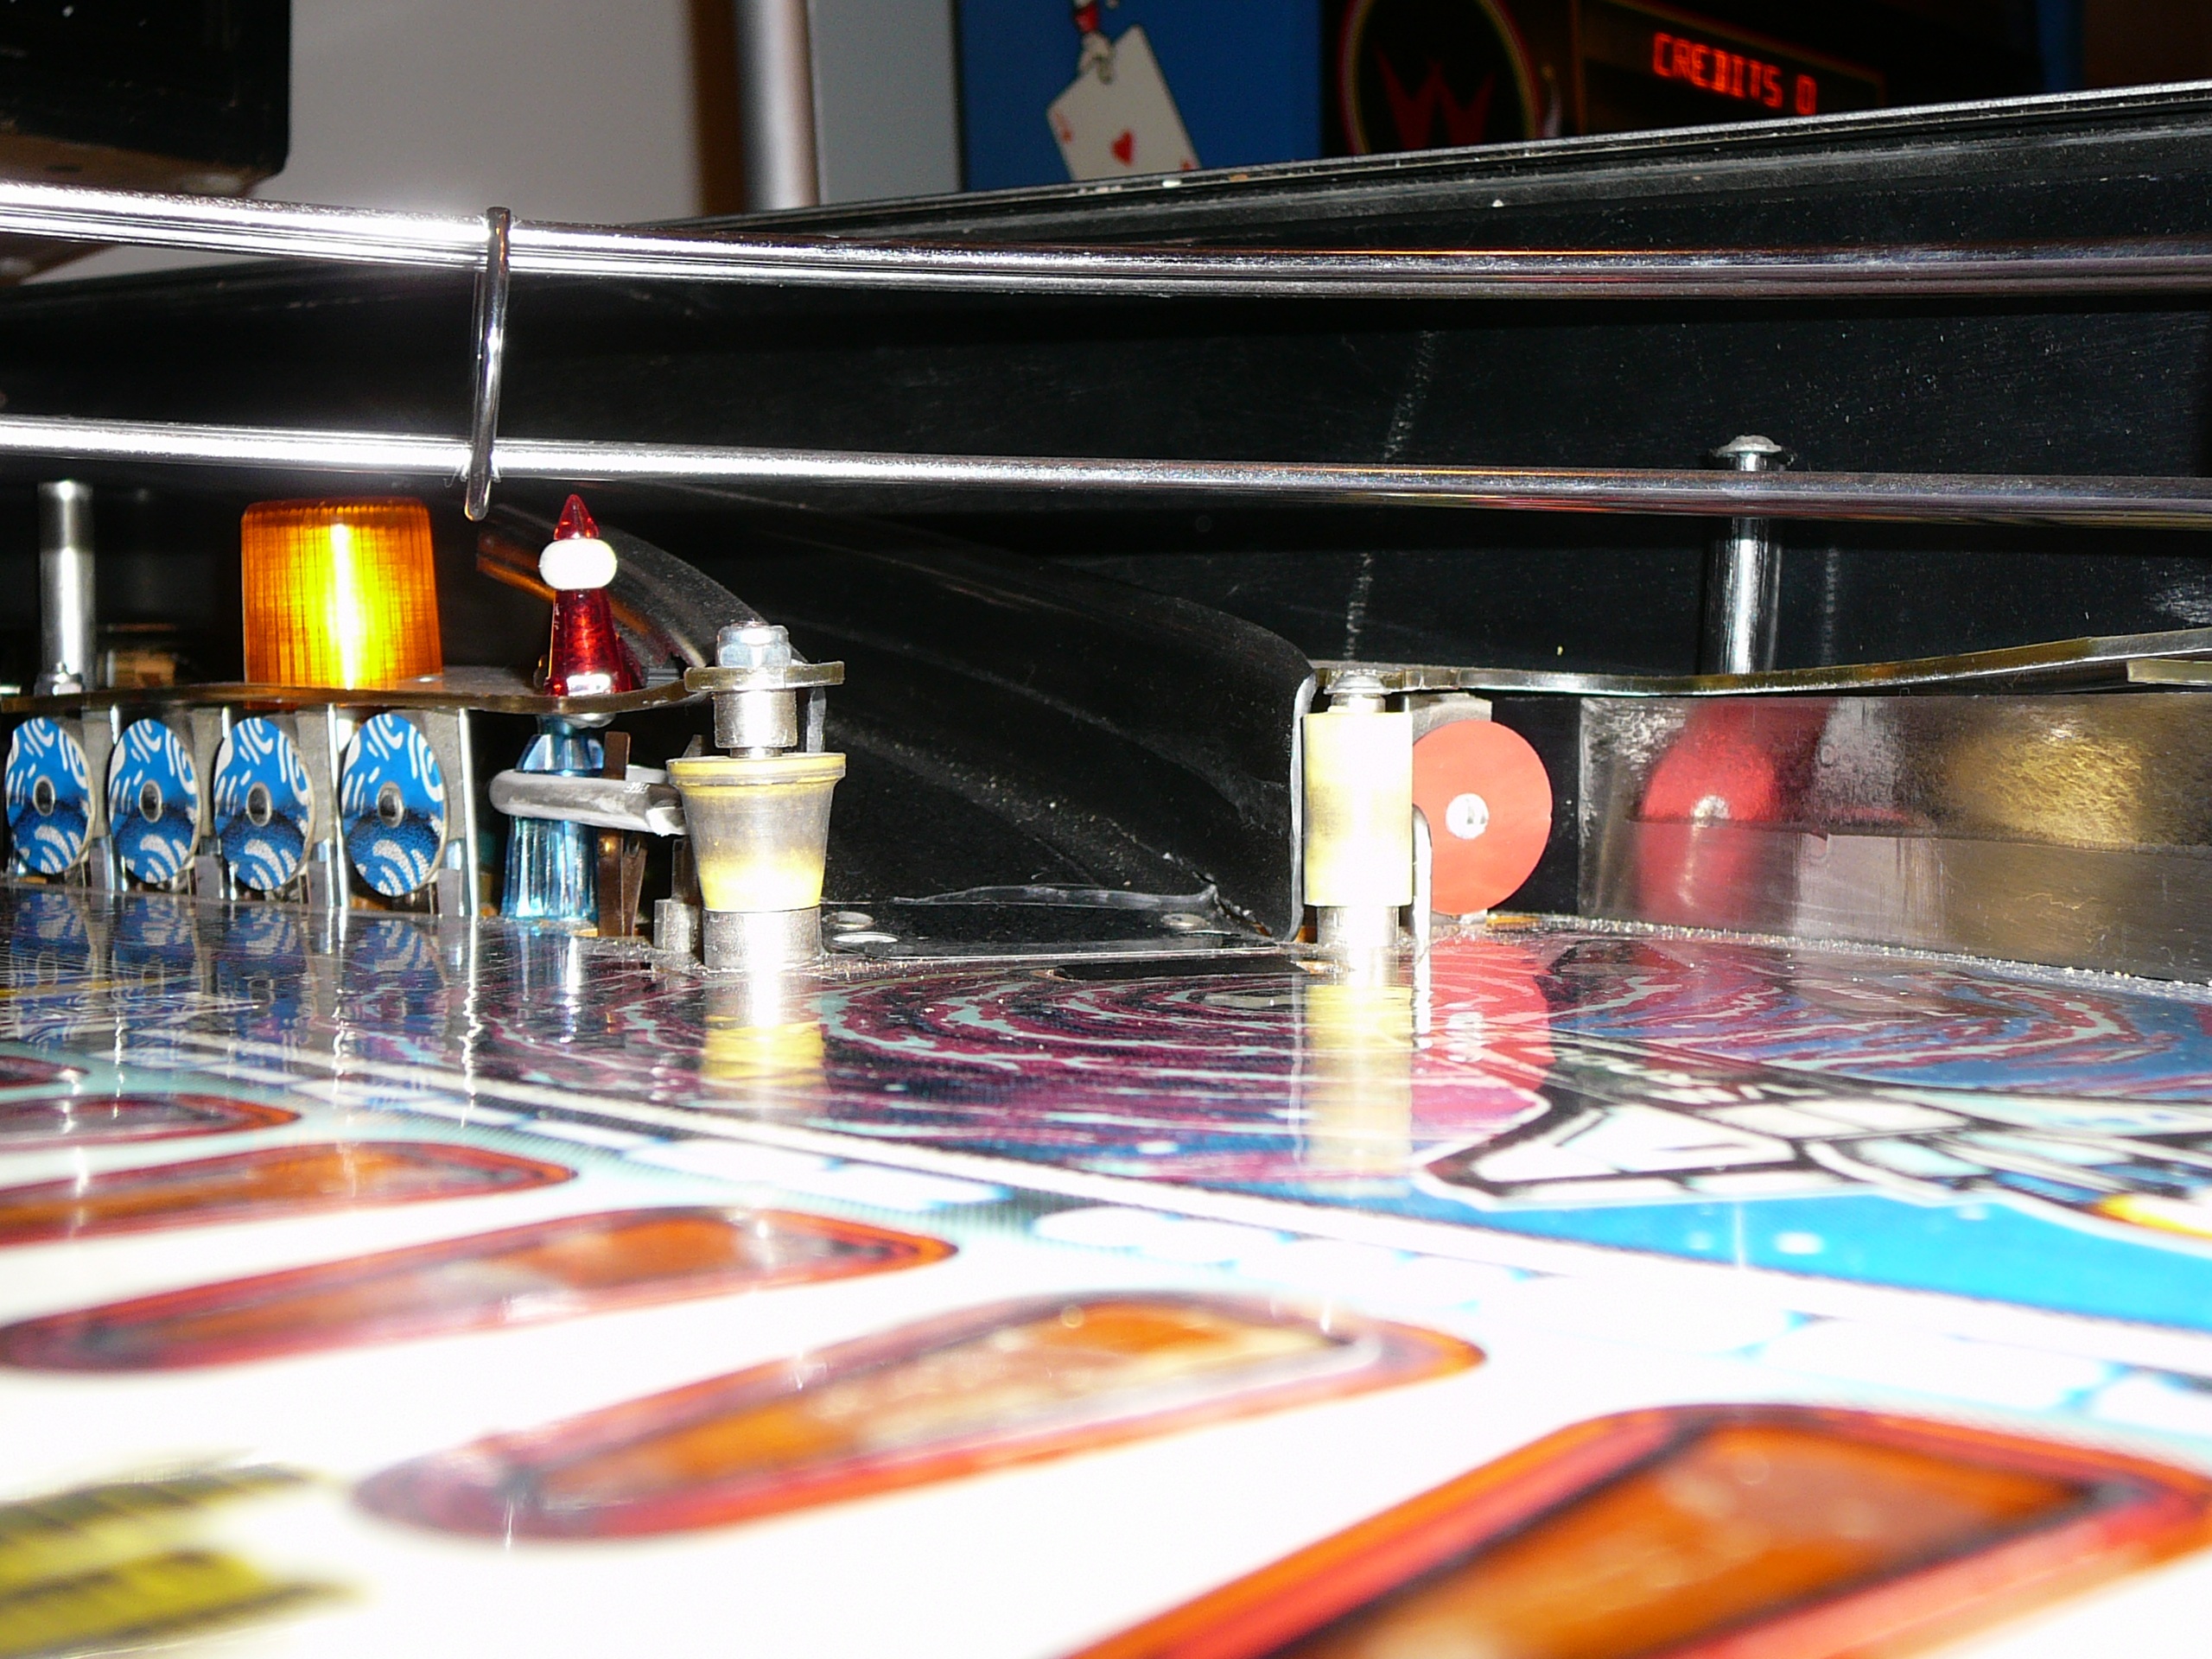
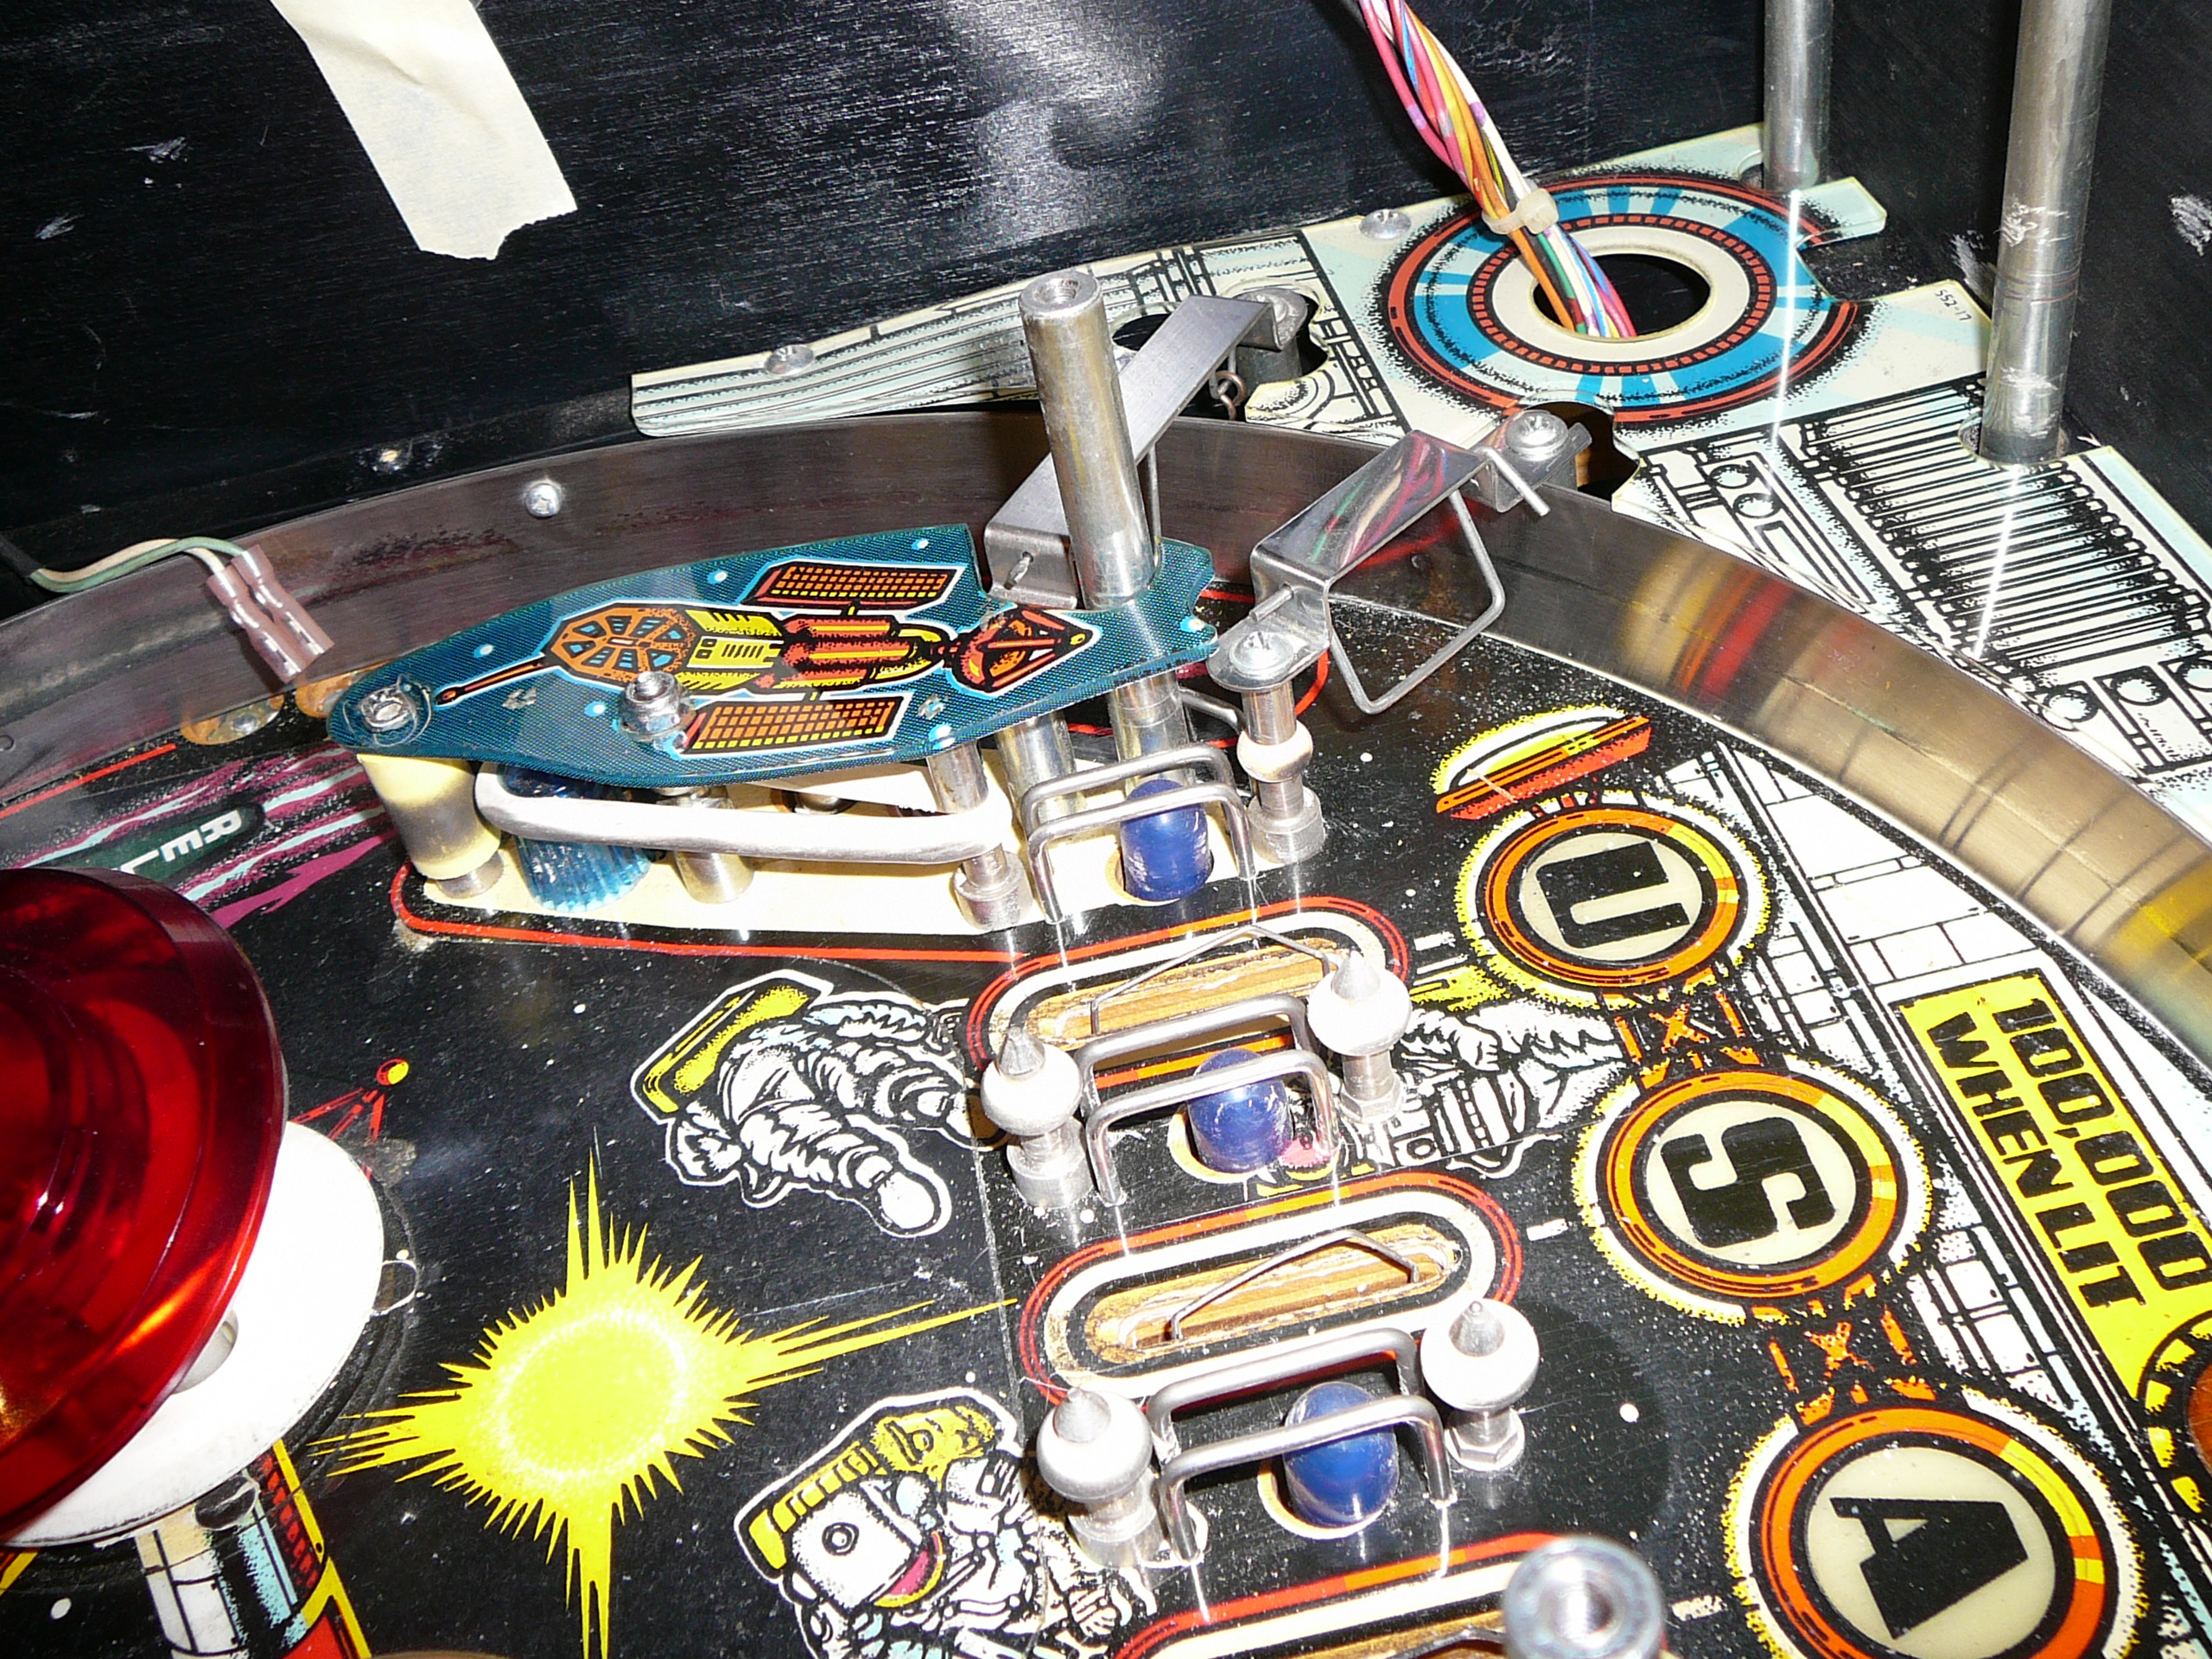
One day as I was looking over the flyer for this machine I realized I was missing a plastic over the lower pop-bumper.

There is supposed to be a matching plastic on the lower pop bumper cap (shown to the right.)
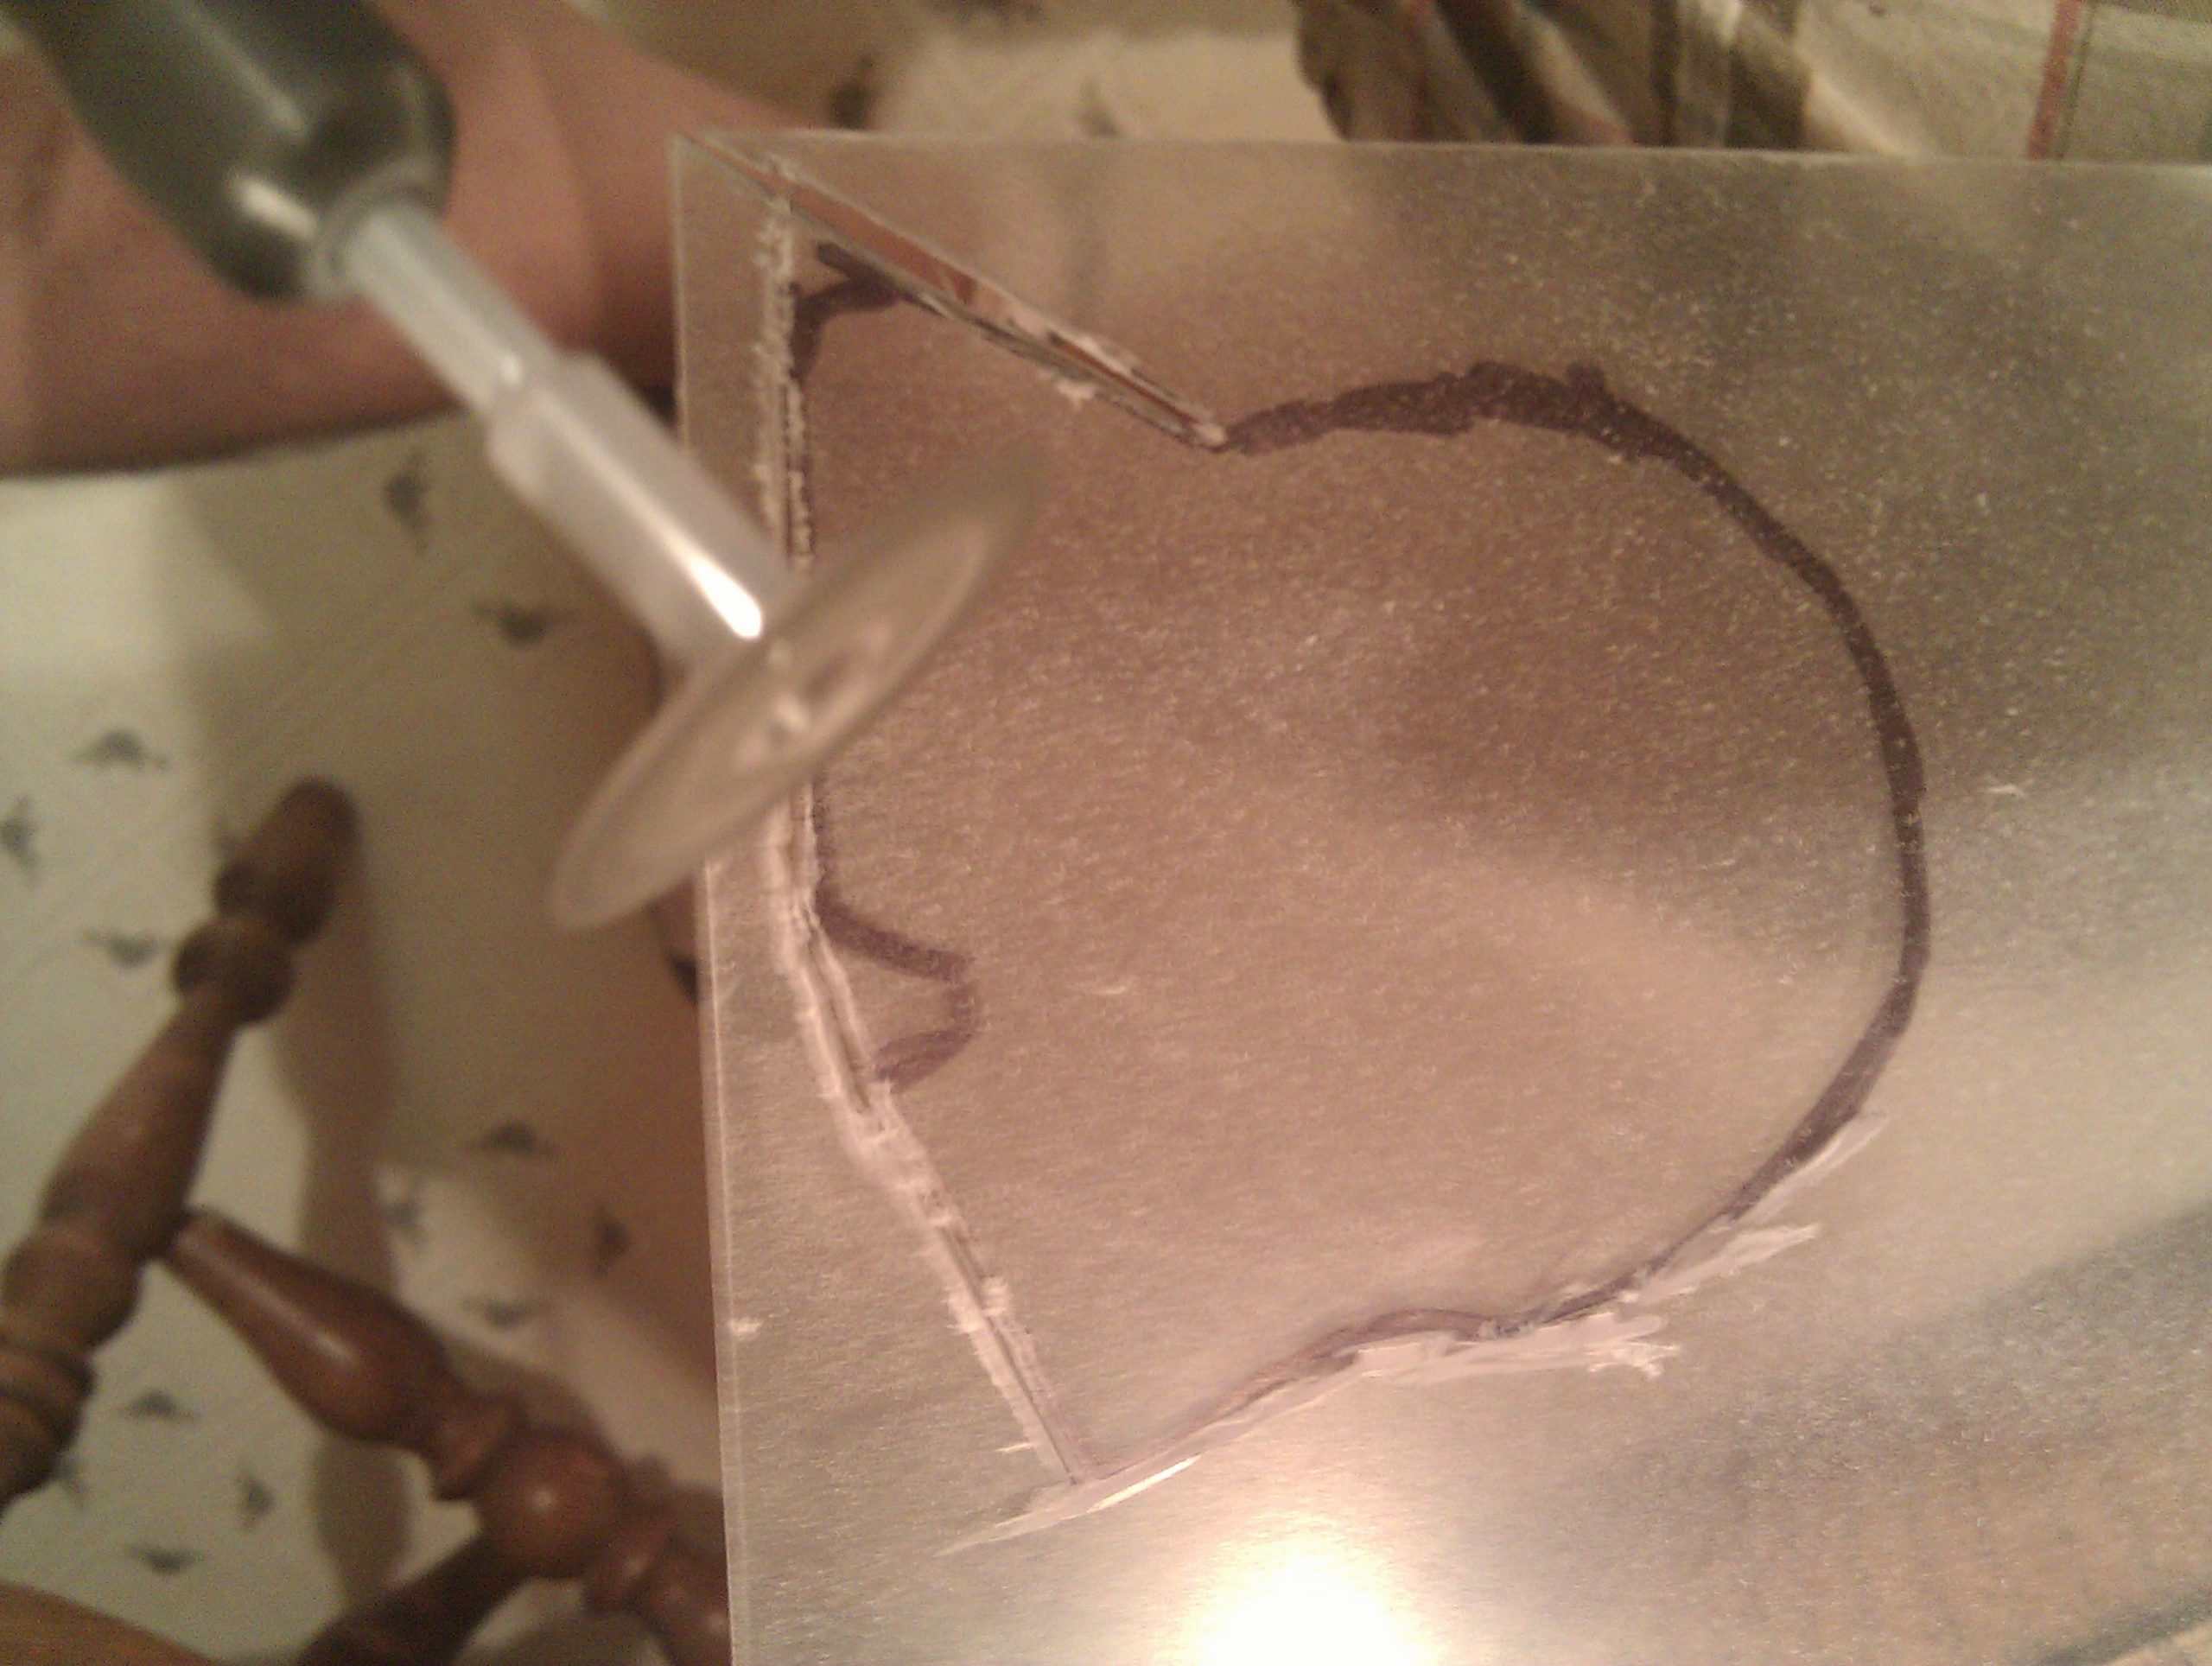
I read up online and decided to try my hand at creating one. I found the art online, printed it on thin paper, and attached a thin piece of acrylic with clear laminate.

The graphic I was lucky enough to find online.
I then used a Dremel to cut it to shape, and sanded/polished.
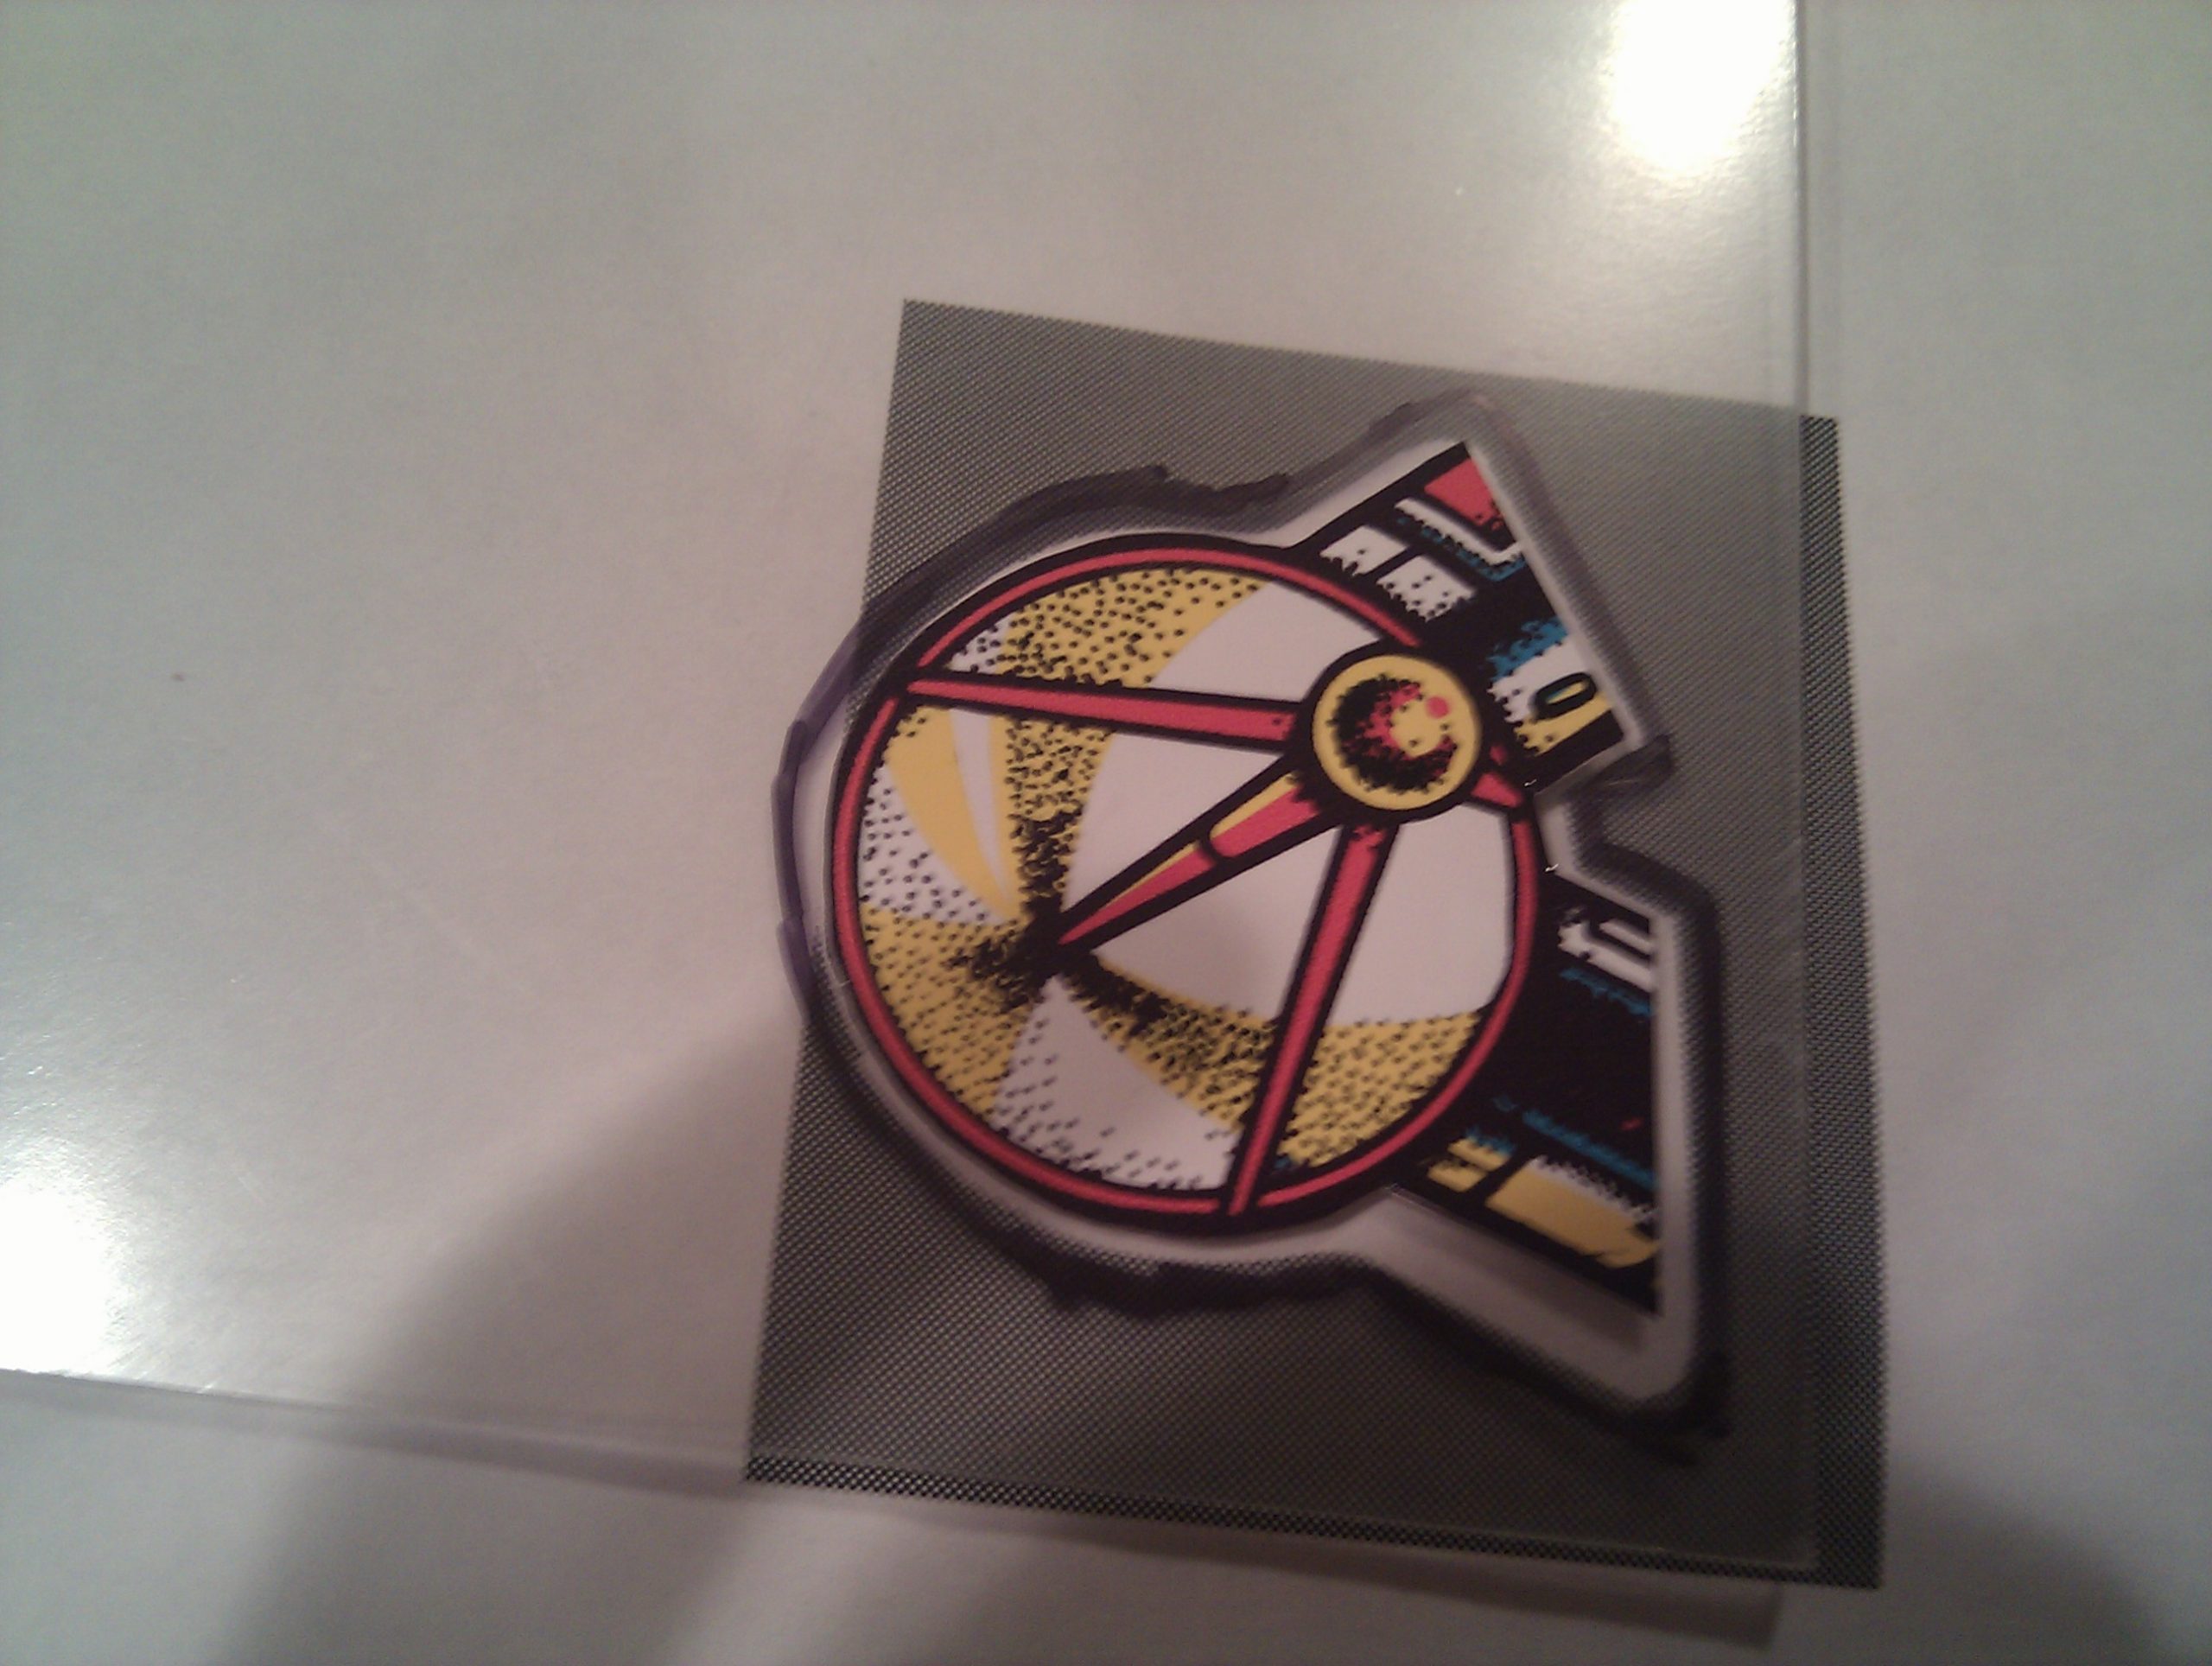
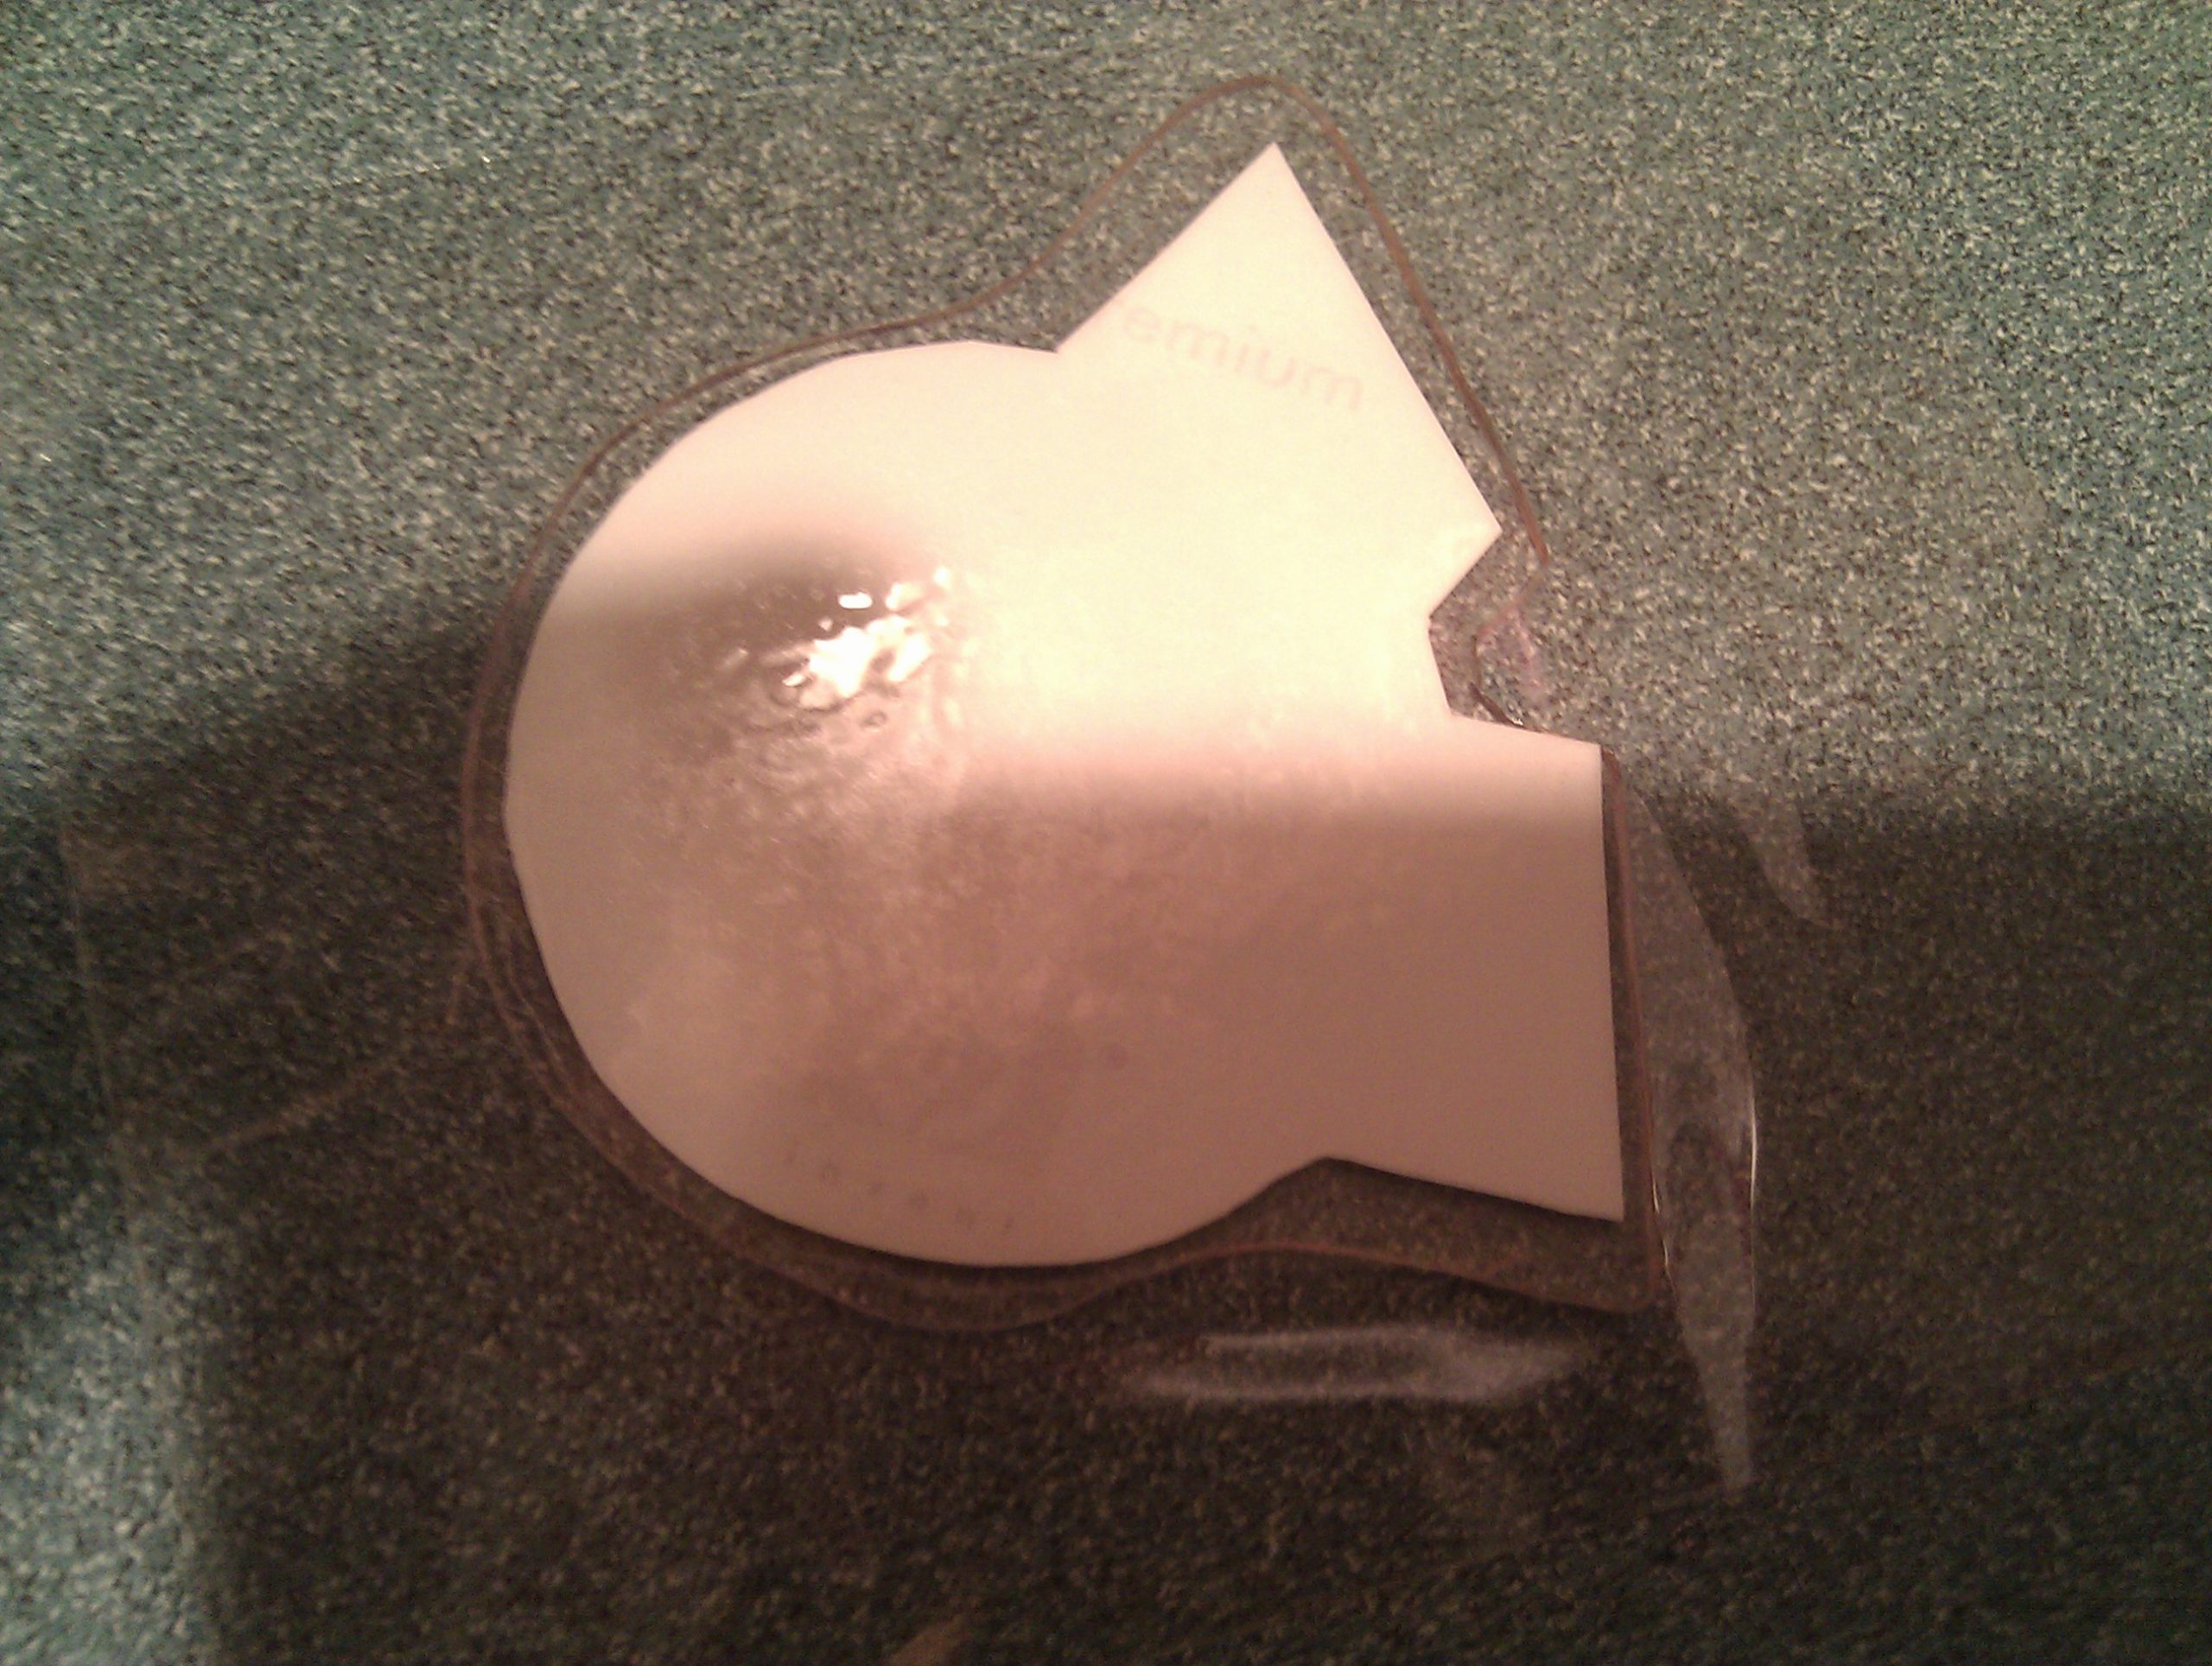

Just wow – you can barely tell which is the replacement. If I clean up the curves, it will be a perfect match! I didn’t expect this piece to turn out so well. I still need to permanently affix it to the bumper cap.


Aug 25
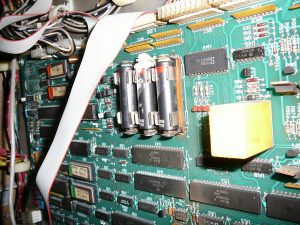
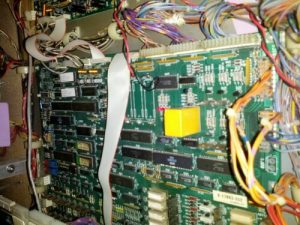
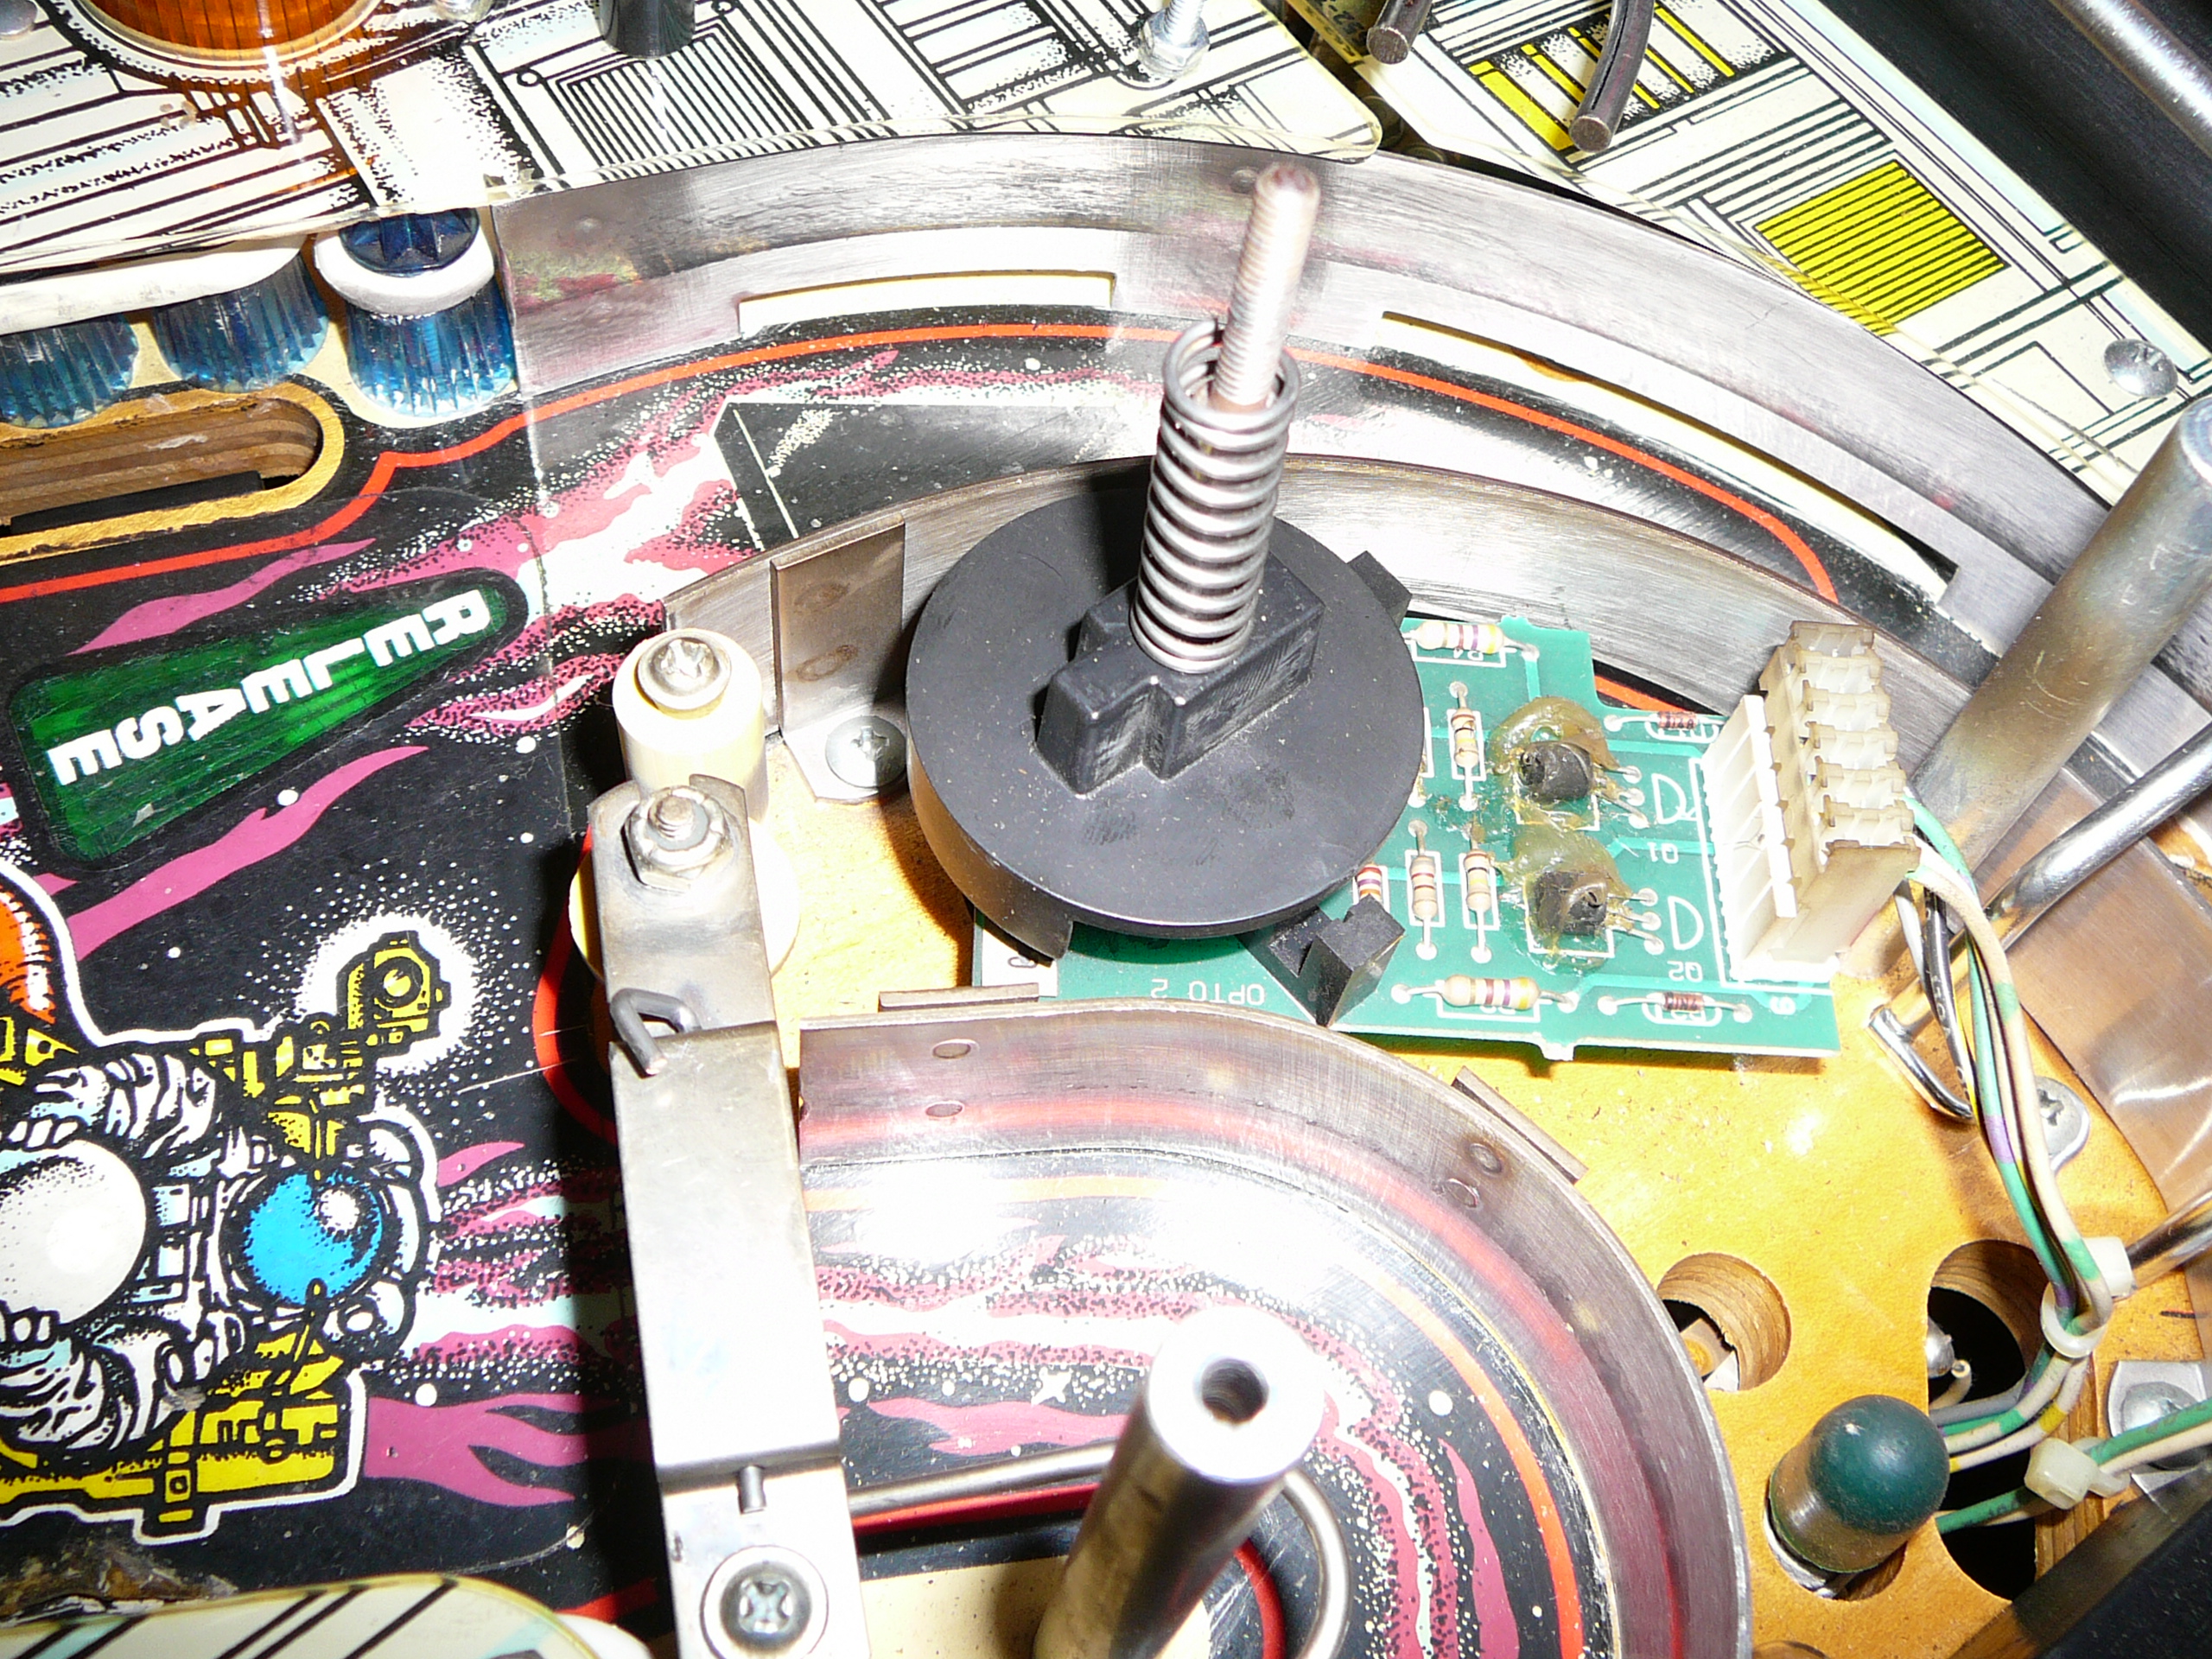
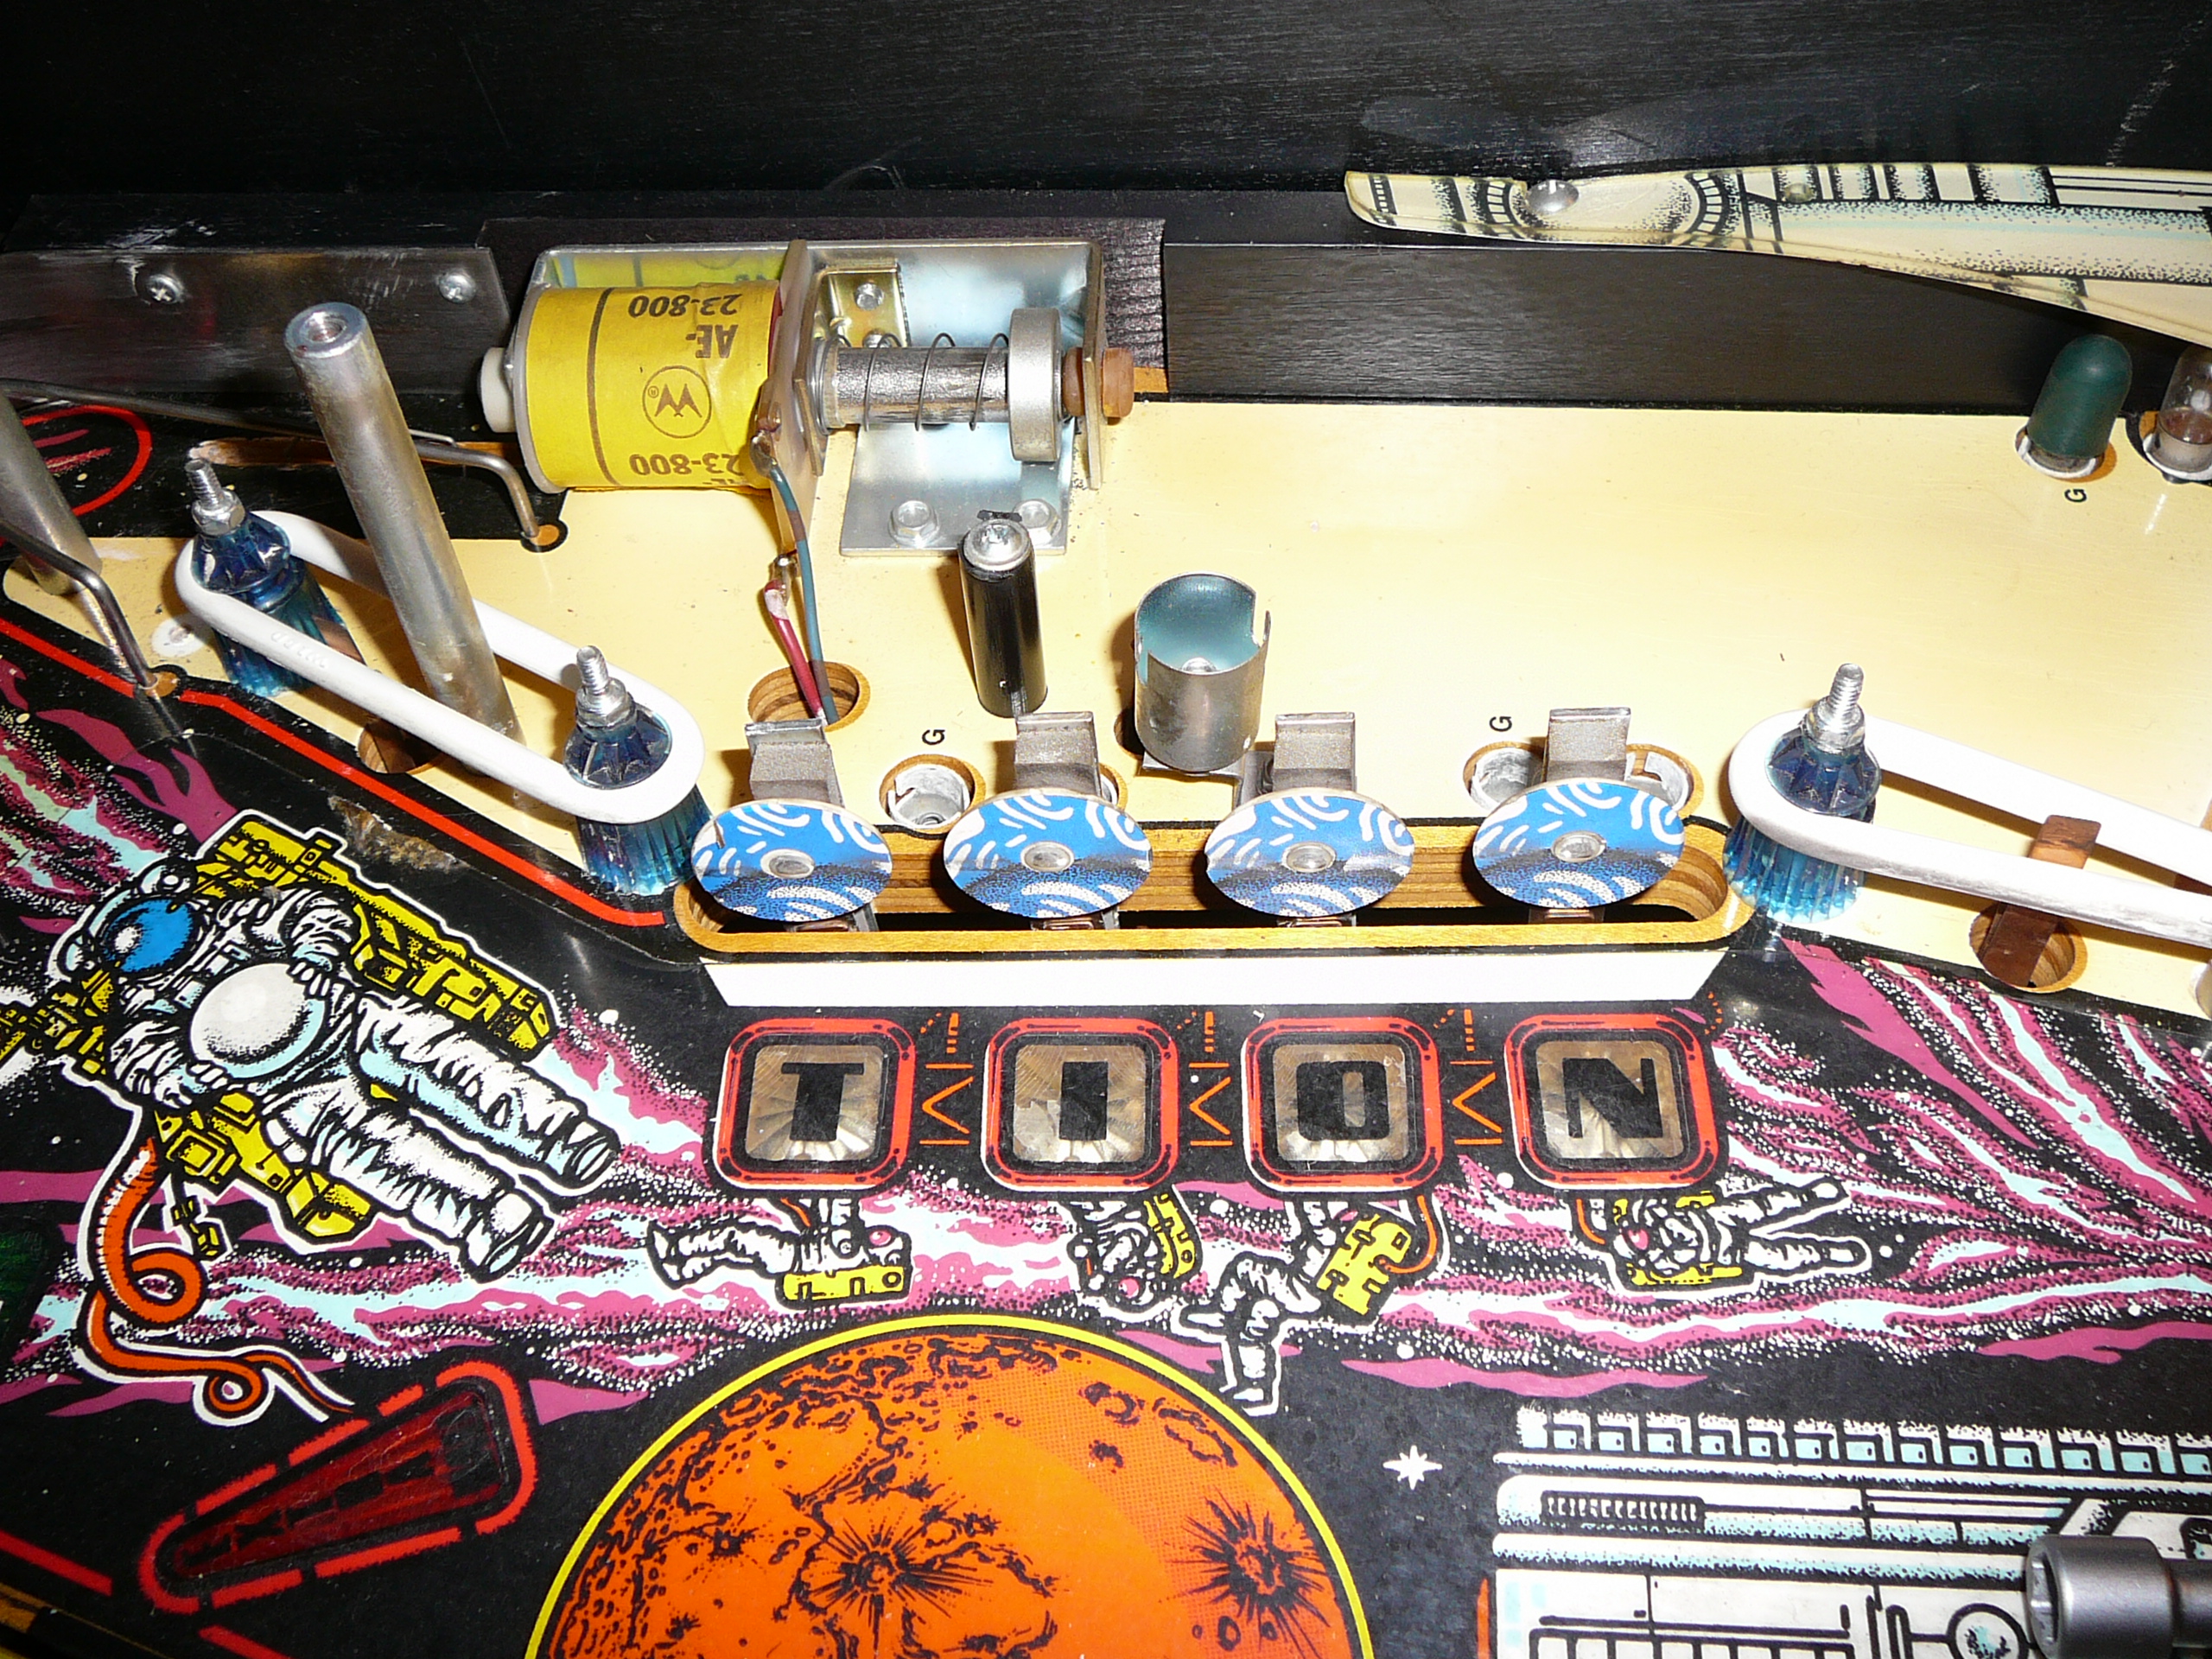
I refurbished the pop bumpers – I replaced all the plastic and electric parts inside and polished the plasic. I am new at this after all, and so I did manage to screw them up pretty well by shorting out a coil by mistake along the way. It took weeks of troubleshooting to figure out. I pored over the service manual and posted in the rec.games.pinball Usenet newsgroup in search of help. If you are interested, that thread can be found here:
Suffice it to say that I replaced a lot of fried system board components to finally get things working. I learned a TON about electronics during this process and in the end I was glad it happened.
I also want to give Kudos to Rob Anthony from RGP who spent a lot of time writing helpful advice in my thread above. I highly recommend him for any of your pinball repair needs! Here is is his information.
Rob Anthony
Pinball Classics
http://LockWhenLit.com
Quality Board Work – In Home Service
314-766-4587
Nov 18
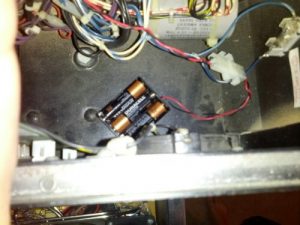
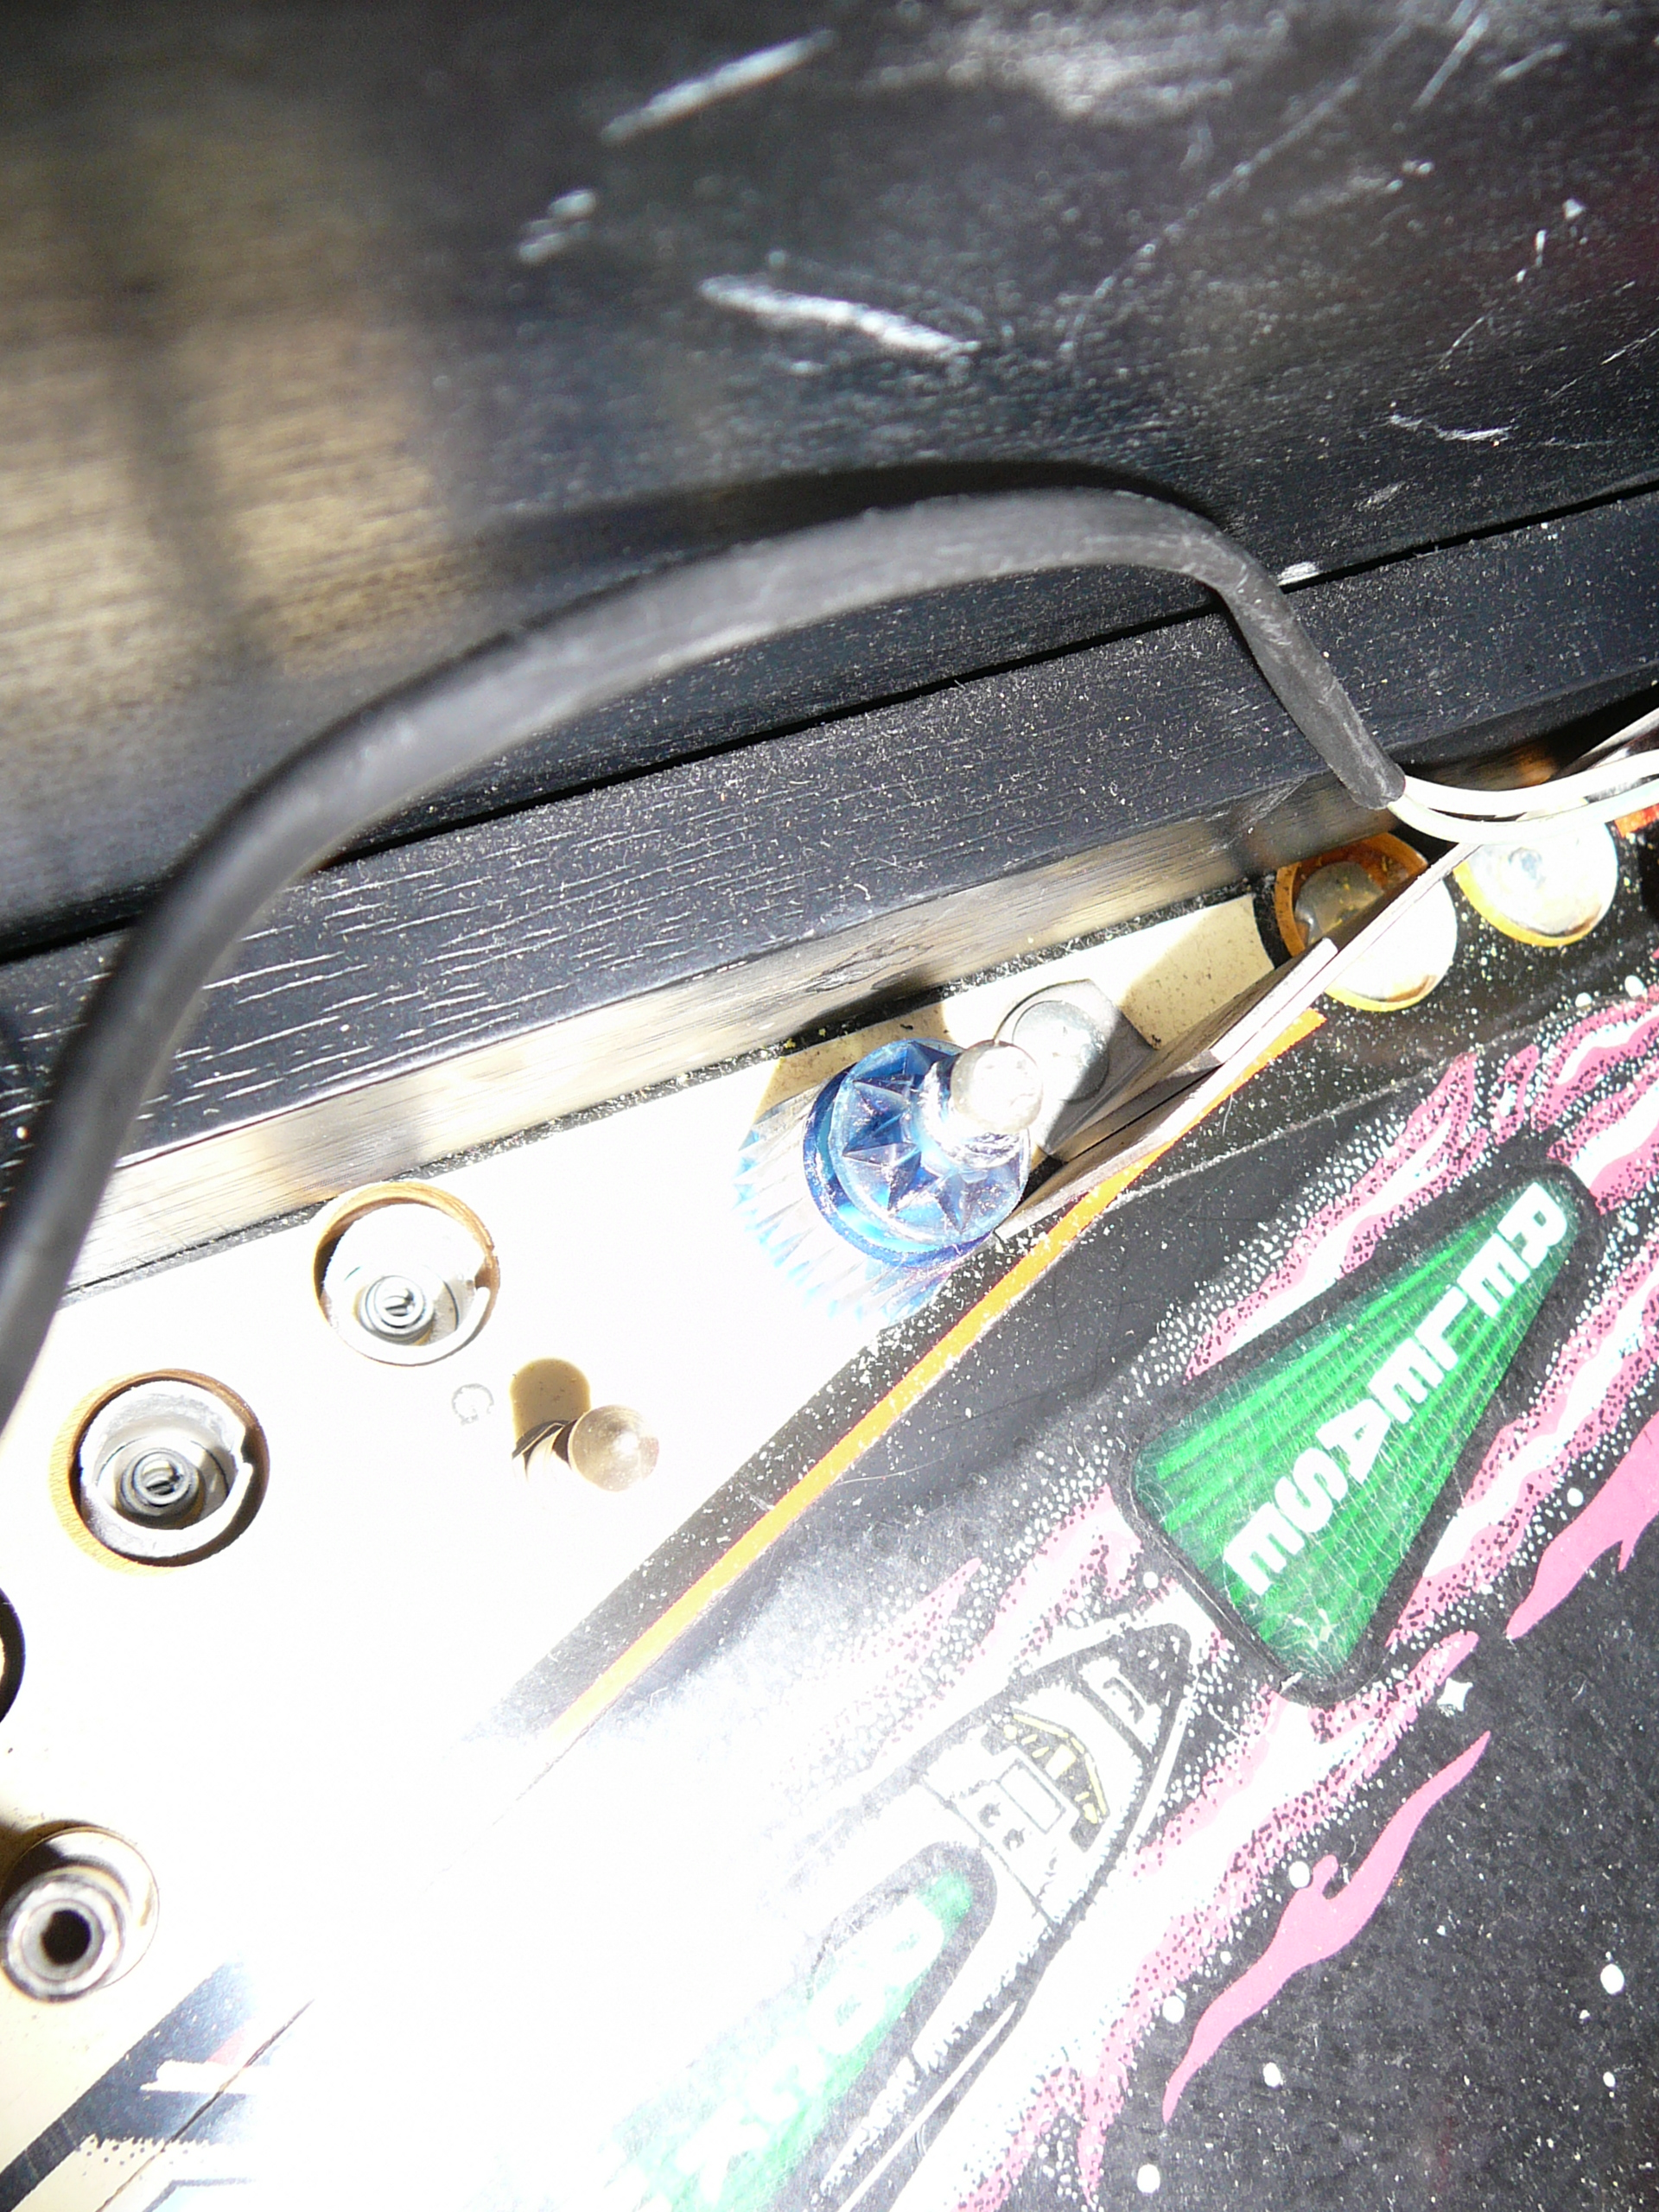
The battery caddy on the system board was decrepit. Many restorers move the backup batteries of of the board to protect it from battery acid. This is wise and I did the same. It required removing the old holder and installing a jumper wire, then putting a Radio Shack battery holder on the back box.
The corroded battery holder – before.
The battery holder removed – After.
Nov 18
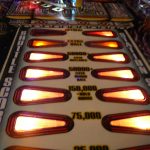
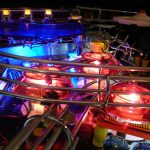
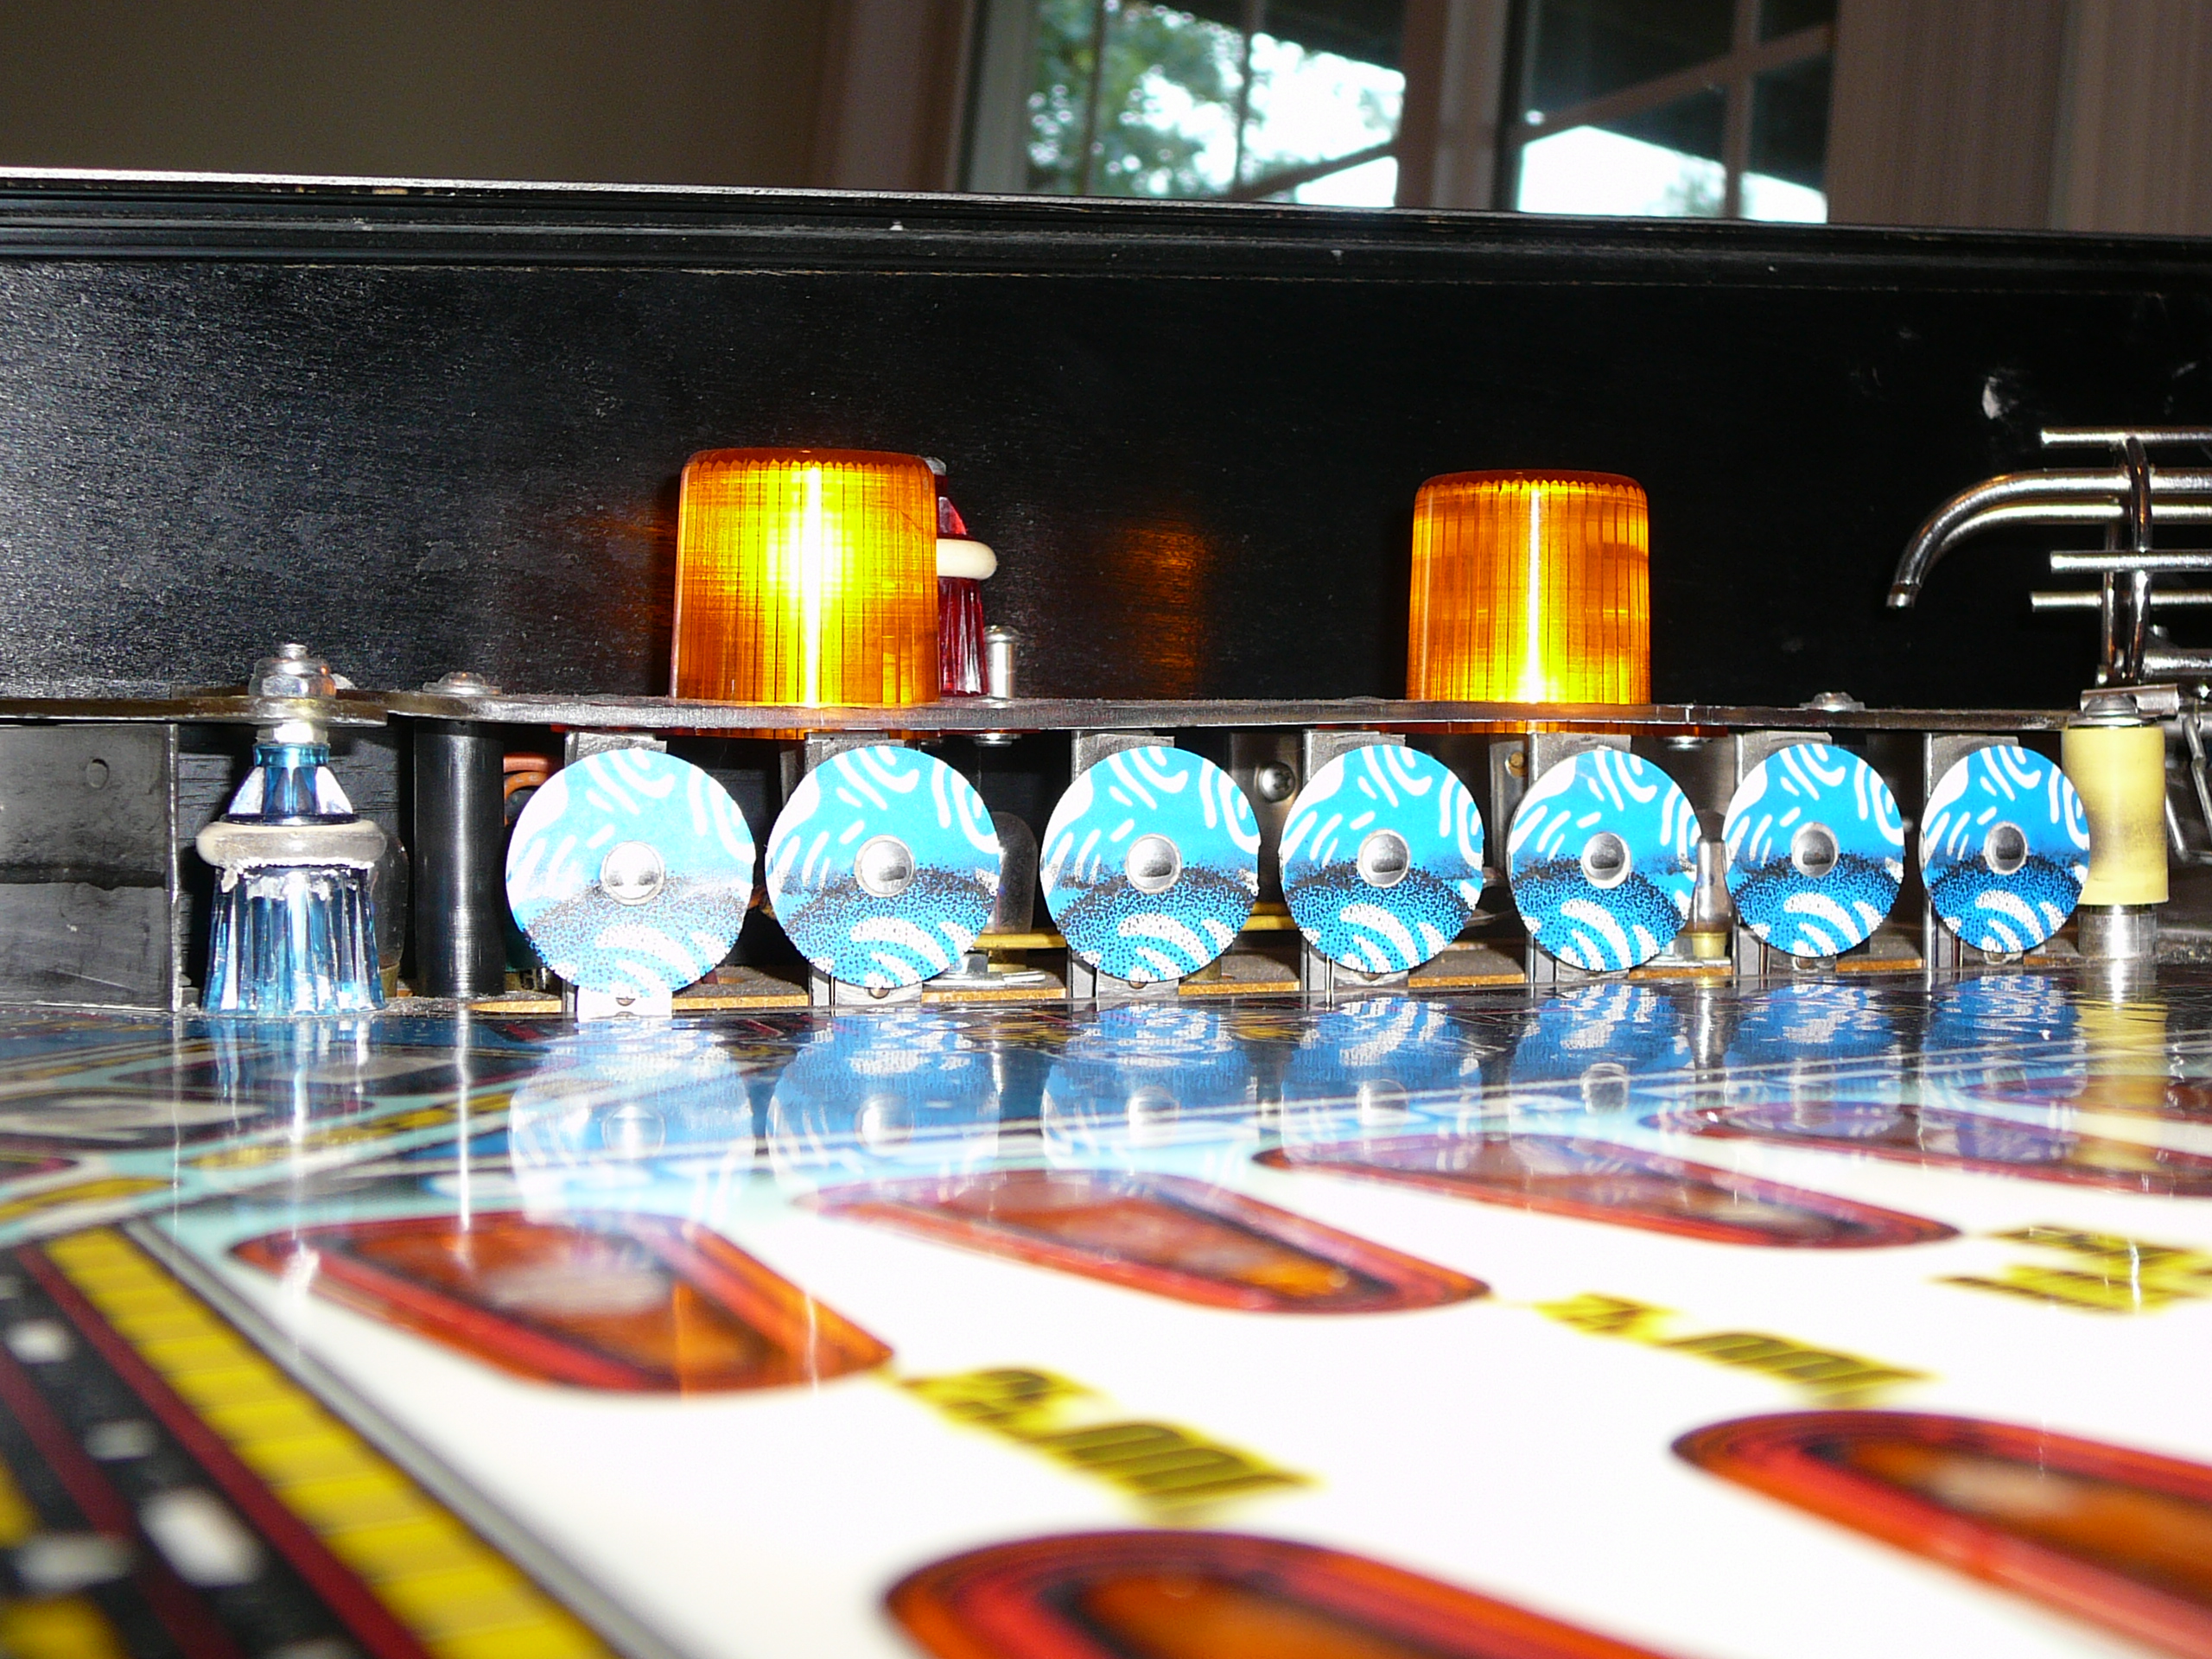
One thing I did that a purist might not agree with, I replaced almost every incandescent bulb with a new LED. In my view the benefits far outweigh the ever-so-slightly-reduced authenticity.
Benefits of LEDs:
I also replaced the white bulbs in the space station ‘ring’ on the backglass with blue LEDs. Again, not authentic, but way cooler.
What do you think?

Oct 18
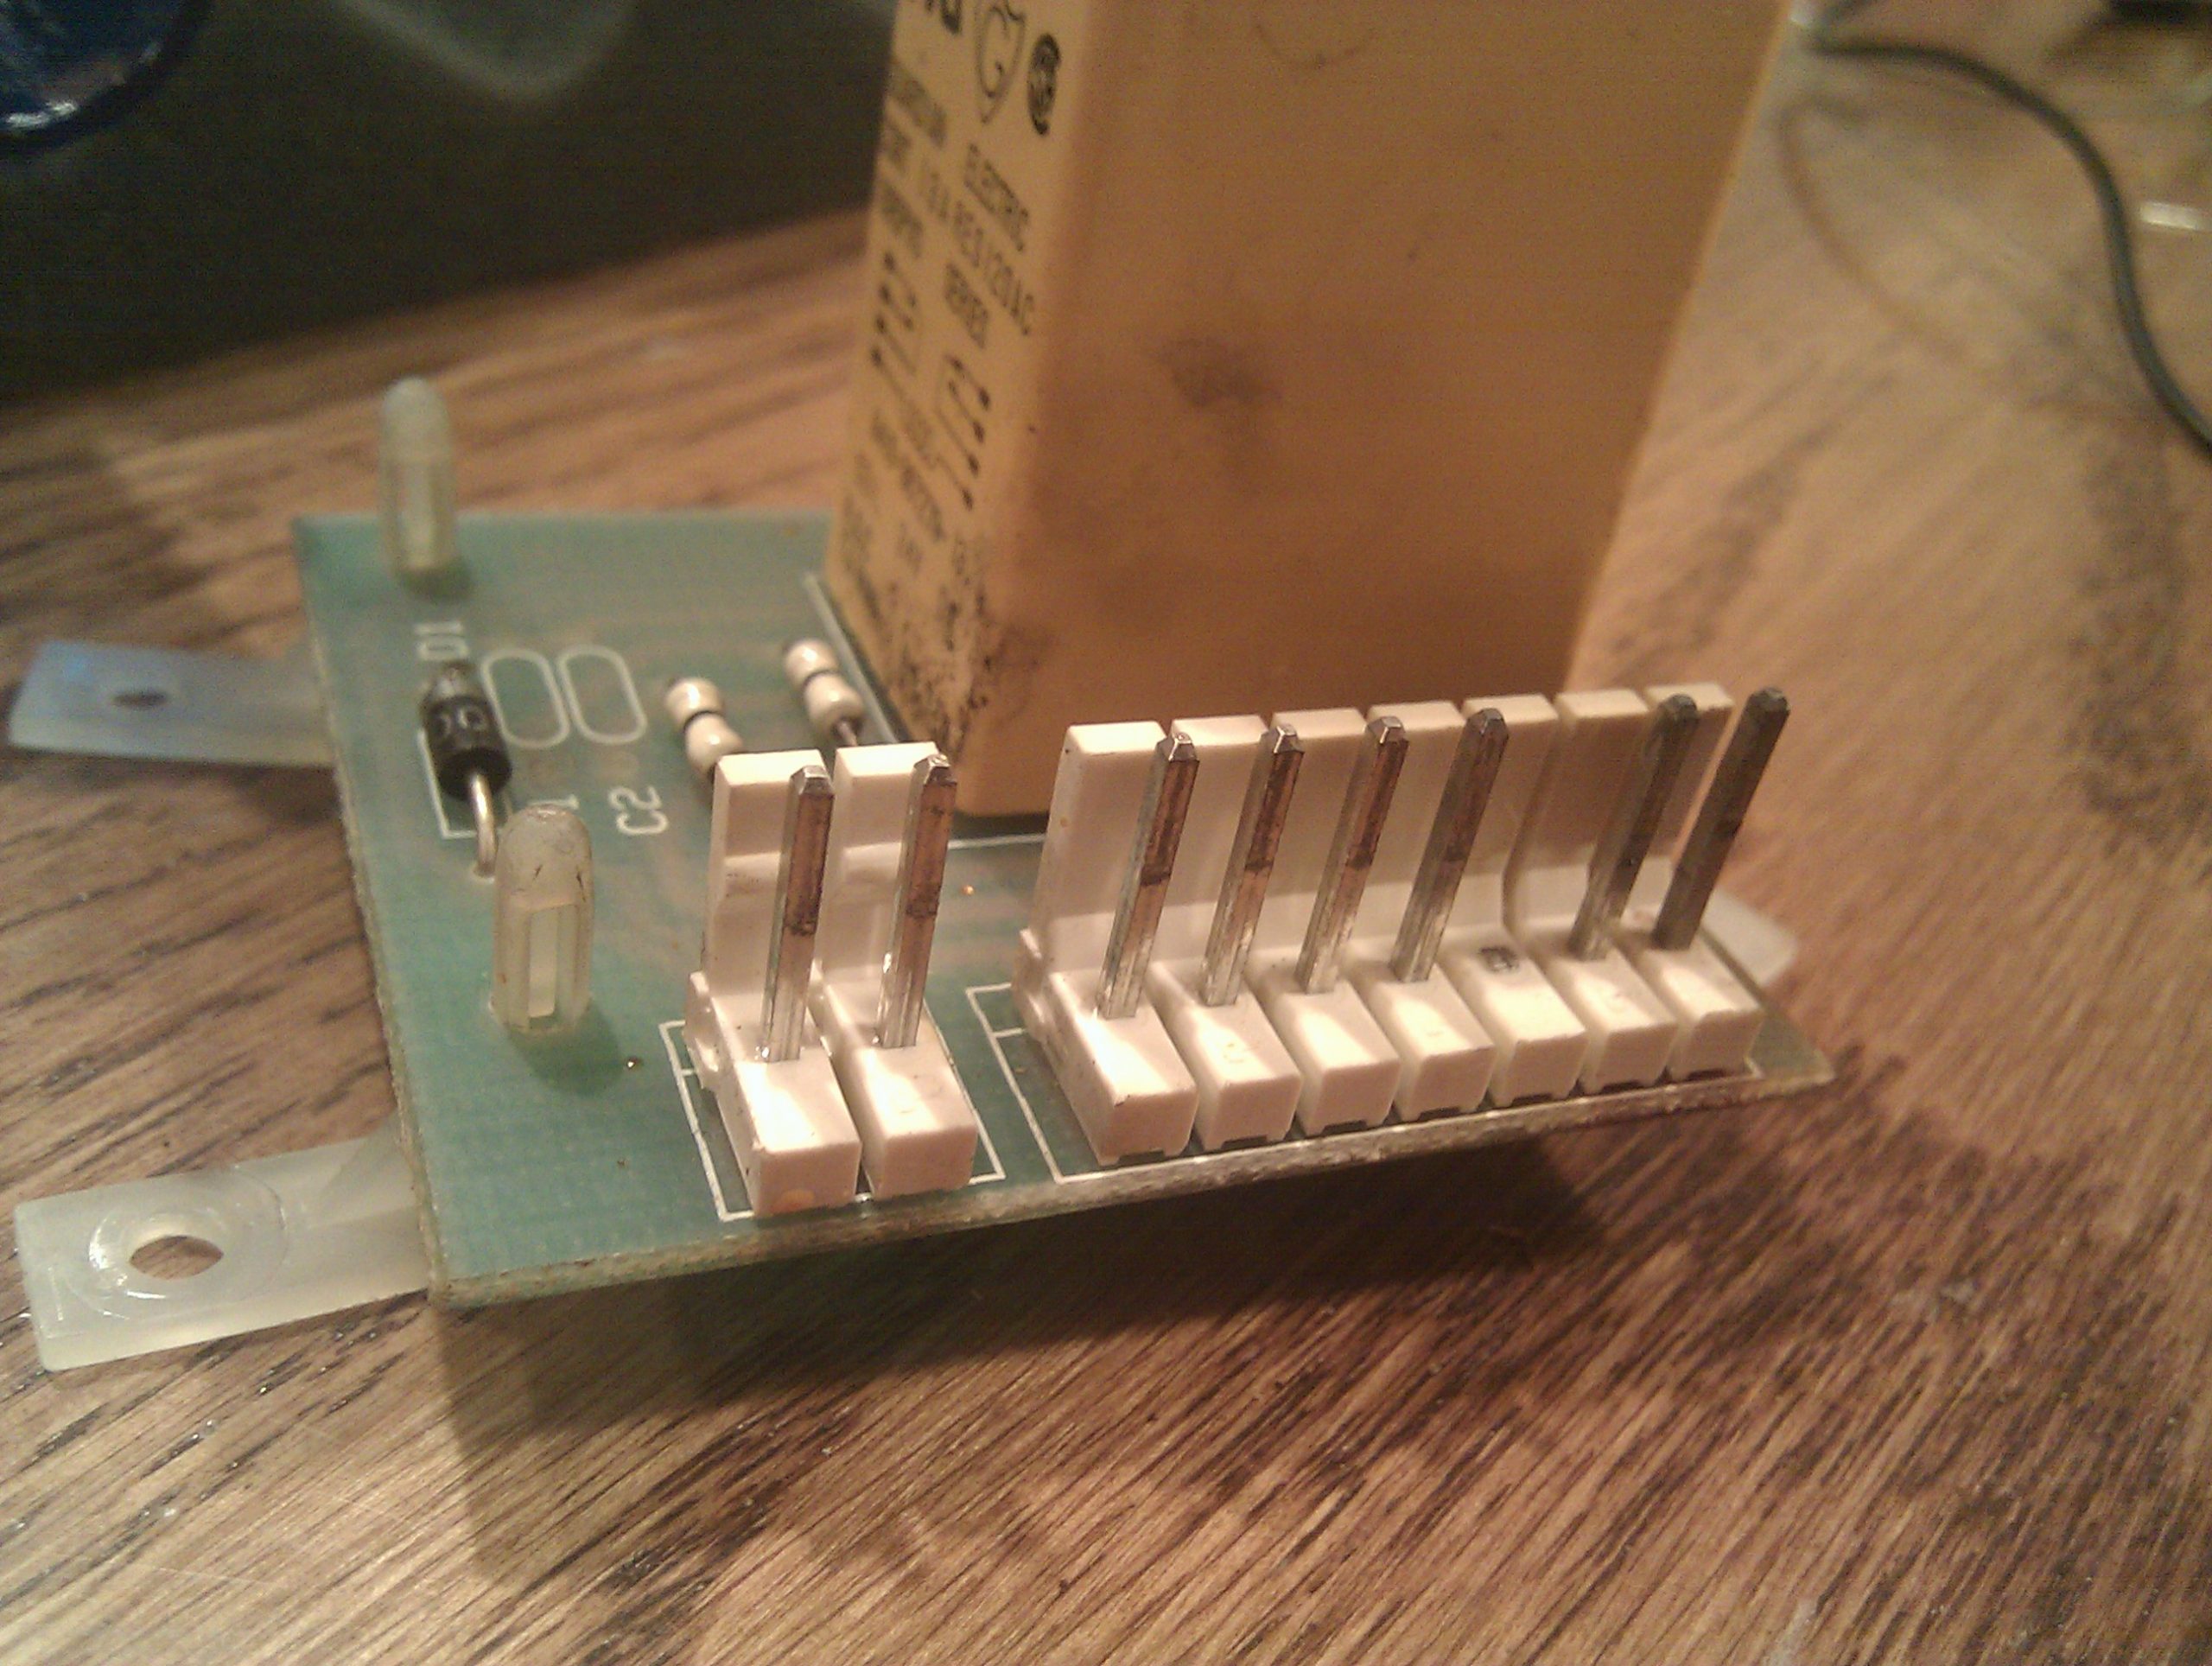
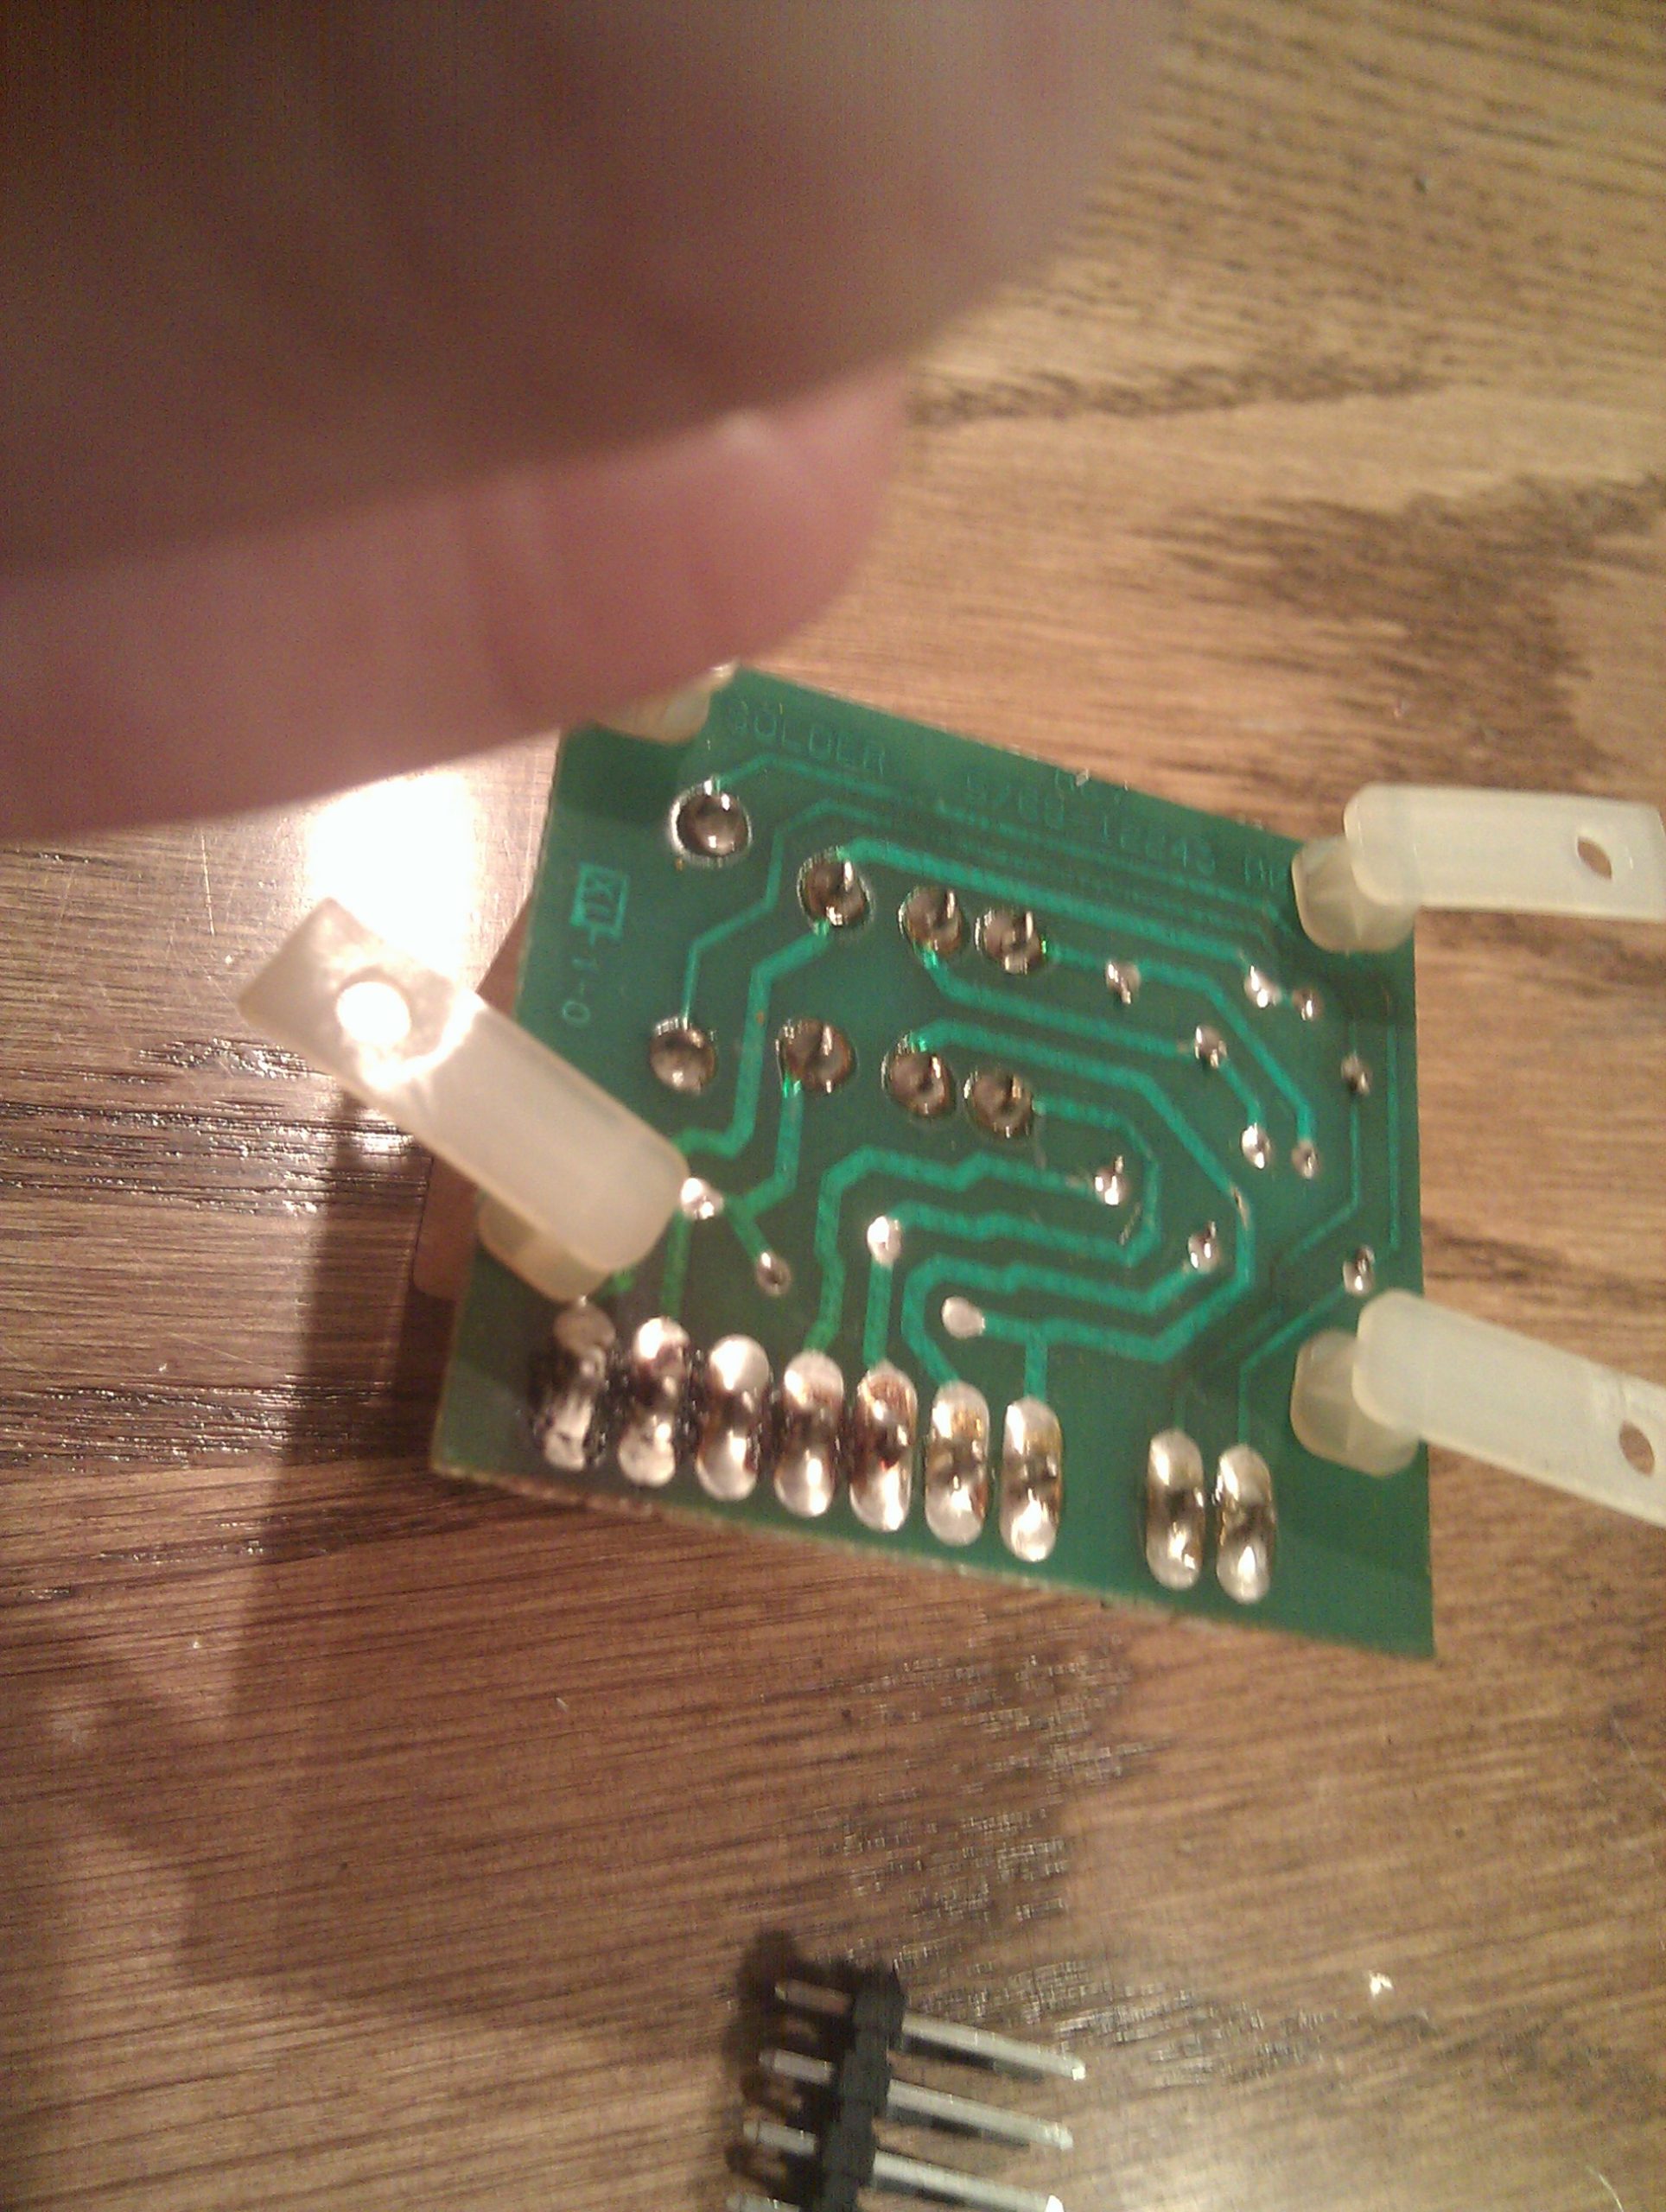
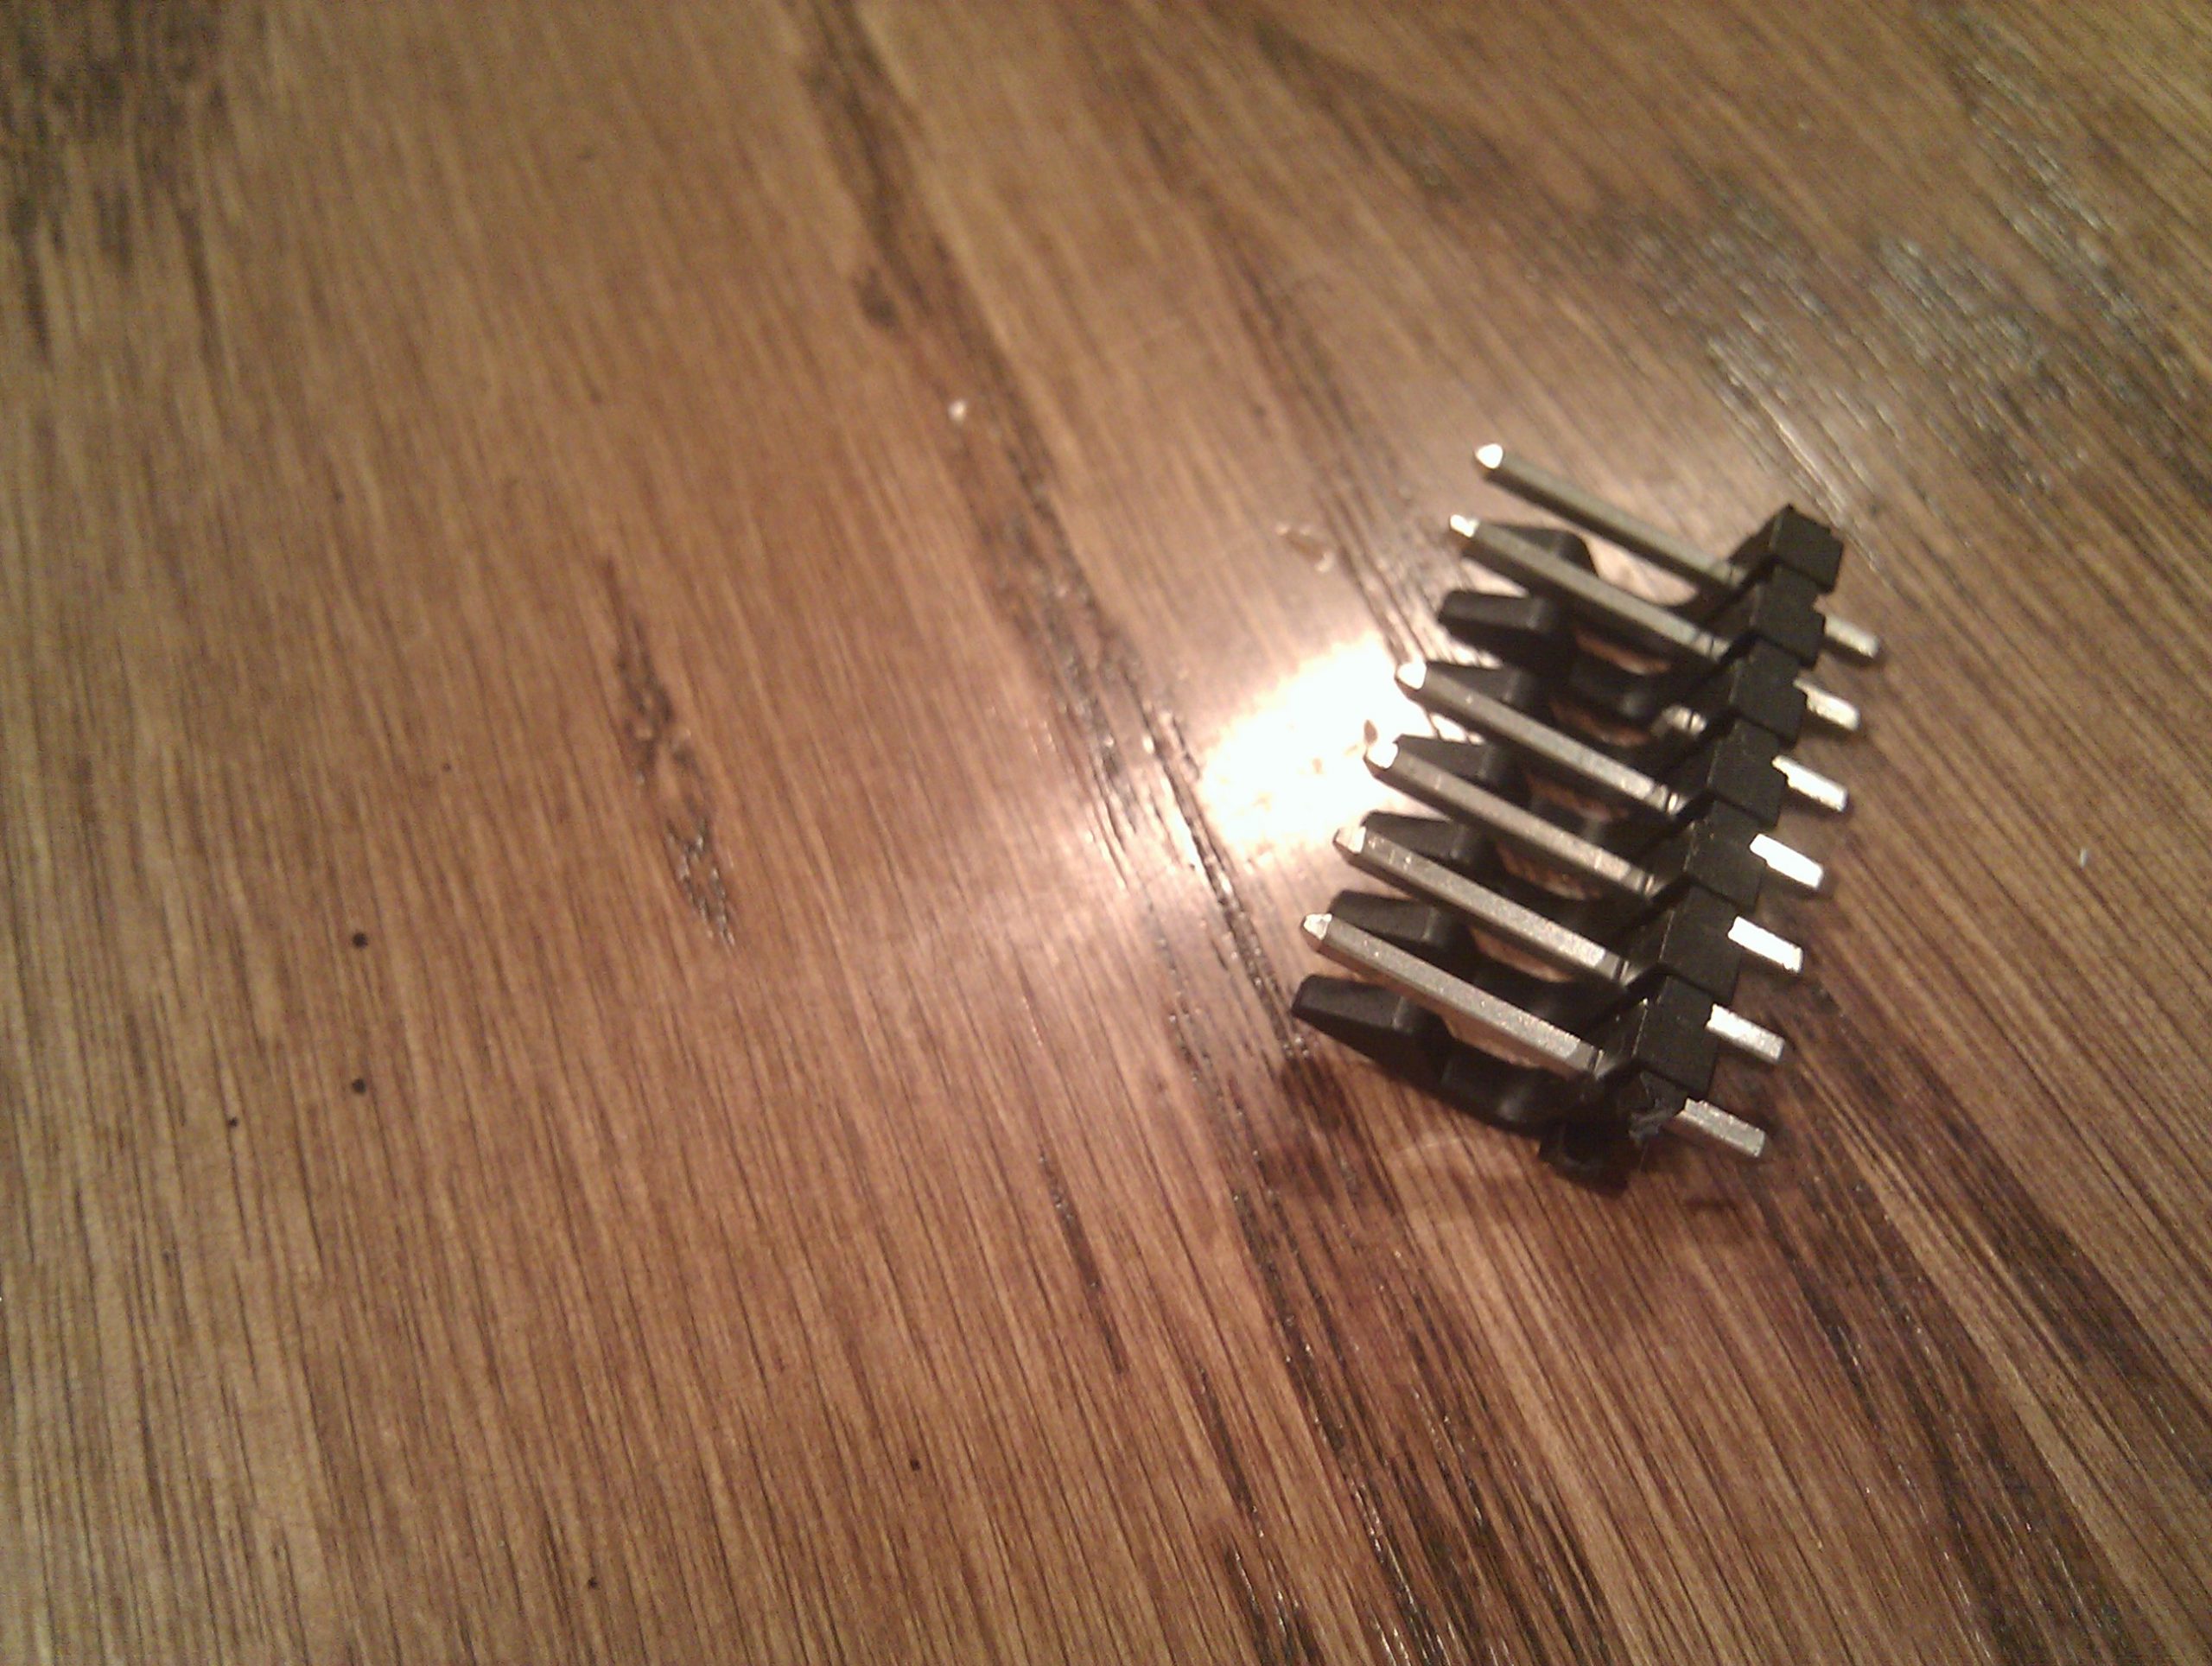
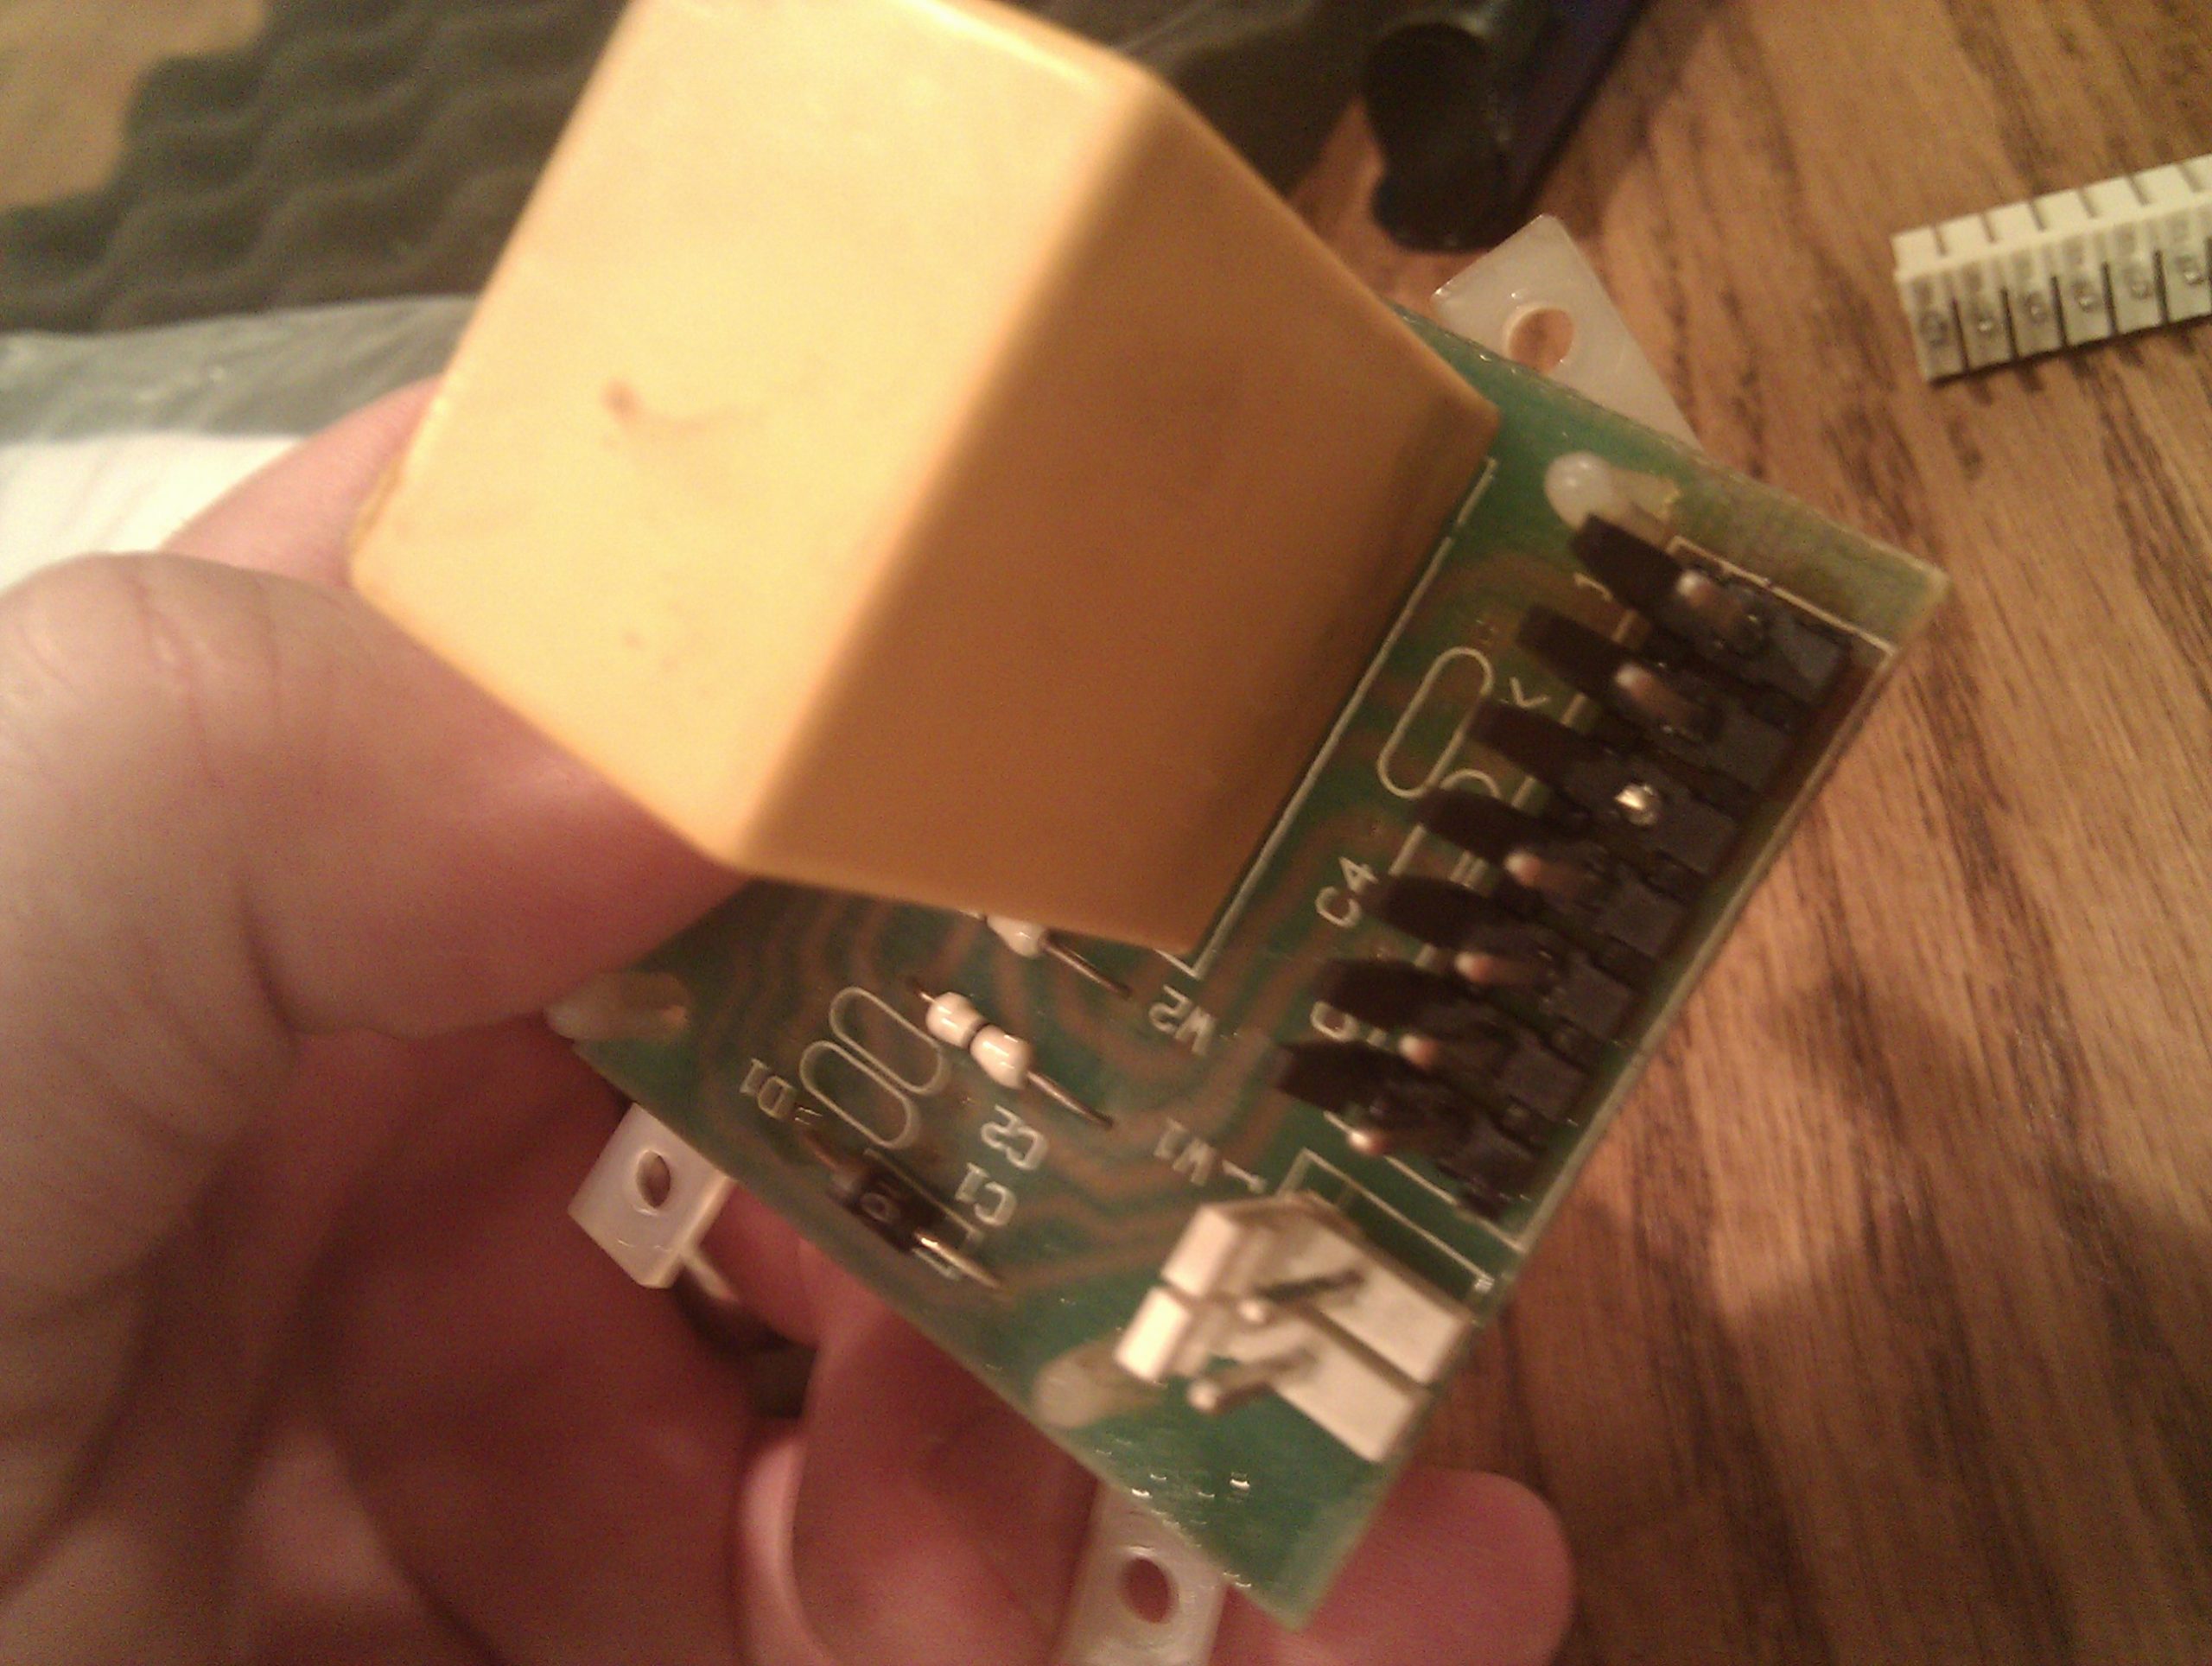
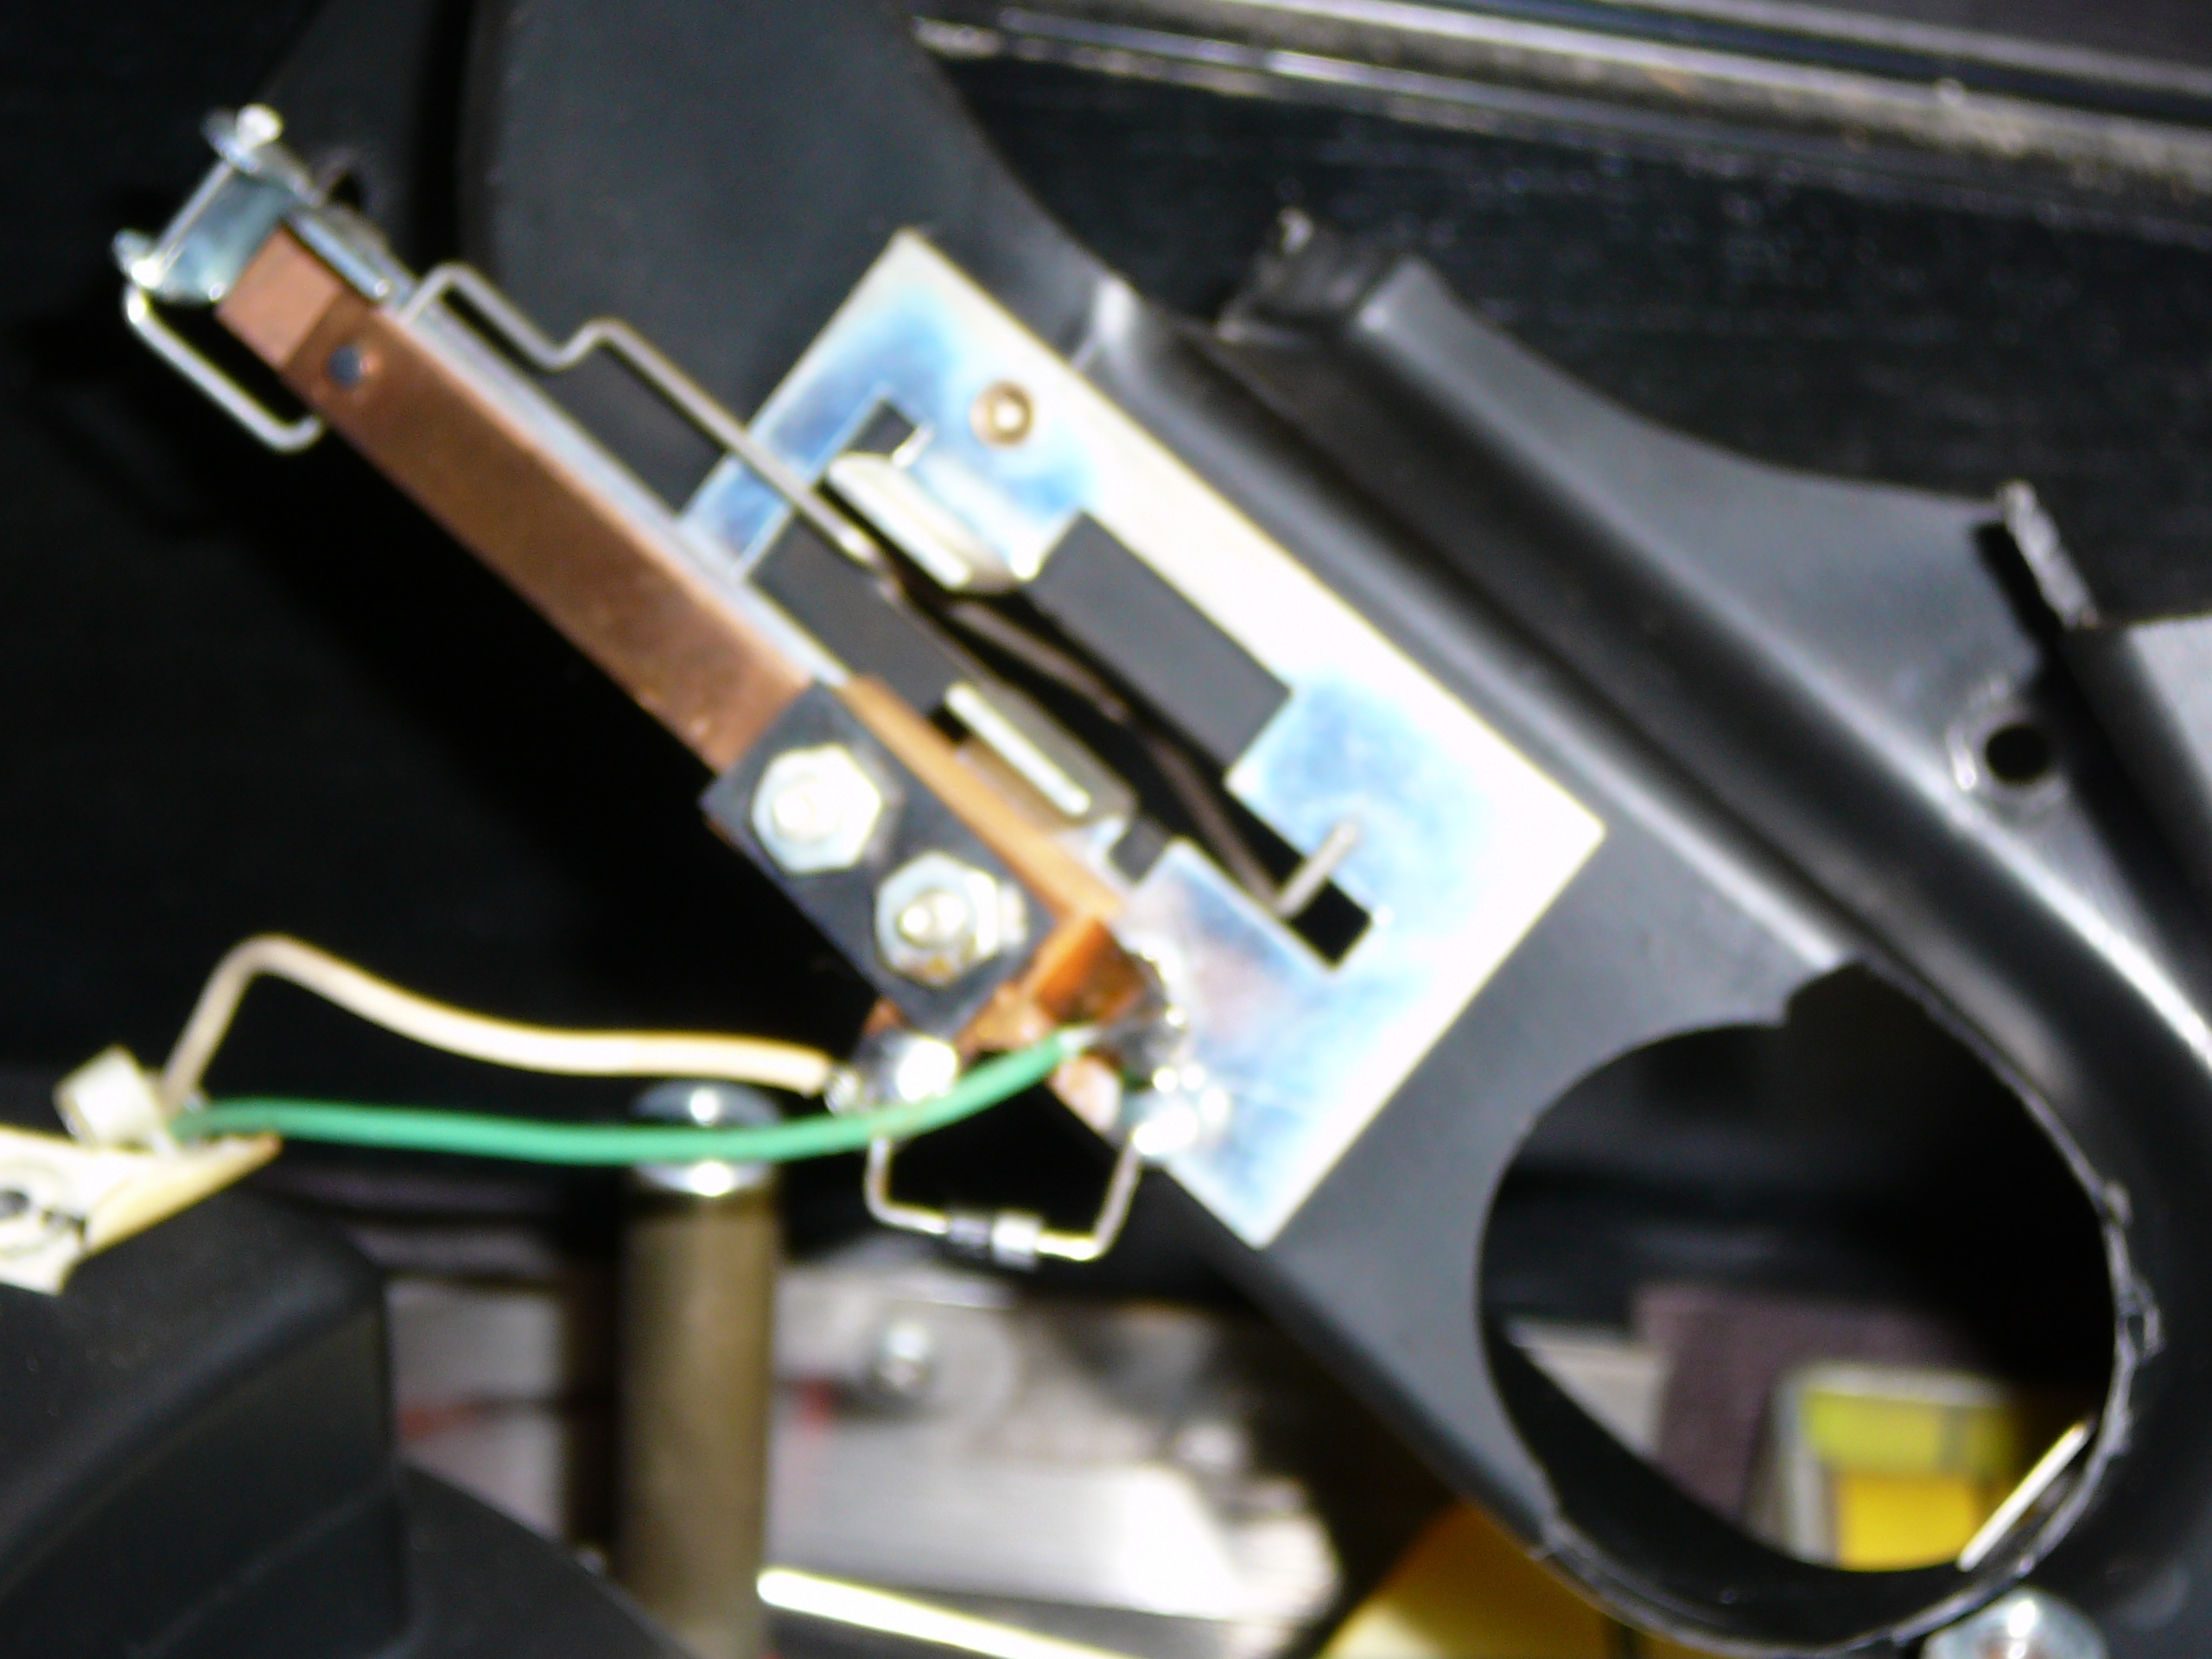
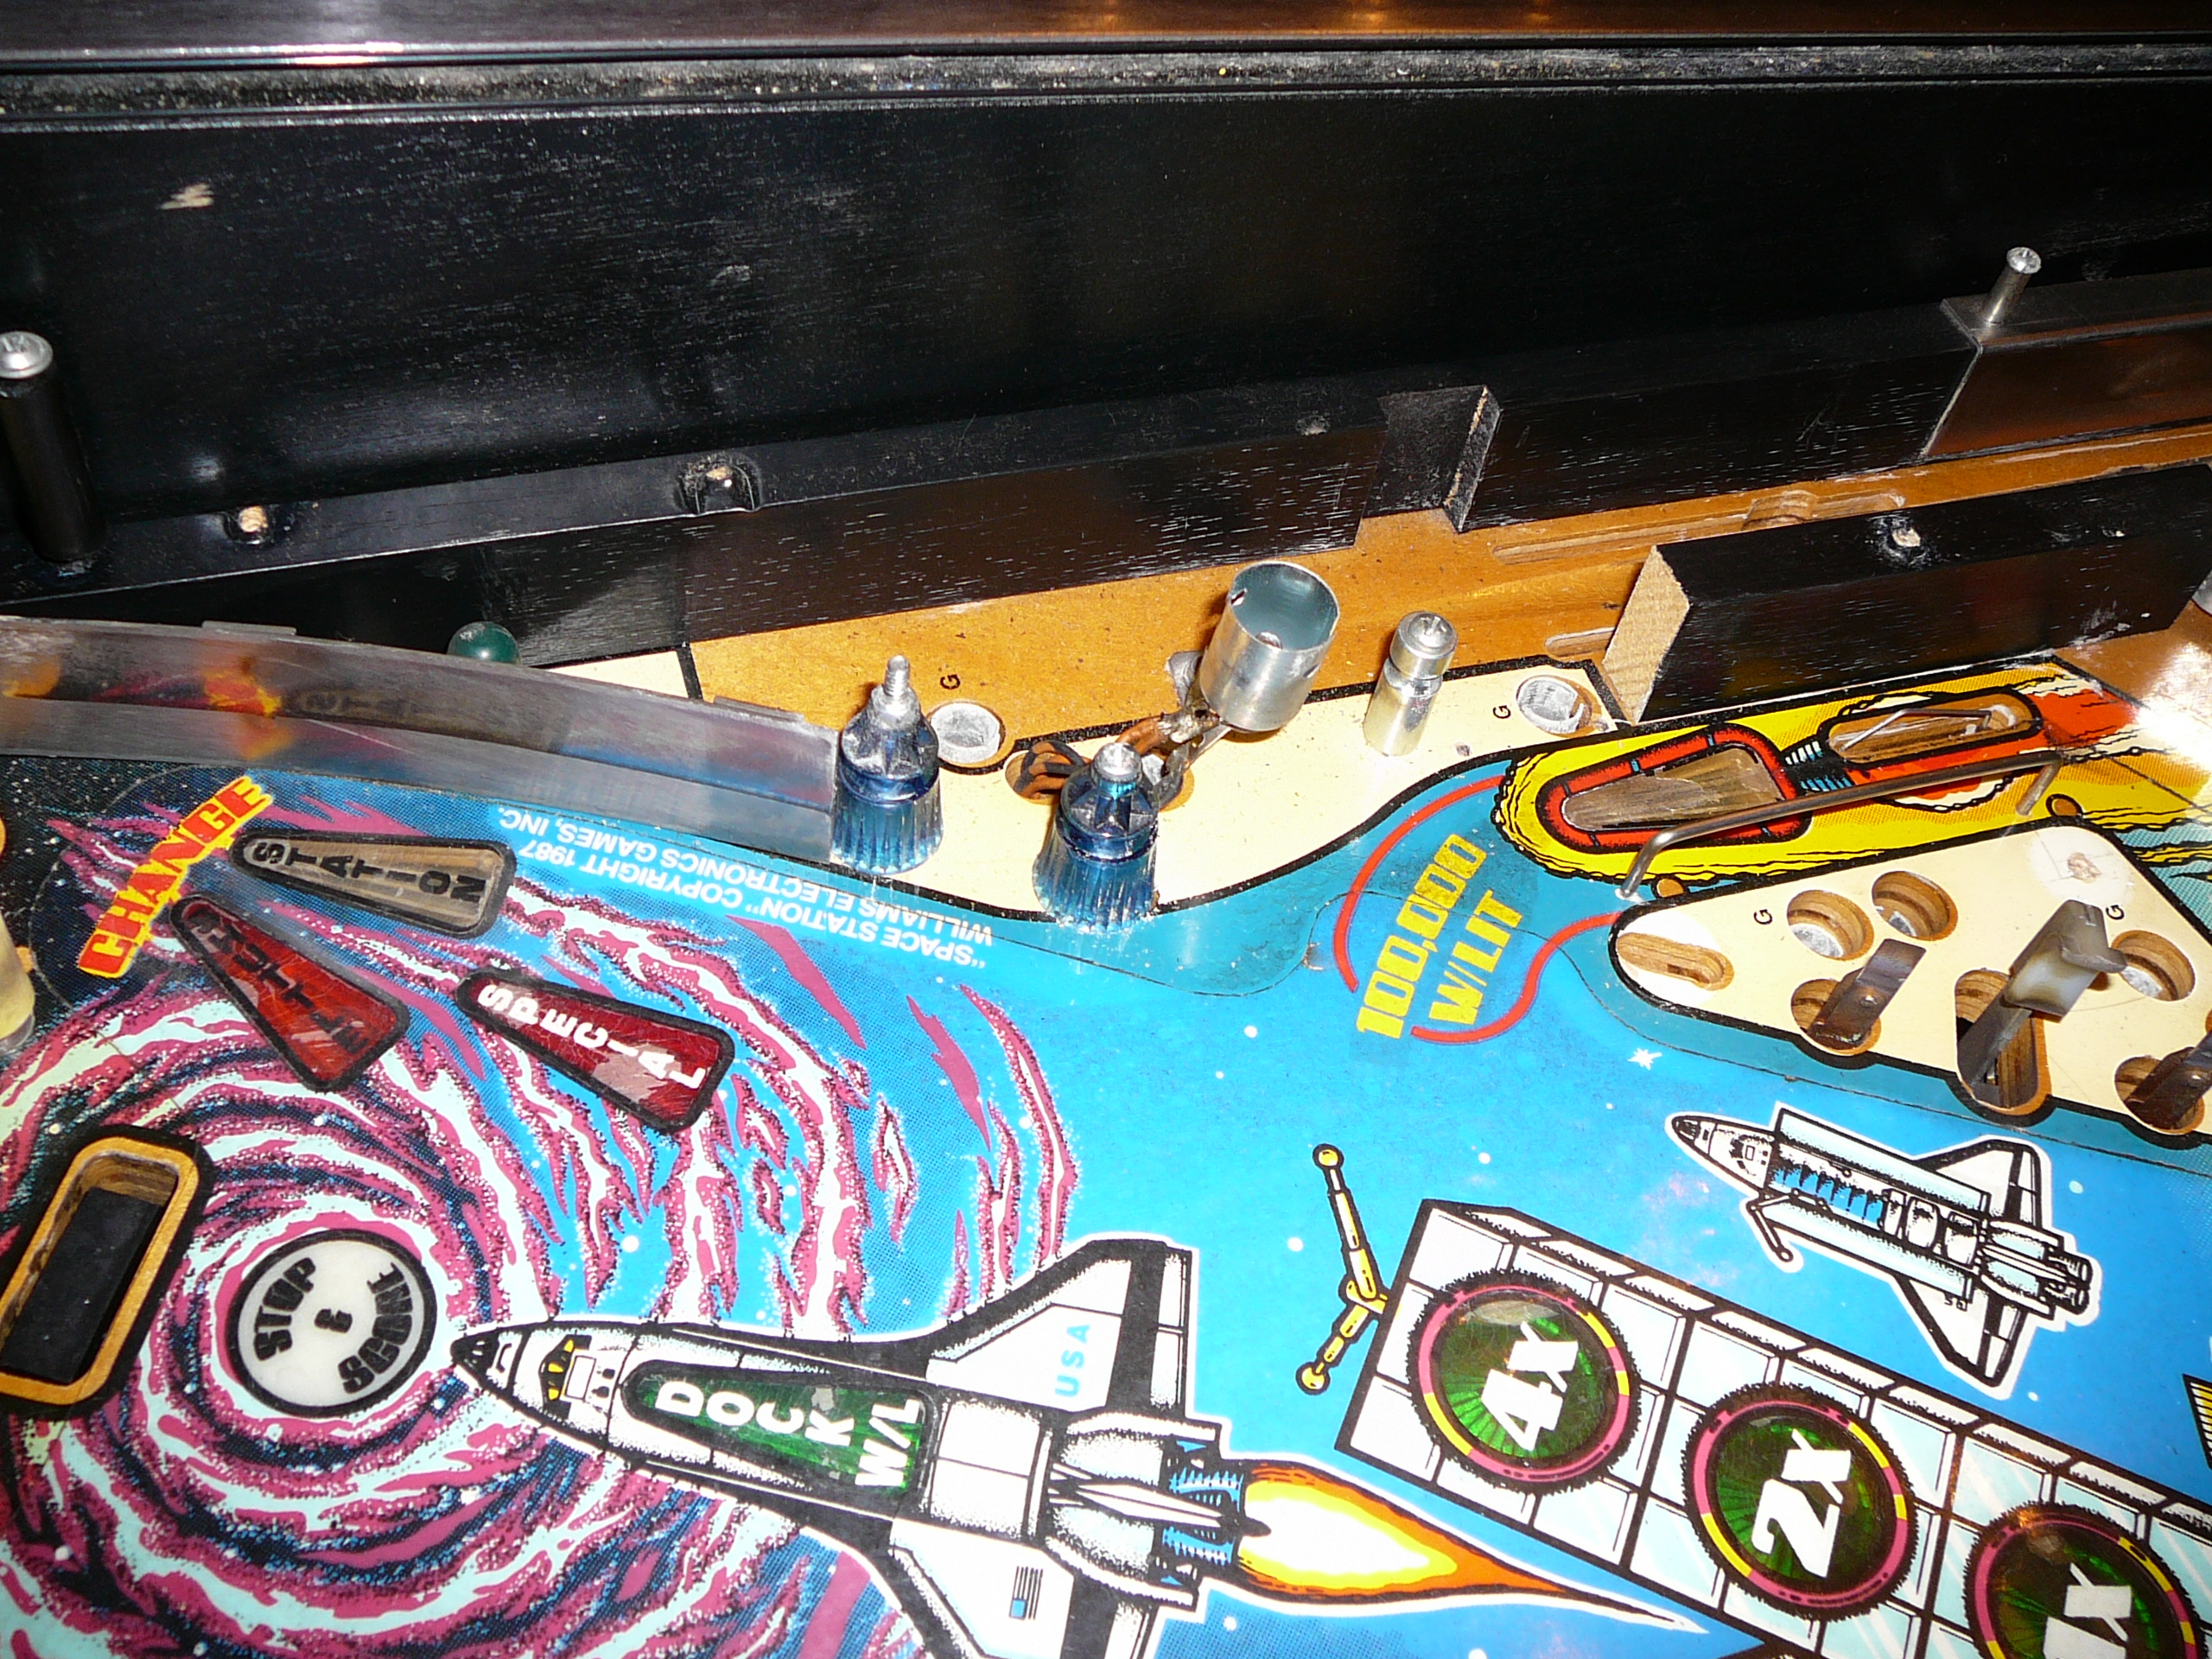
After reading a LOT online, I dove into repairing the right side general illumination. This is a common problem that arises from the under-spec molex connector frying and losing conductivity. In the pictures below you will see the burned white connector, which I replaced with the new black one from Mouser. This required only basic soldering skills.
Oct 08
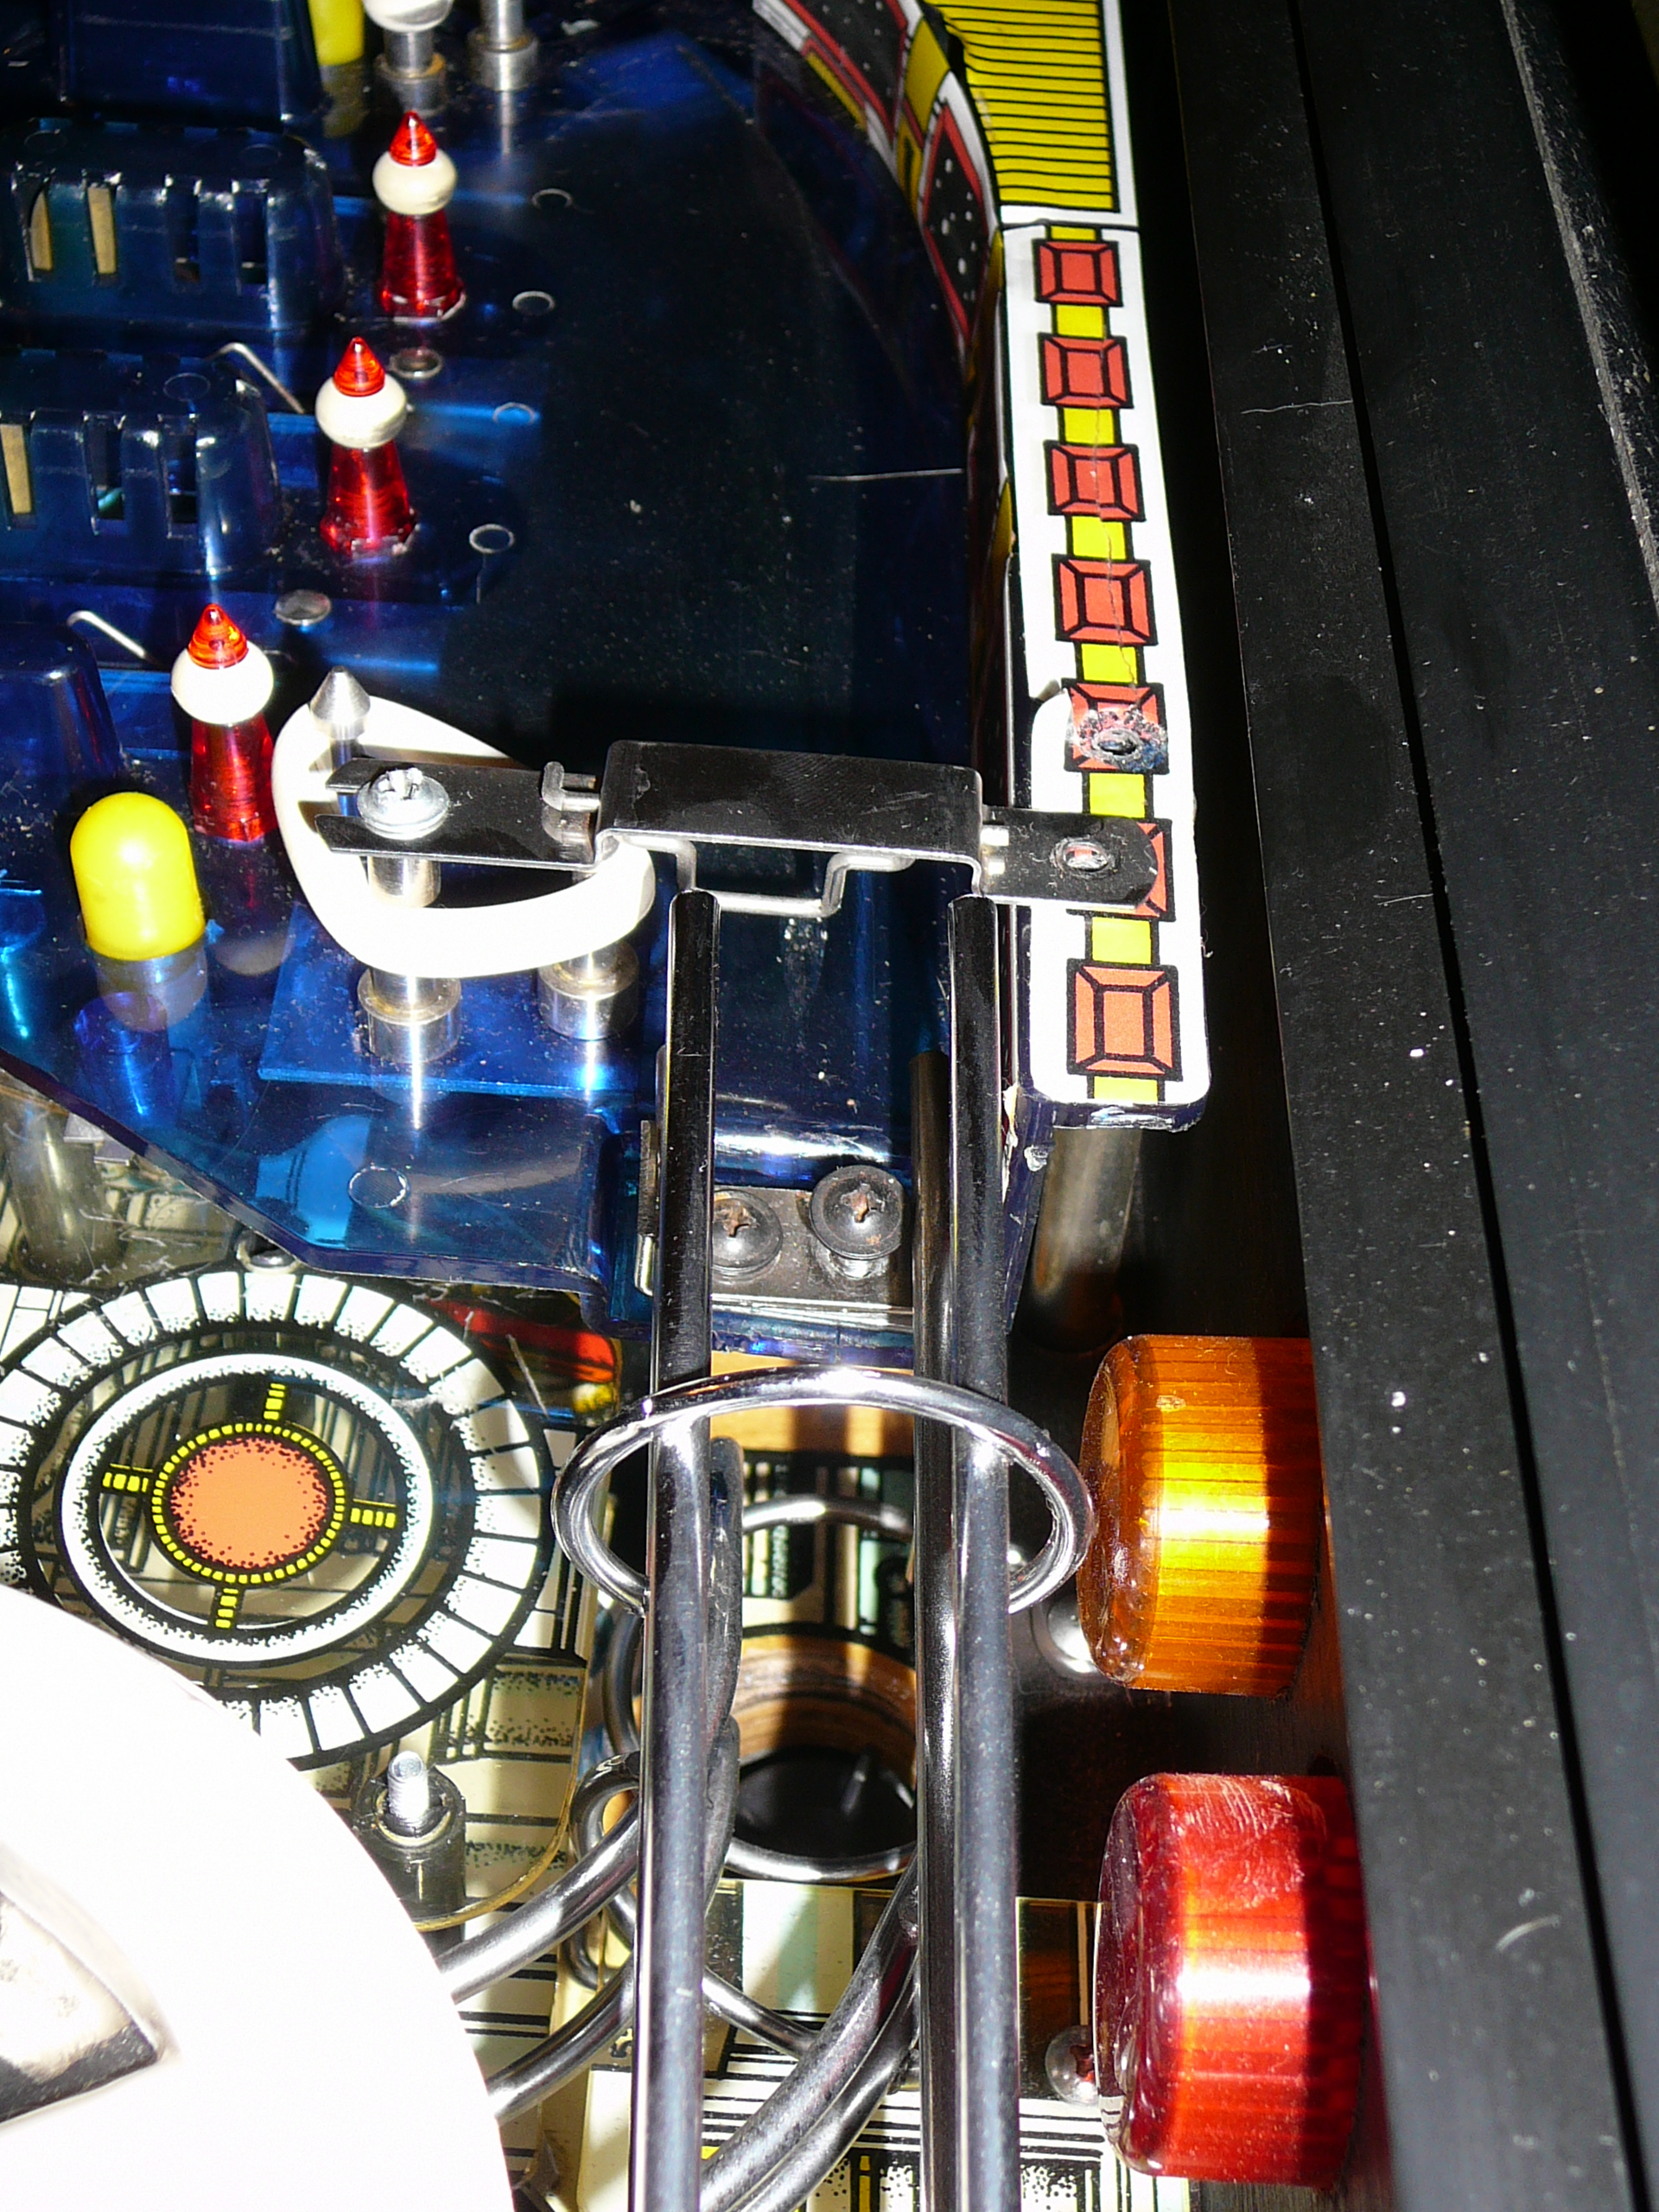
It was hard to see when the the playfield was assembled, but the black ramp on the right side was broken at the end. I actually wrote up the repair process in an article for the now-defunct Gameroom Magazine... so I will just put that here.
Williams Space Station Ramp Repair
Dave Santoro, Proprietor, Arcade Replay, LLC.
Dave@arcadereplay.com
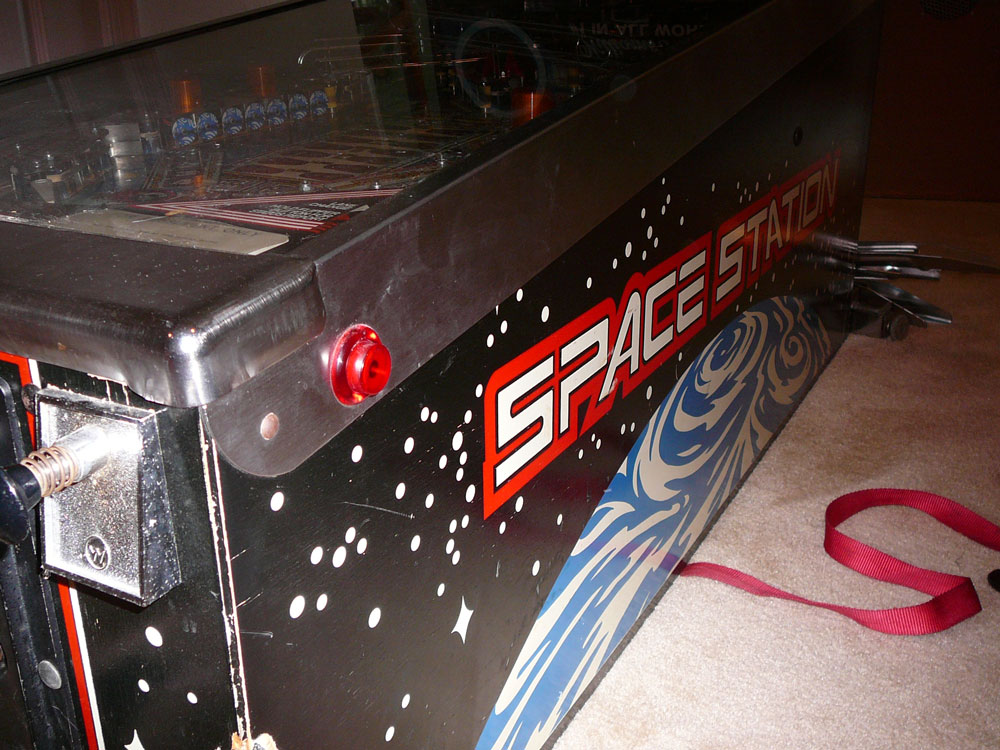
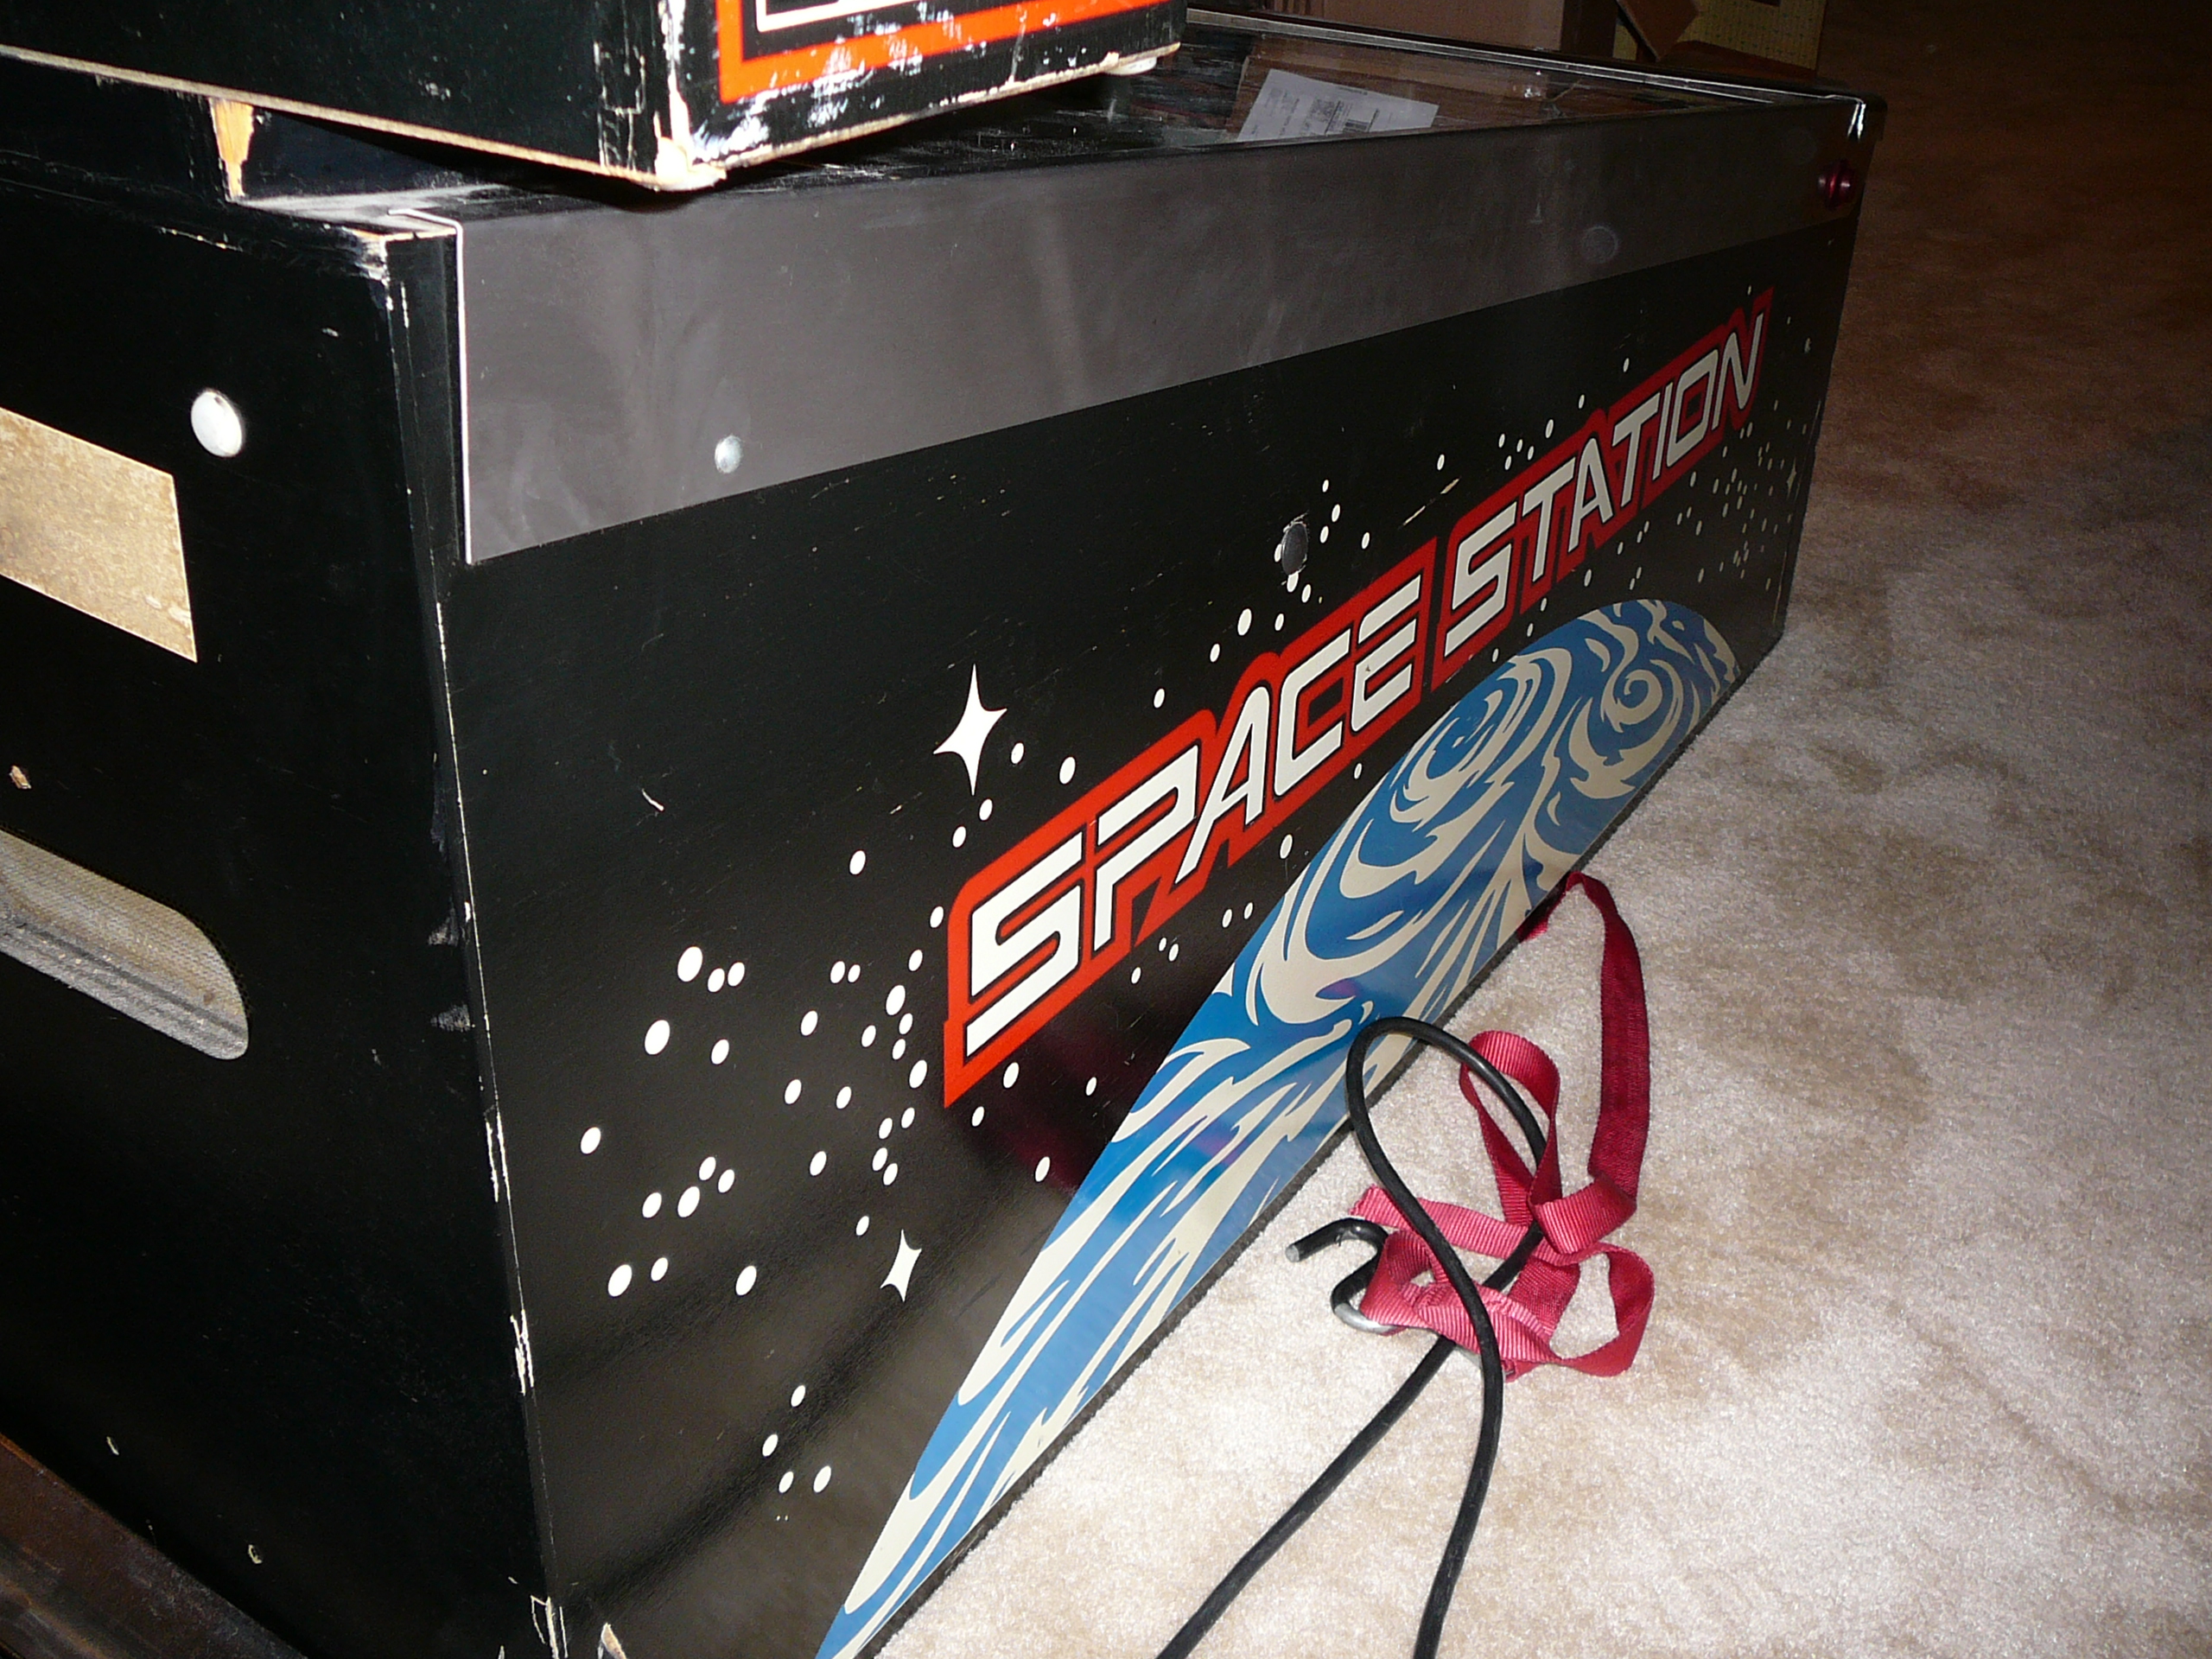
This time last year I was not much of a Pinball hobbyist. I was more of a classic video arcade game person; some of you may know me from the BYOAC forums as “The Token Guy” because I mint brass arcade tokens for home arcades. I had been debating extending my Arcade hobby into Pinball for a year or so, and a recent Craigslist bargain afforded me the opportunity to do so. I am now in possession of a Williams Space Station pinball machine, it’s in great condition, and I am officially hooked.
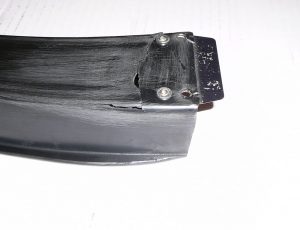
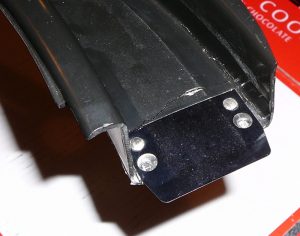
The first thing I wanted to do was to ‘shop’ this machine. The playfield paint was in very good condition, as were the various plastics, posts, lights, etc. All the jet bumpers, poppers, and slingshots were in reasonable condition too, so I was very optimistic about a relatively easy project to clean up the Space Station… with one notable exception. The black ramp on the right side of the playfield was broken at the bottom. While it looked like the two pieces were still joined, a little wiggling of the ramp revealed that the bottom-end was completely broken off. You could still shoot a ball up the ramp, but it ‘hopped’ up over the crack and slowed down quite a bit. I was not going to get away with polishing the ramp and ignoring it.
Figure 1: Original Damage
Off to Google I went. Replacement Ramps? No such luck. I needed ramp repair instructions. There were a few approaches suggested online, and I wound up selecting a method highlighted on edcheung.com. This method is most appropriate for opaque ramps, and uses epoxy and fiberglass tape to repair the ramp from underneath. The repair will be rough on the underside of the ramp, but if you match the paint well, the results should be acceptable. For my project I am lucky for two reasons: the Space Station ramp is opaque, and the bottom and sides will not show because it is obscured by various other game parts.
Before you start you will need a few things. The key ‘ingredients’ are fiberglass mesh self-adhesive joint tape, clear 2-part ‘plastic epoxy’ (I used Loctite brand,) and paint to match your ramp. You will also need some alcohol, medium and fine grit sandpapers, strong tape such as duct tape, scissors, and a disposable 1” putty knife or other stiff spreading implement. If you have ‘topside’ patching to do on your ramp, you will need skier’s P-Tex, Novus 2 and Novus 3 polish.
Begin by sanding the back side of the ramp pieces with fine sandpaper where the repair will be making contact. In my case this meant the seam where the two pieces were re-joined, and along a crack that extended up the ramp a few inches. Clean the ramp with alcohol. It is important to note that you will only be repairing the underside and/or sides of the ramp as is necessary, not to any part of the ramp that the ball will come in contact with.
Figure 2 – Sanded and Cleaned
Next you want to use your duct tape on the top or “ball side” of the ramp to reassemble and temporarily secure the ramp in position for mending. Tape the pieces together as tightly as possible so as to reduce the size of the cracks in the finished repair. Covering all cracks also serves to keep the epoxy from oozing through from the back and disfiguring your ramp surface further.
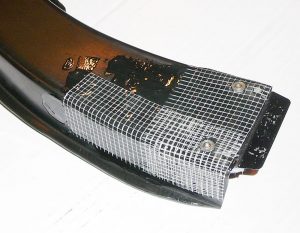
Figure 3 – ‘Topside’ tape is appliedNeatly cut and apply fiberglass tape over the cracks and seams on the bottom ‘repair side.’ Two layers will give you more strength at the expense of additional thickness and potentially rougher appearance. Be sure to consider how the ramp is attached to your playfield when applying the fiberglass tape. There may be cases where adding too much thickness to the ramp will cause fit difficulties when reinstalling it. (You will note in the photo that I cut holes in the fiberglass for the rivets to come through. This was so I didn’t add unnecessary height and cause problems when remounting.) Trim the tape as necessary to ensure a neat appearance.
Figure 4 – Fiberglass applied and trimmed
Once the tape is staged, mix up a tablespoon or two of epoxy following the instructions on the packaging. I mixed small amounts at a time a few times as opposed to mixing it all at once, otherwise I would be fighting the clock to spread the epoxy before it cured. Neatly spread the epoxy onto the cloth tape with your spreader, ensuring that the epoxy is worked into the cloth and that it is making full contact with the ramp underneath. When the cloth is fully saturated with epoxy, smooth it out as much as possible. Being neat and smooth now will save a lot of sanding later.
Now that you have spread the epoxy, put the ramp down and leave it alone for at least as long as the epoxy packaging says it will take to cure. Mine was seven minutes. Resist the temptation to touch it to see if it is done yet. You can do it.
Figure 5 – Epoxy applied. You will want to be neater than this!
After letting the epoxy cure for a few hours just to be safe, all that is left to do is to sand and paint the repaired area on the bottom of the ramp. Because of the cloth and epoxy, the repair will not be smooth, so the best you can do is to make it look as neat as possible. This is where you will be glad you were neat while applying the epoxy. I was lucky that I could use a retail black spray paint made for plastic to paint over the patch. This step was optional for me because the repair wasn’t going to be visible anyway.
Your painting requirements will likely be different. If you had, for example, a blue ramp that had the patched side visible, you would have to carefully mix paint to match the ramp plastic. Whatever you do, test it first in an unobtrusive spot underneath the ramp first to be sure your mix matches and adheres properly when dry.
Most of you will be done at this point.
Figure 6 – Done? Almost.
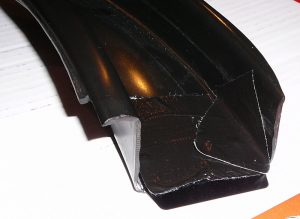
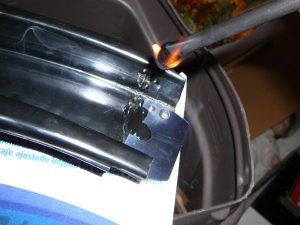
As you can see in the picture of my repaired ramp, I had a gap along the seam where a small piece had broken off. This required a little creativity on my part, and I came up with a pretty good solution. The skiers among us may know that P-Tex is a soft plastic used to fill gouges in ski bases. It is melted into the gouge and the extra is scraped off. I happened to have a few black P-Tex candles, so I crossed my fingers and gave it a shot. I lit the candle and dripped plastic into the gap. When it dried, I scraped off the excess and the gap retained its P-Tex. It was still a little sunken in so I added more. After scraping off the extra, the hole was filled rather nicely! I sanded with fine sandpaper, polished with Novus 3, and finished it off with Novus 2. The sanding and polishing takes a while, be patient.
Figure 7 – P-Tex Application
Note that if you don’t have a black ramp, P-Tex may not be an option for you! If your ramp is some other color, paint will be in order and unfortunately I suspect paint will not adhere well to P-Tex. Do some experimenting before applying anything to your ramps! Use my approach as starting point, but make sure whatever you do is appropriate for your unique ramp.
Another thought on P-Tex. This was really an experiment, and it hasn’t been tested over time. The small patch seems adhered pretty tightly but there is a chance it will pop out as time goes on. I also don’t believe it would be appropriate for use in filling large areas. It is best used for narrow openings .
So here is the finished product. You can definitely see that the ramp was cracked, but it wasn’t my goal to hide that fact. My goal was to stabilize the ramp and restore proper gameplay, and I think accomplished that. The fix is very sturdy and does not stand out at all. You notice it if you look directly at it, but you might not notice it scanning the playfield.
Let me know how you made out if you try this.
References:
The inspiration for this repair:
http://www.edcheung.com/album/album05/pinball/playfield3.htm
Figure 9 – Before

Figure 10 – After
Sep 19
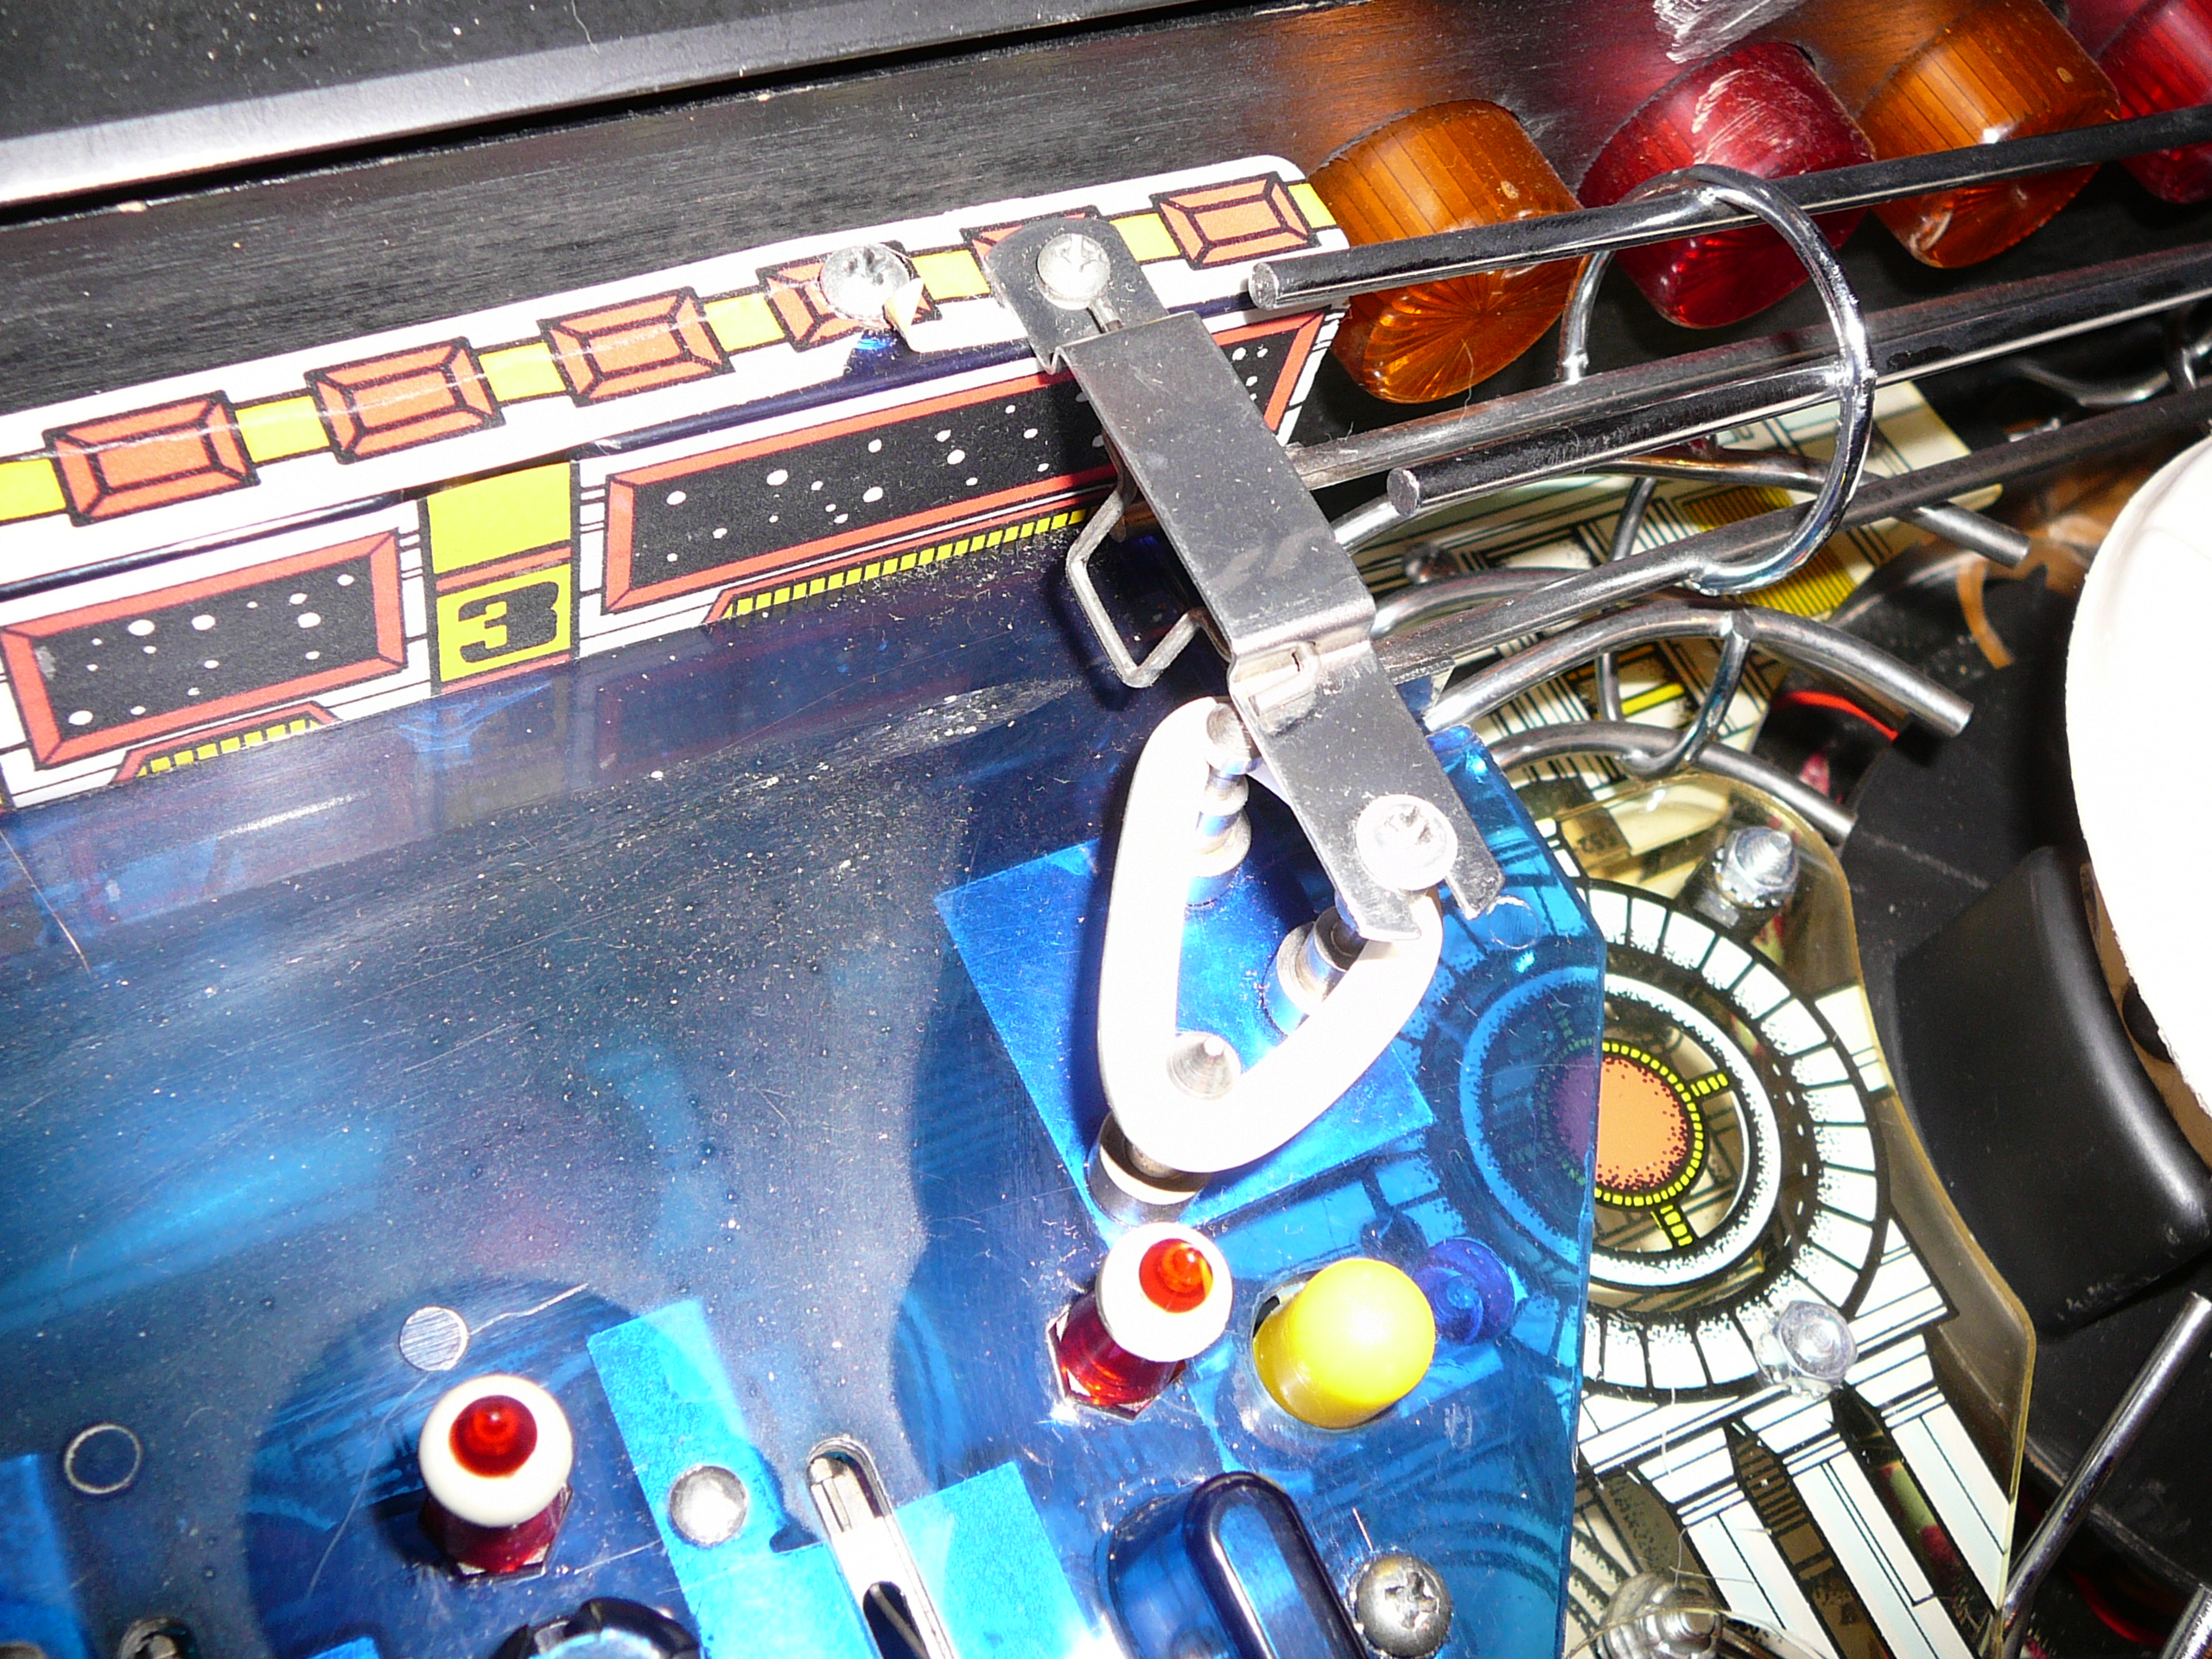
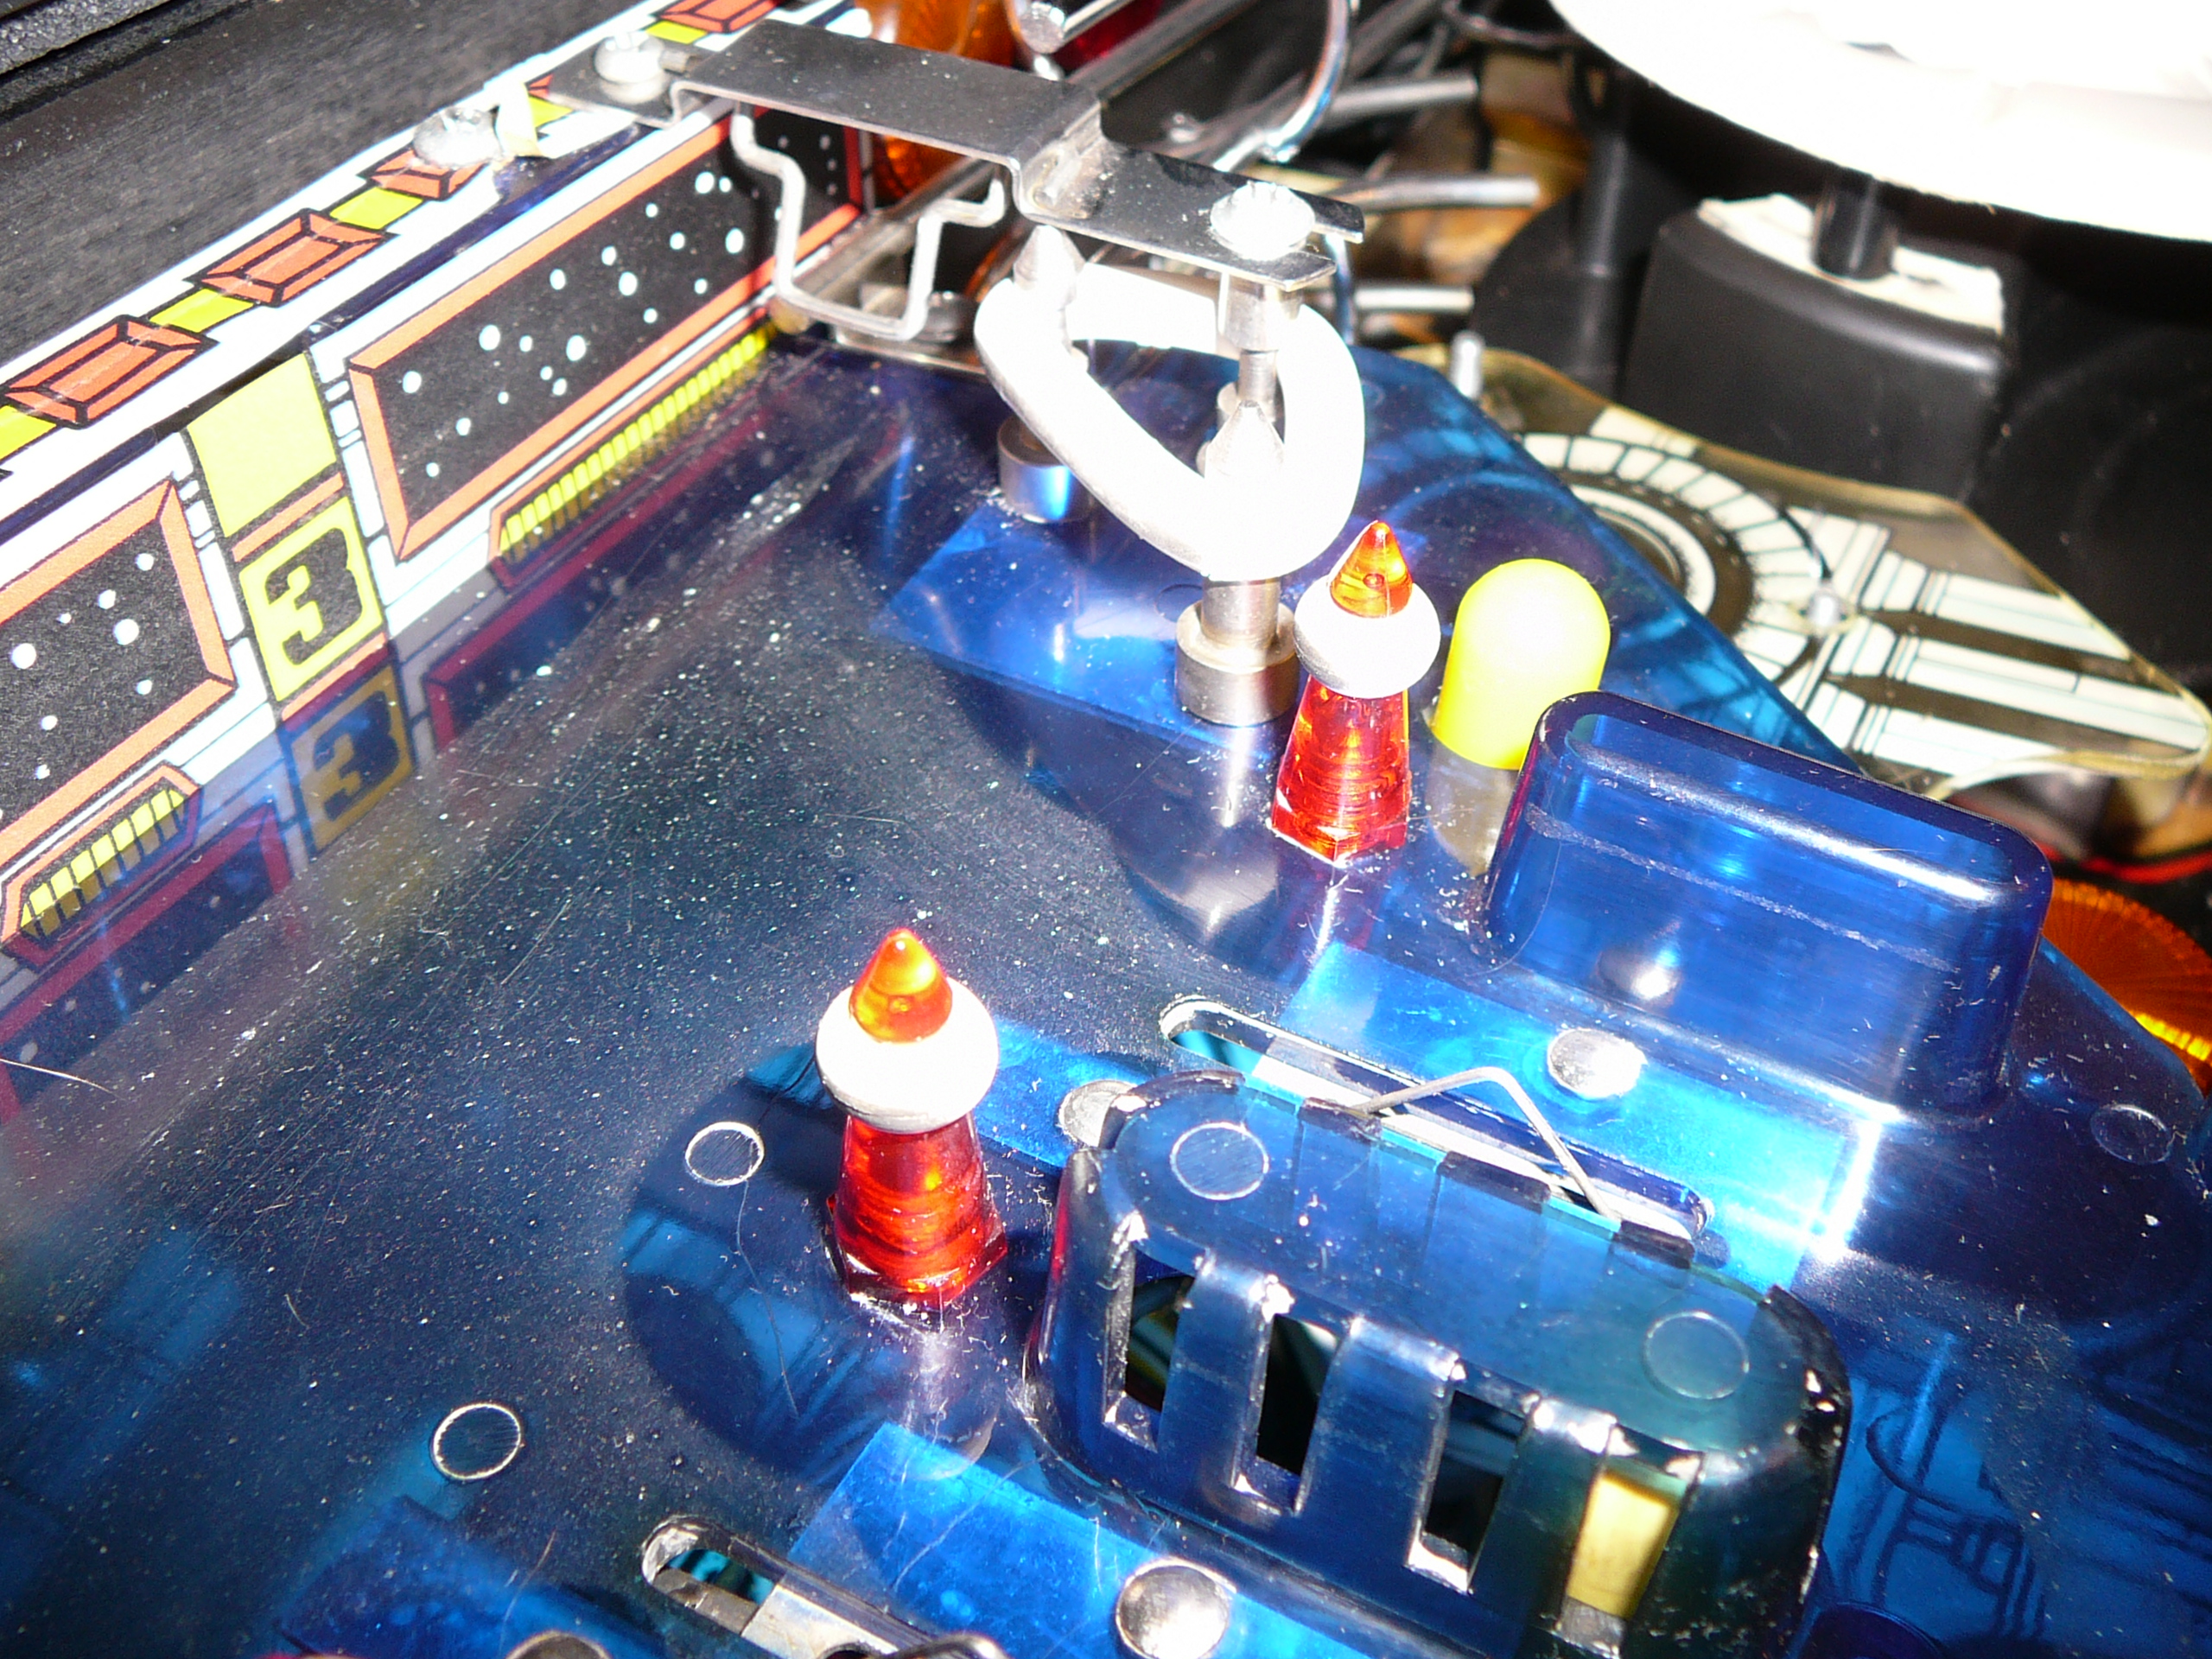
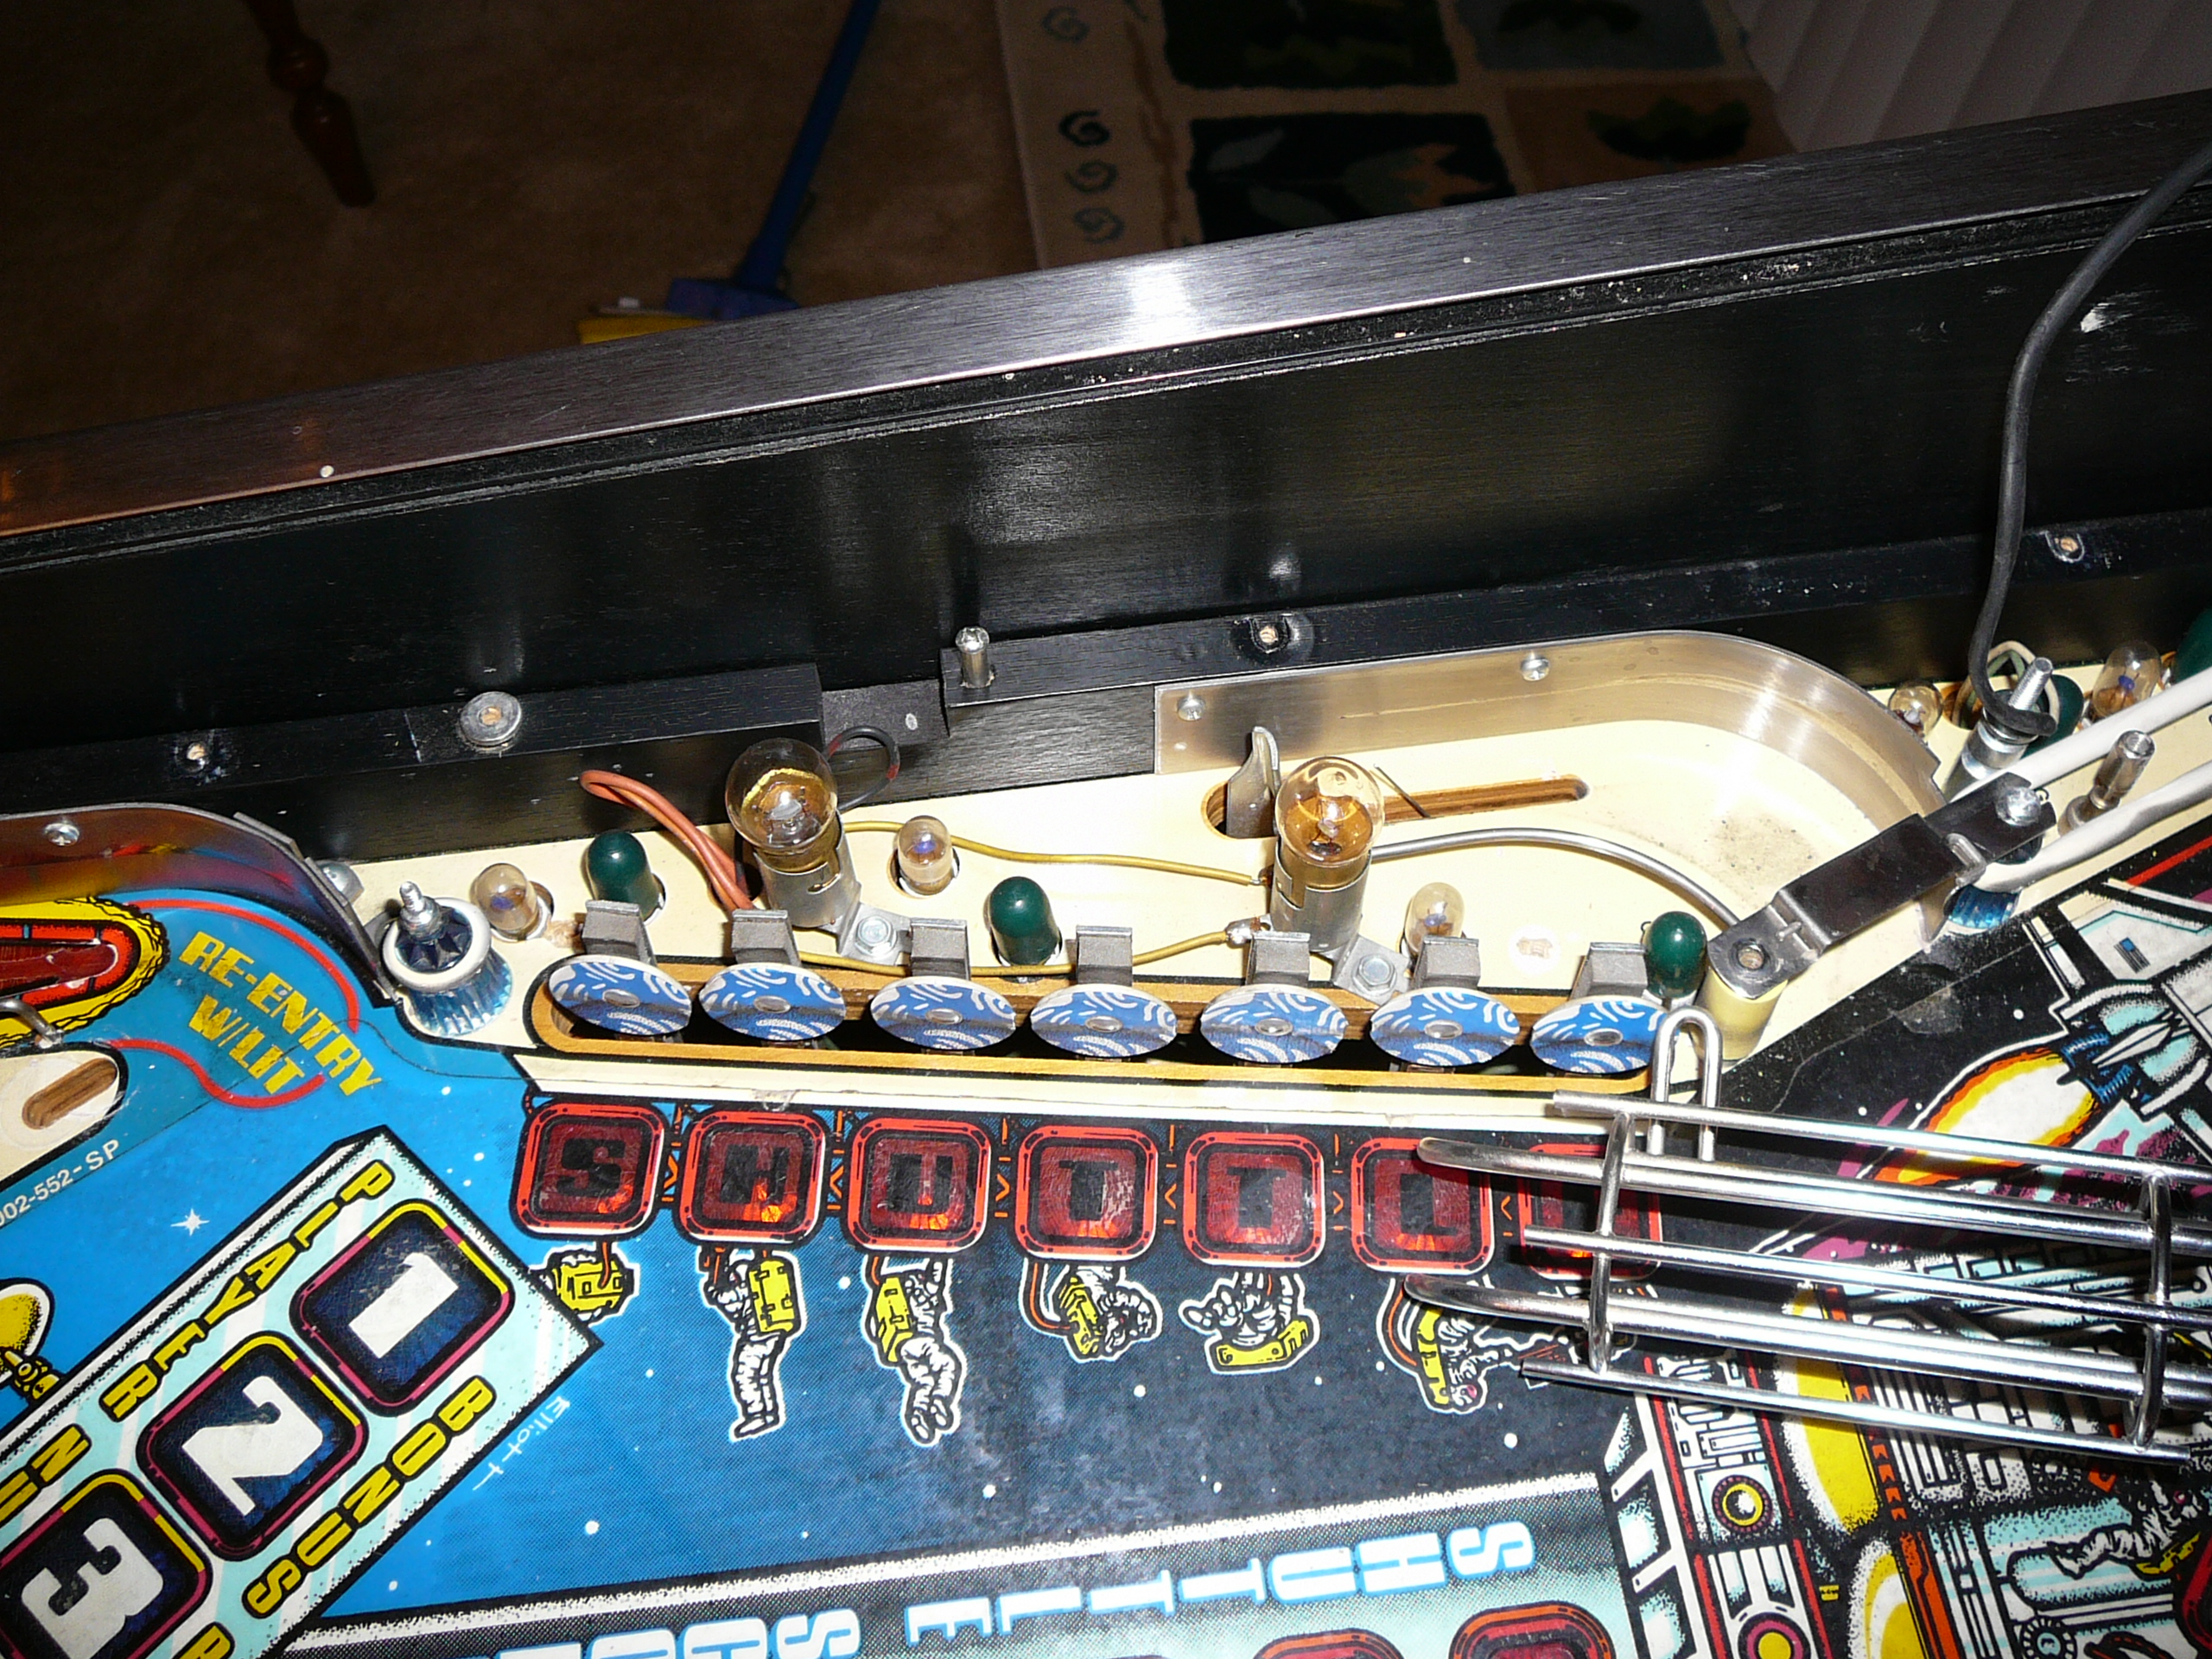
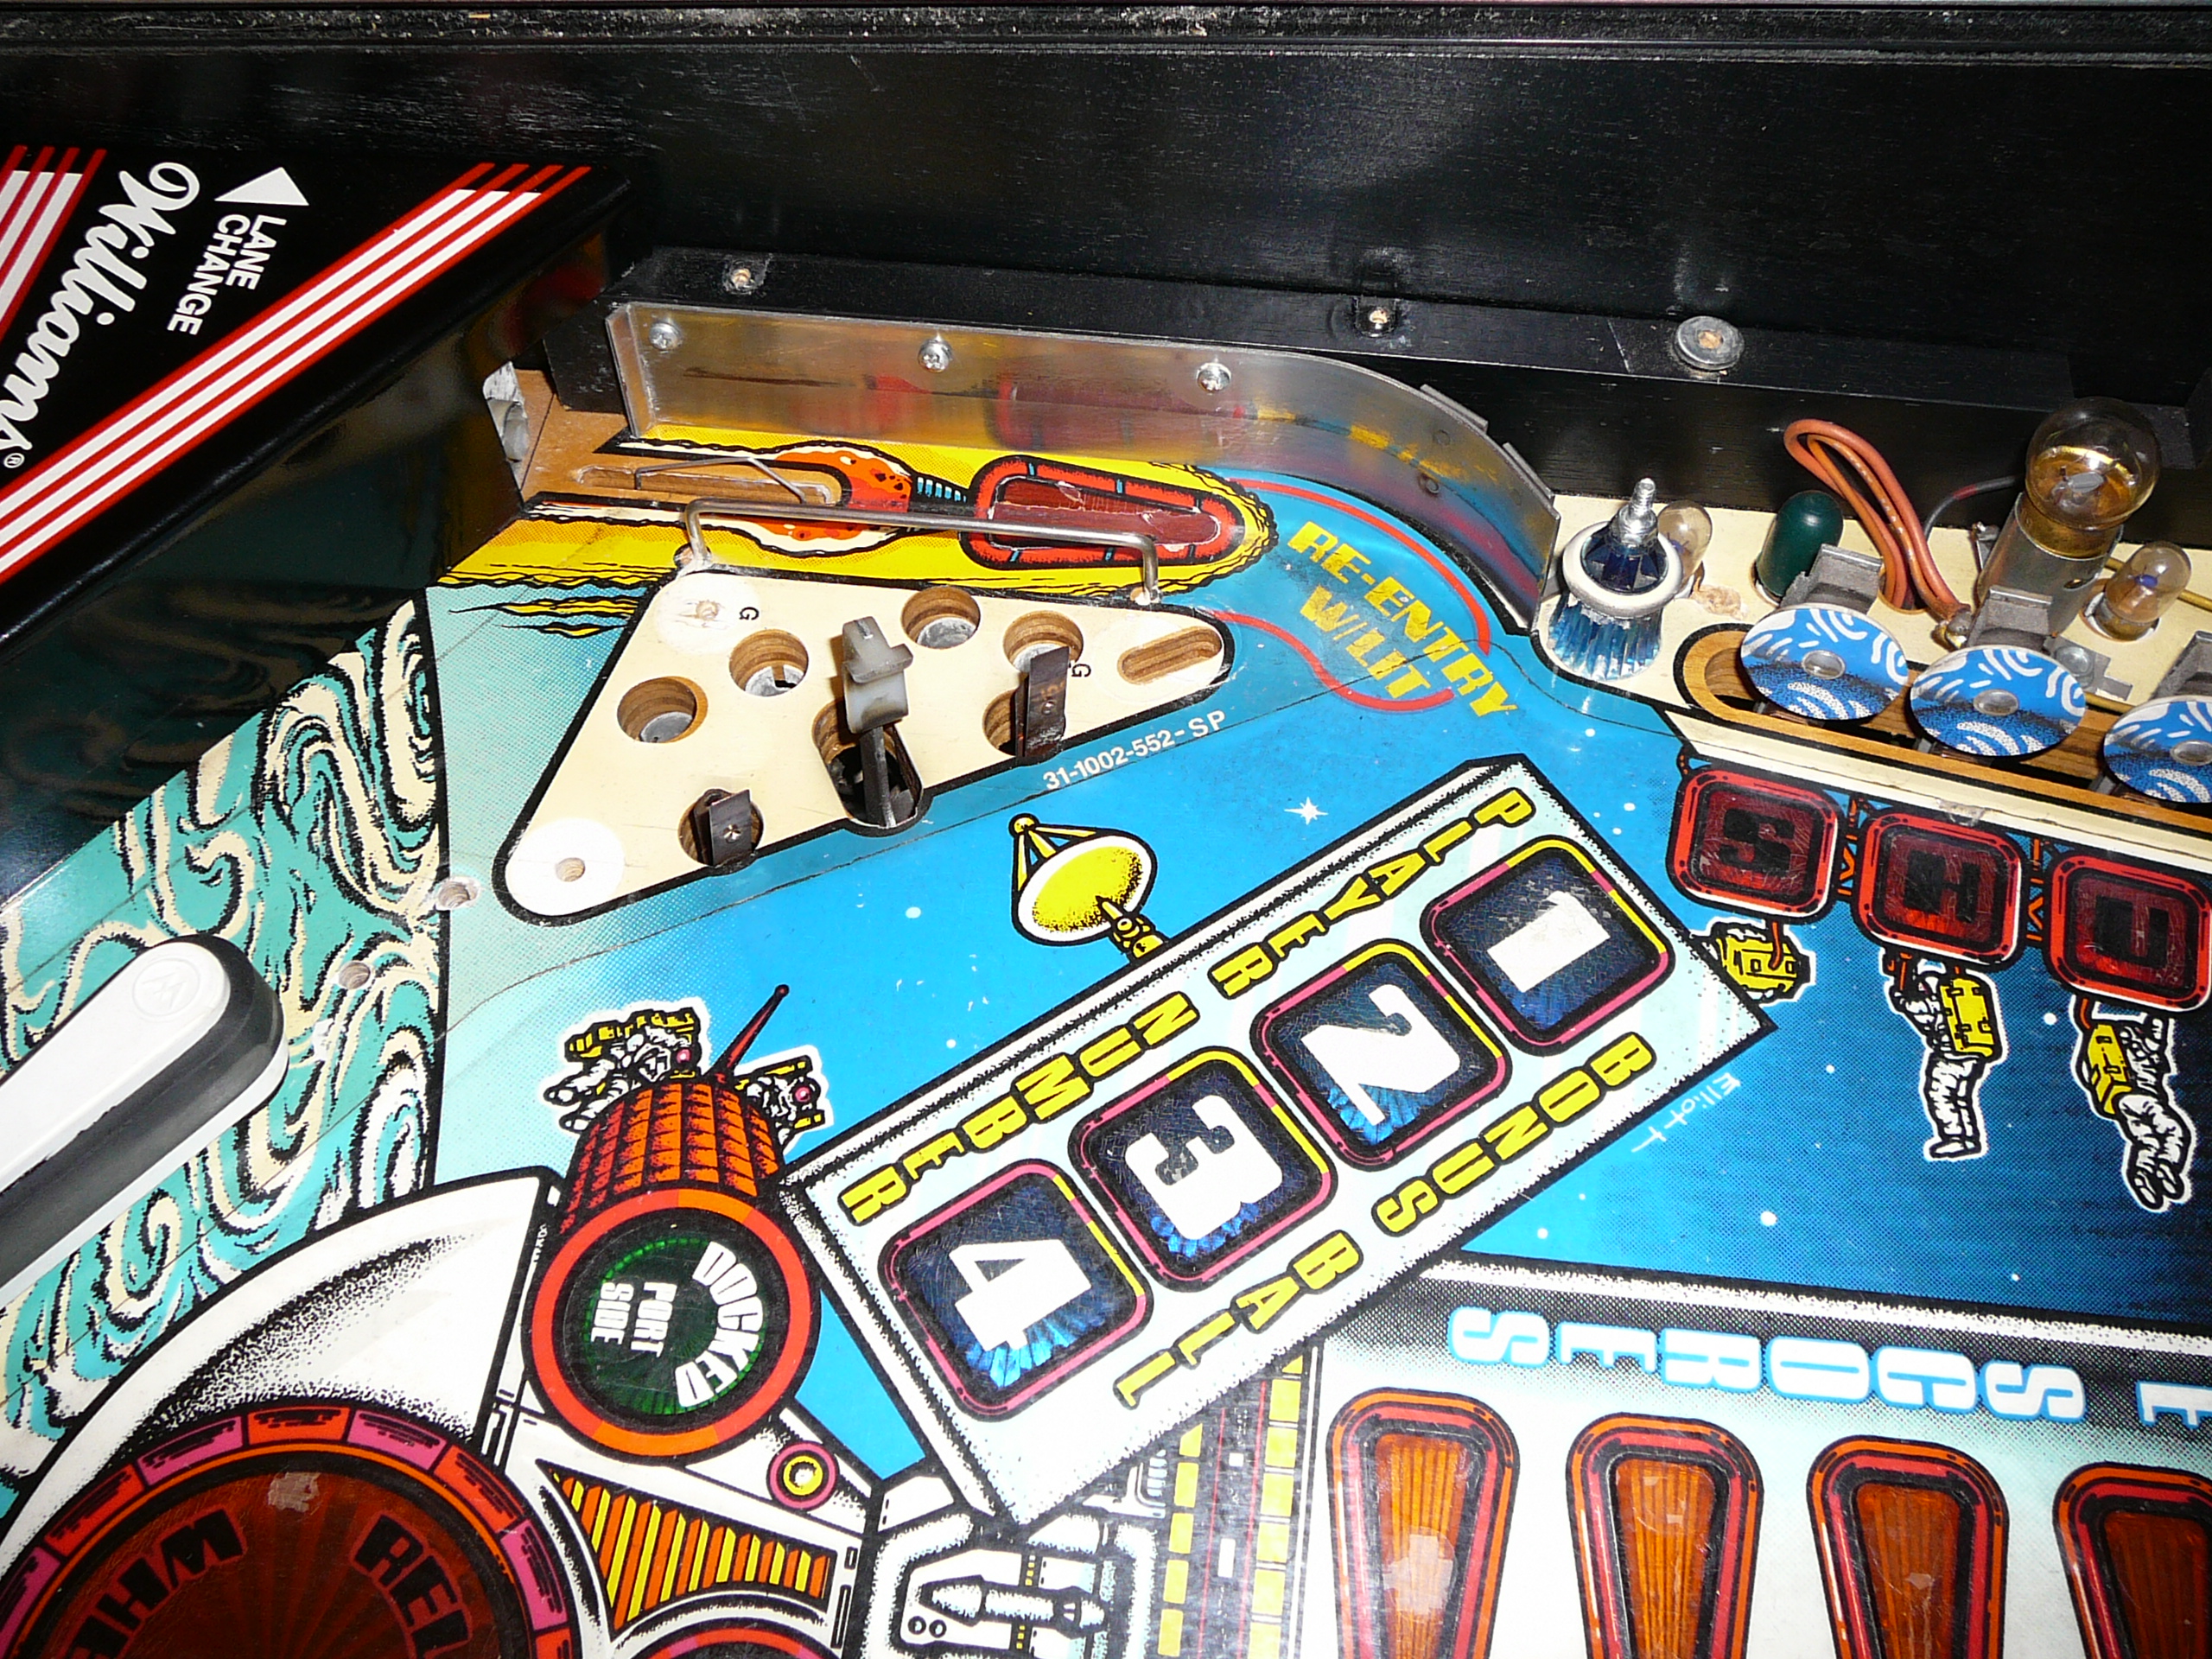
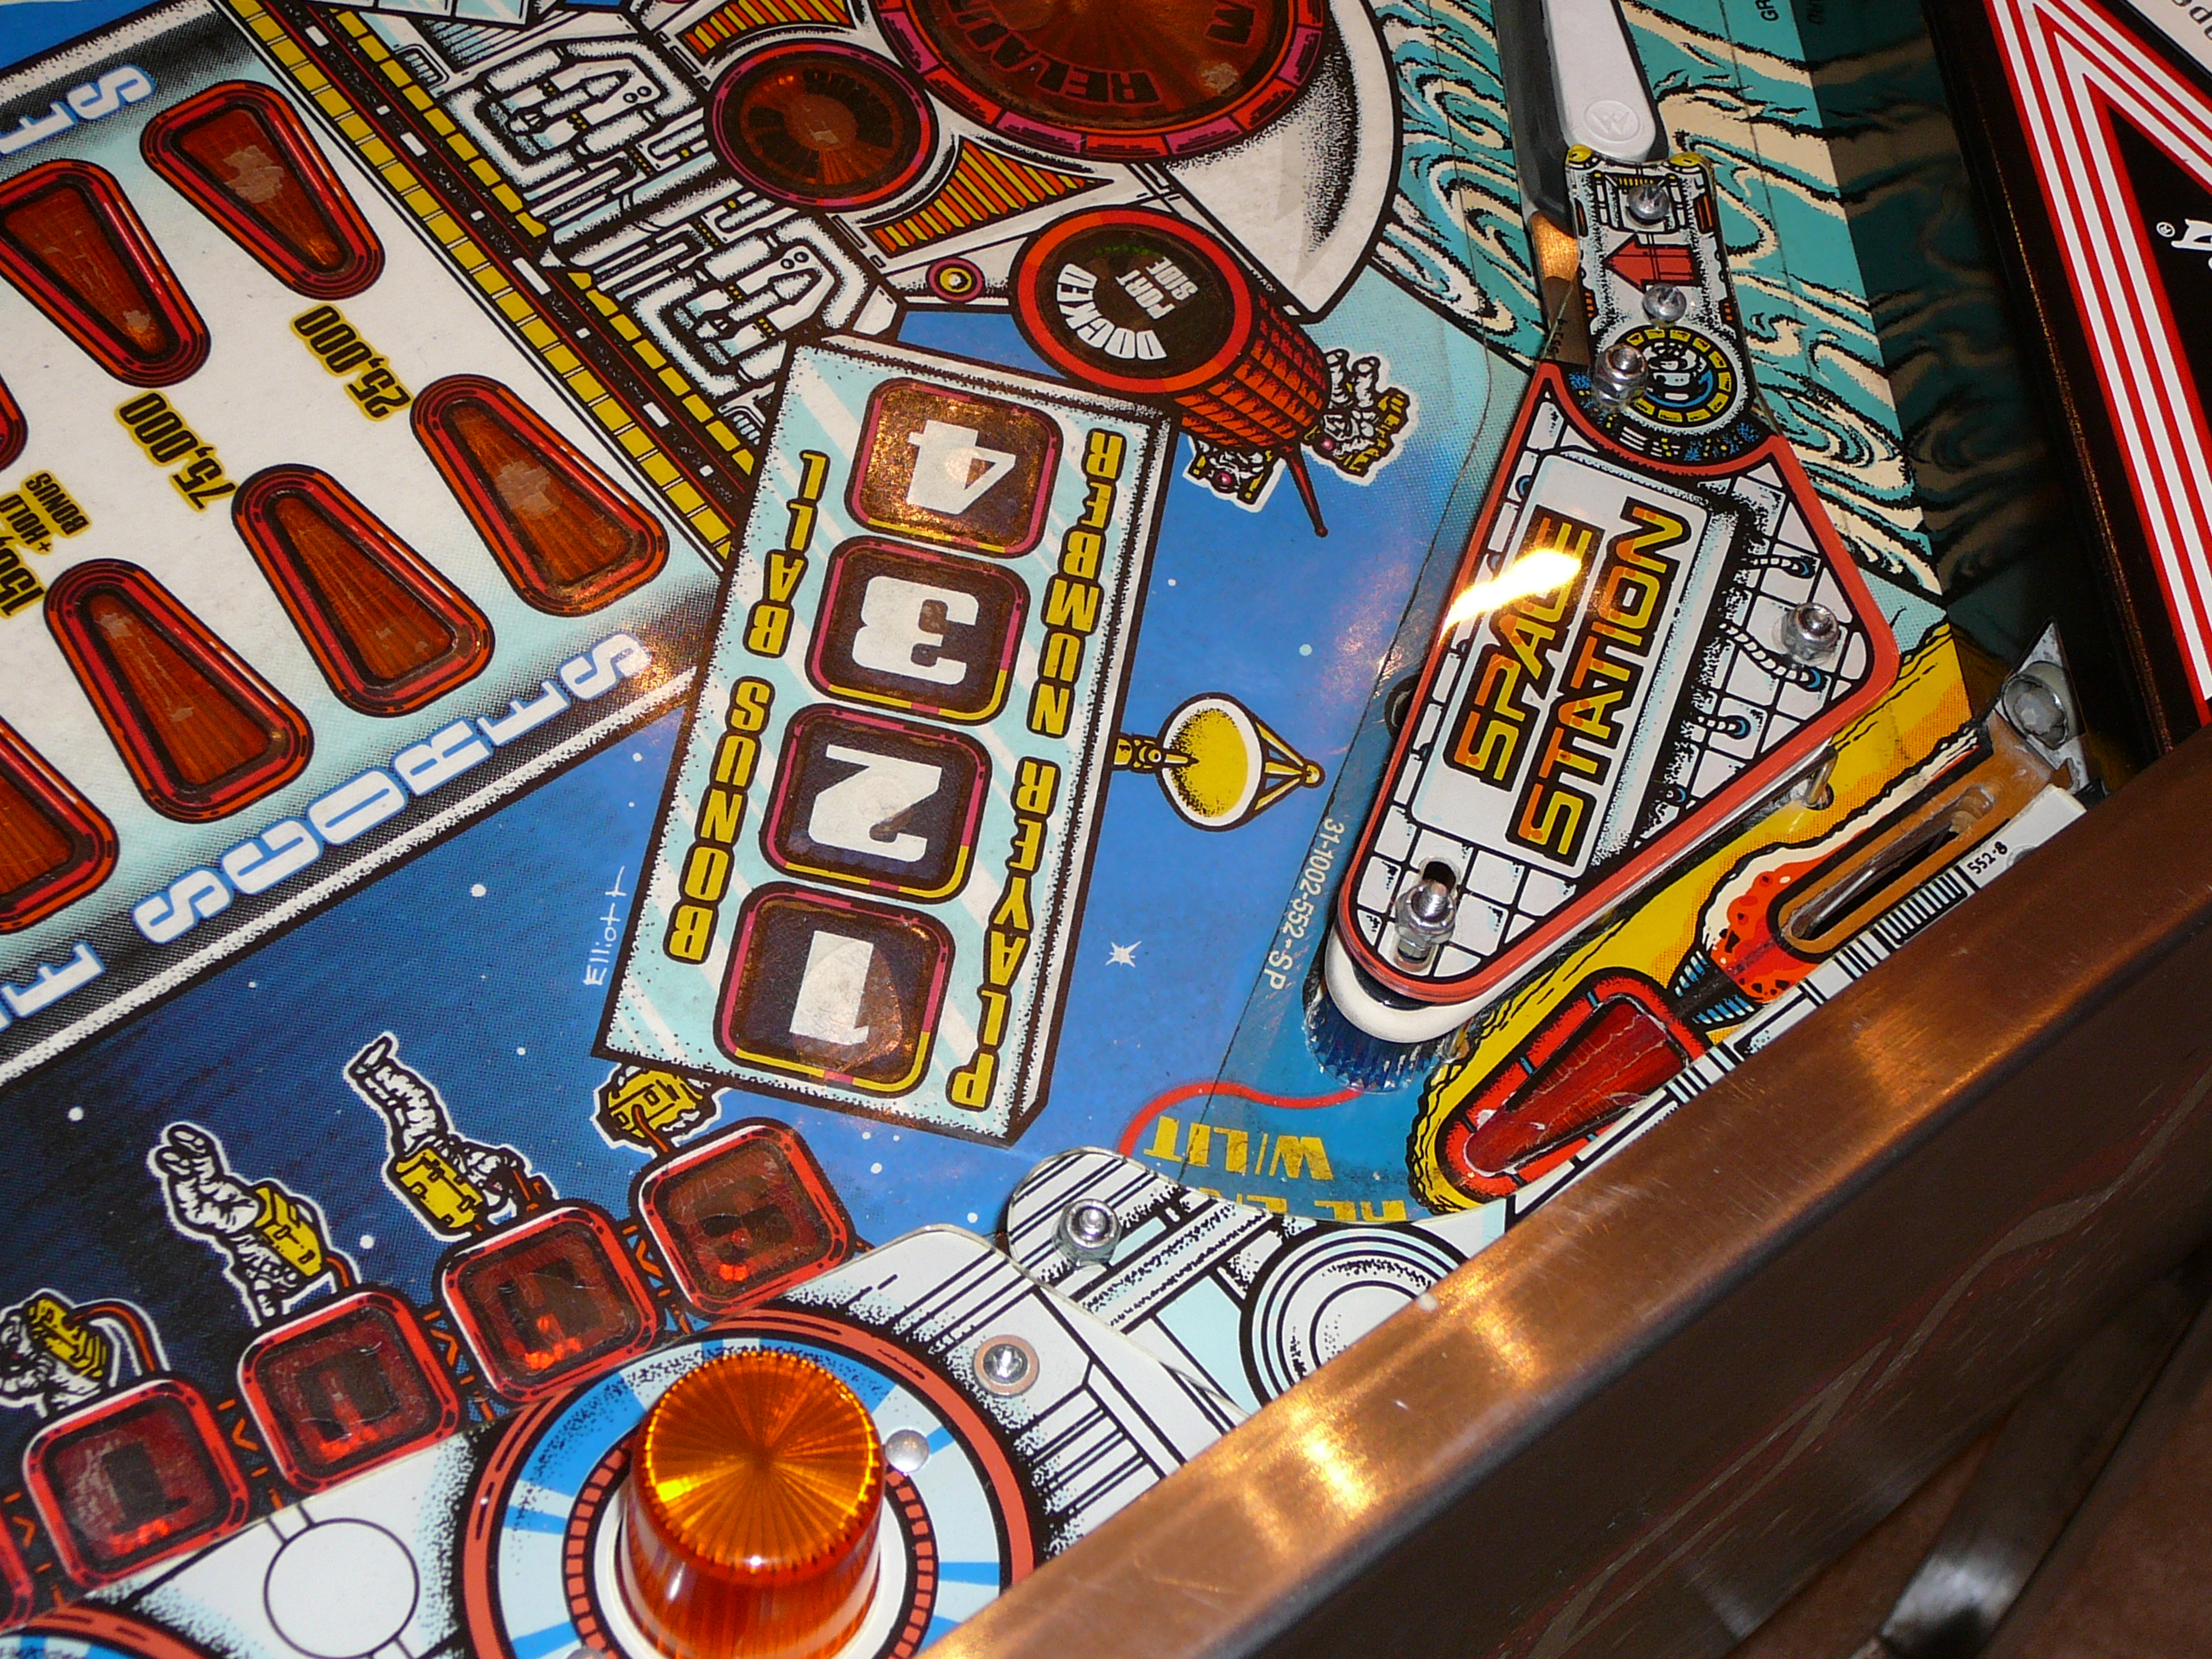
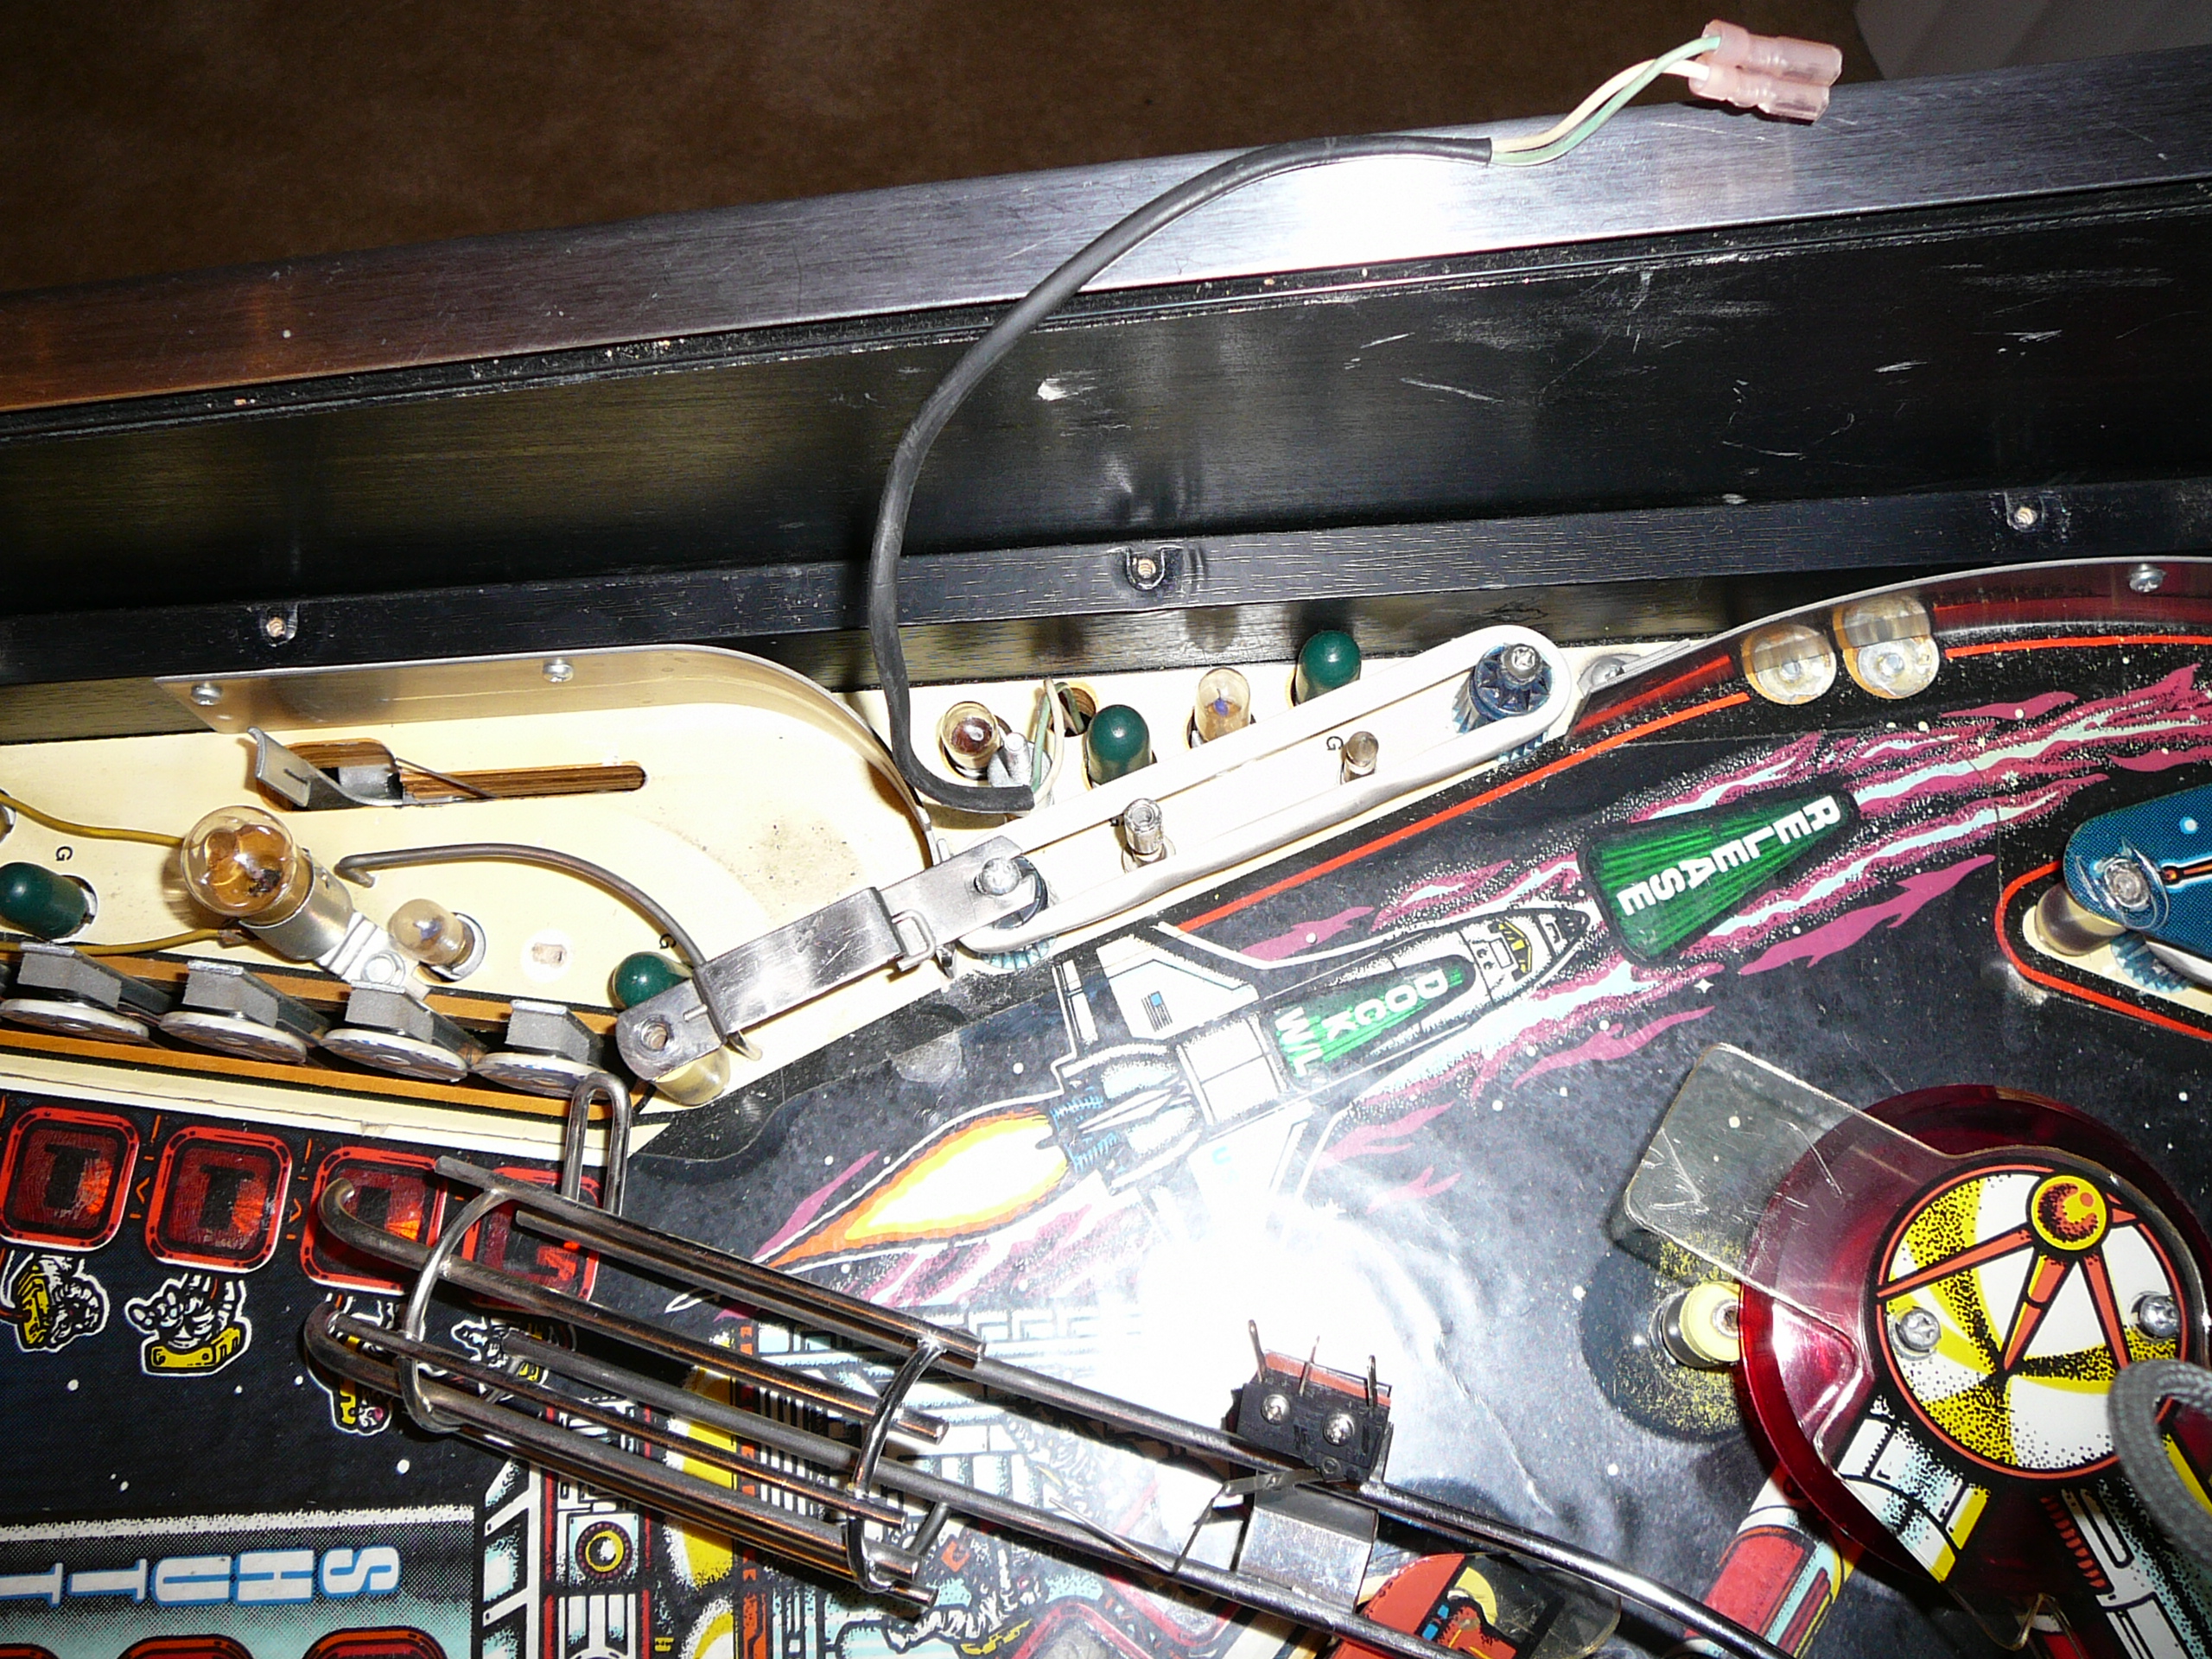
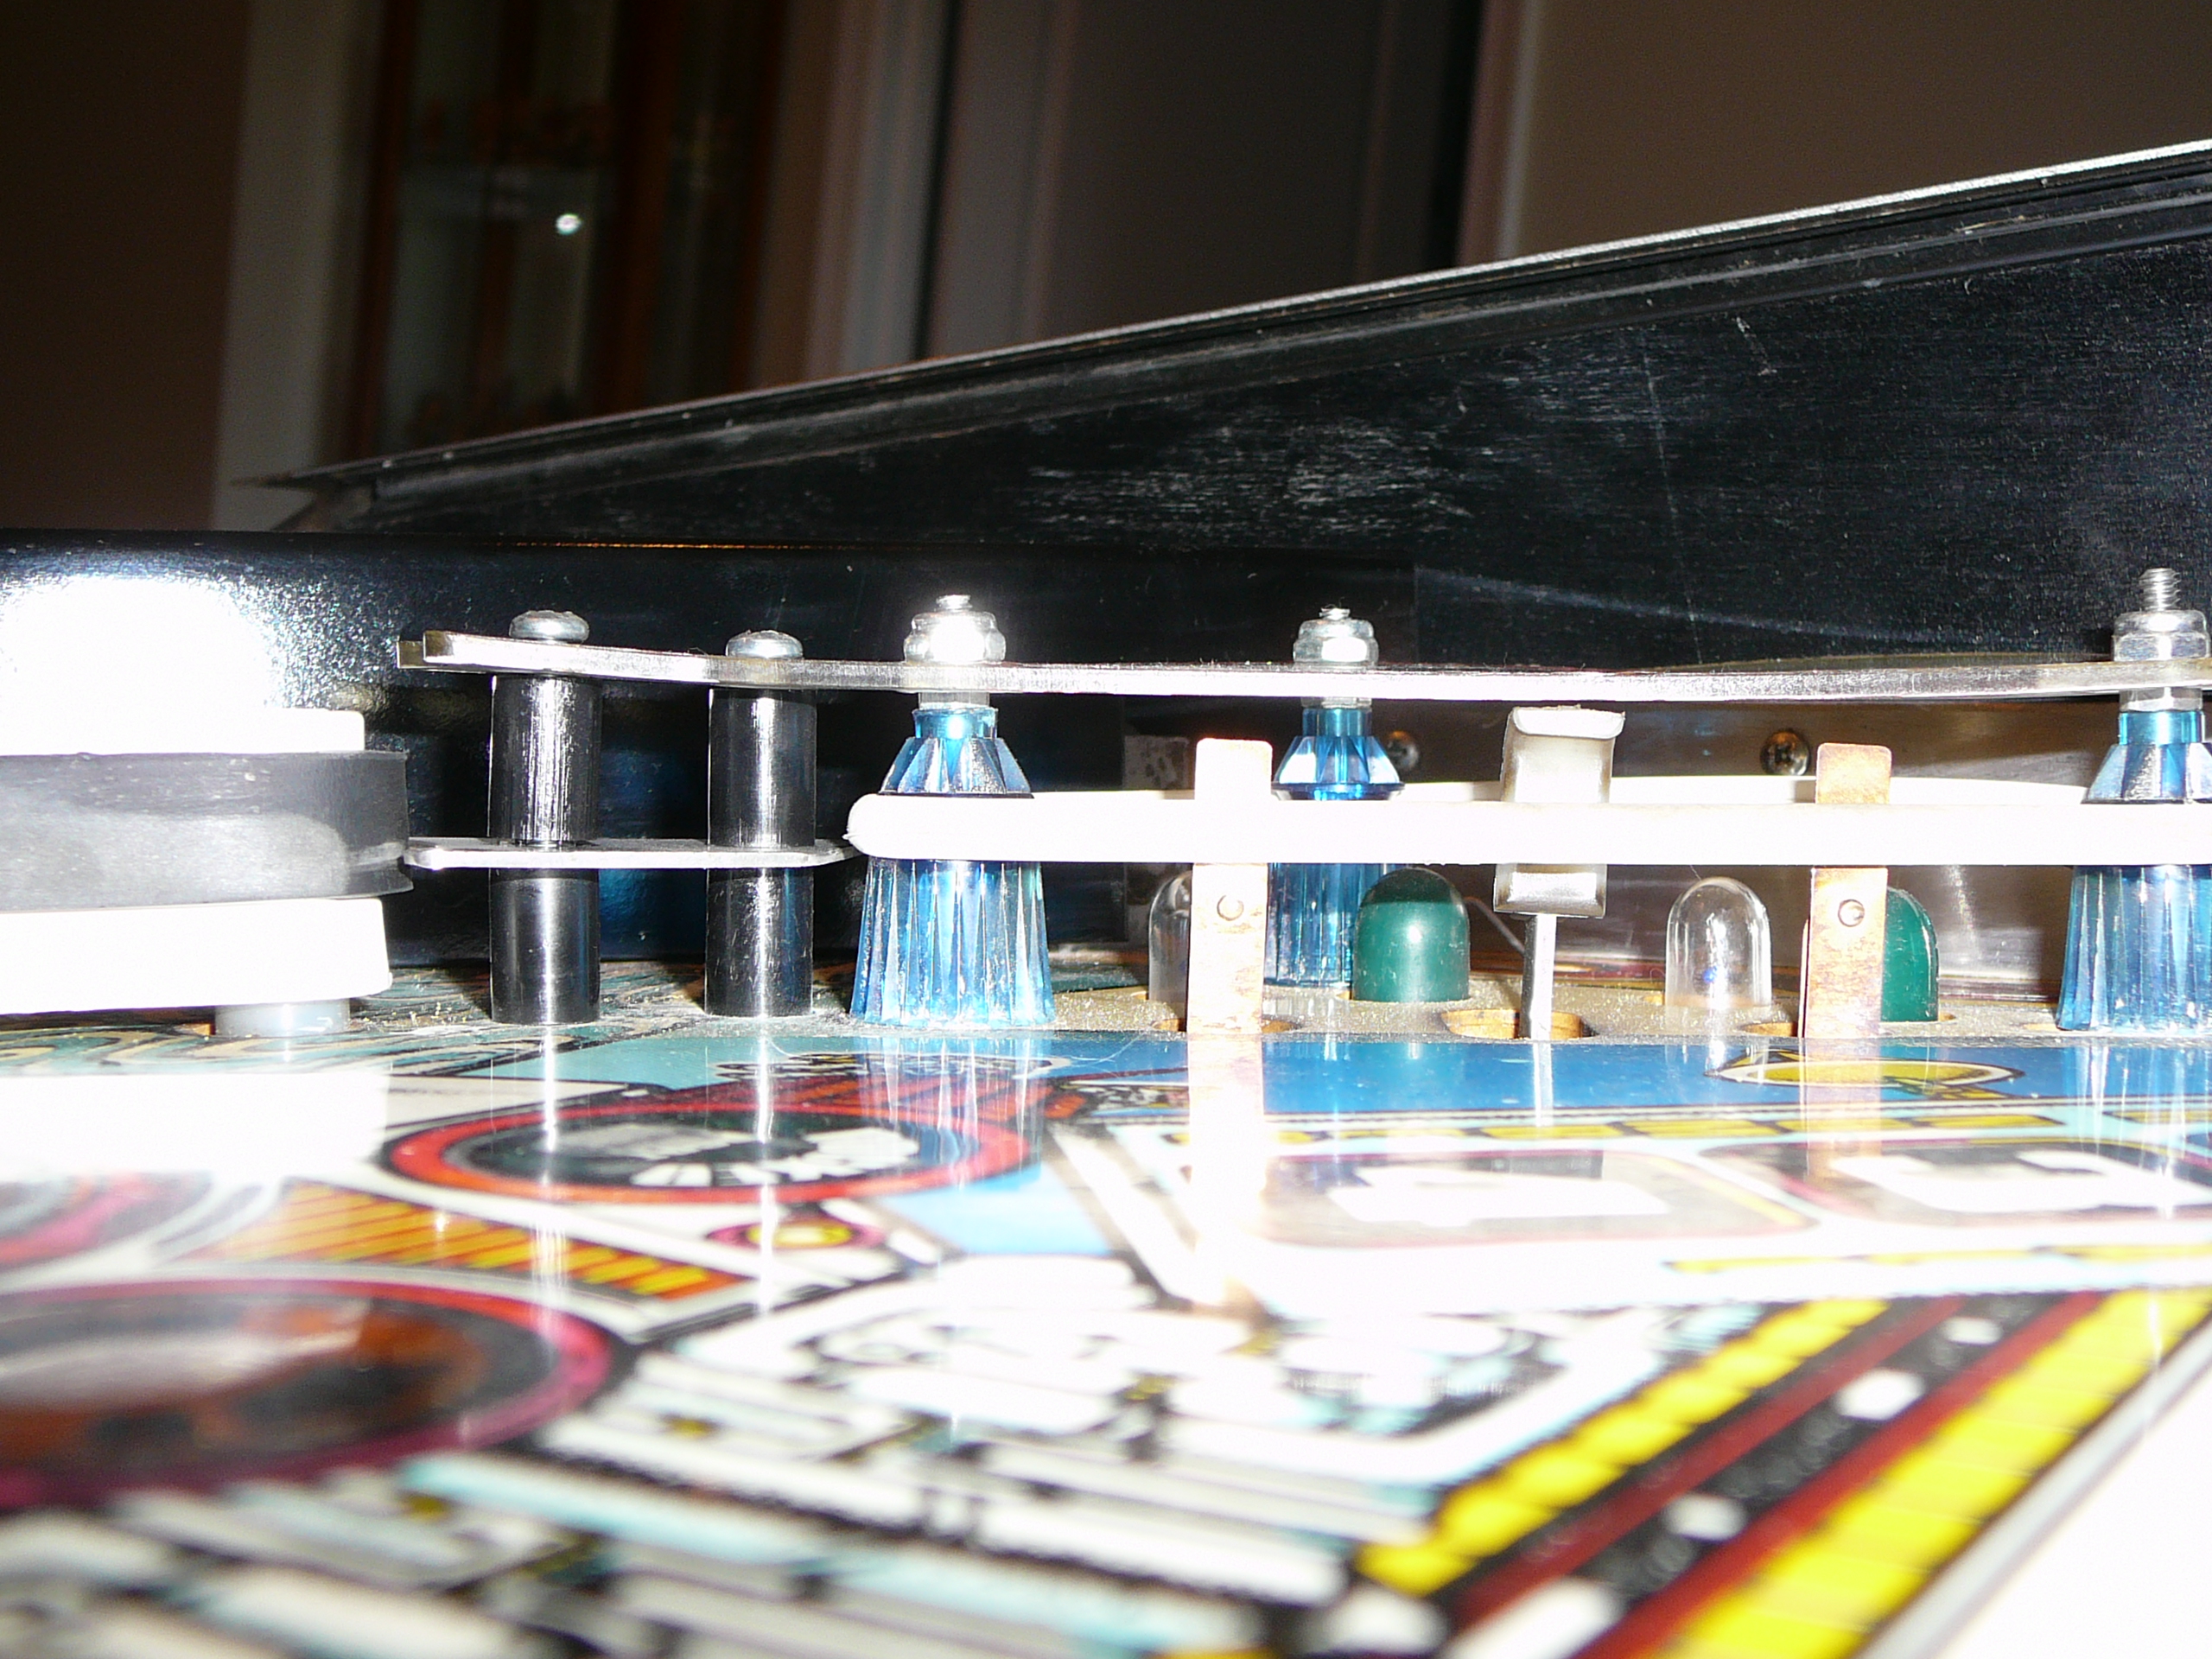
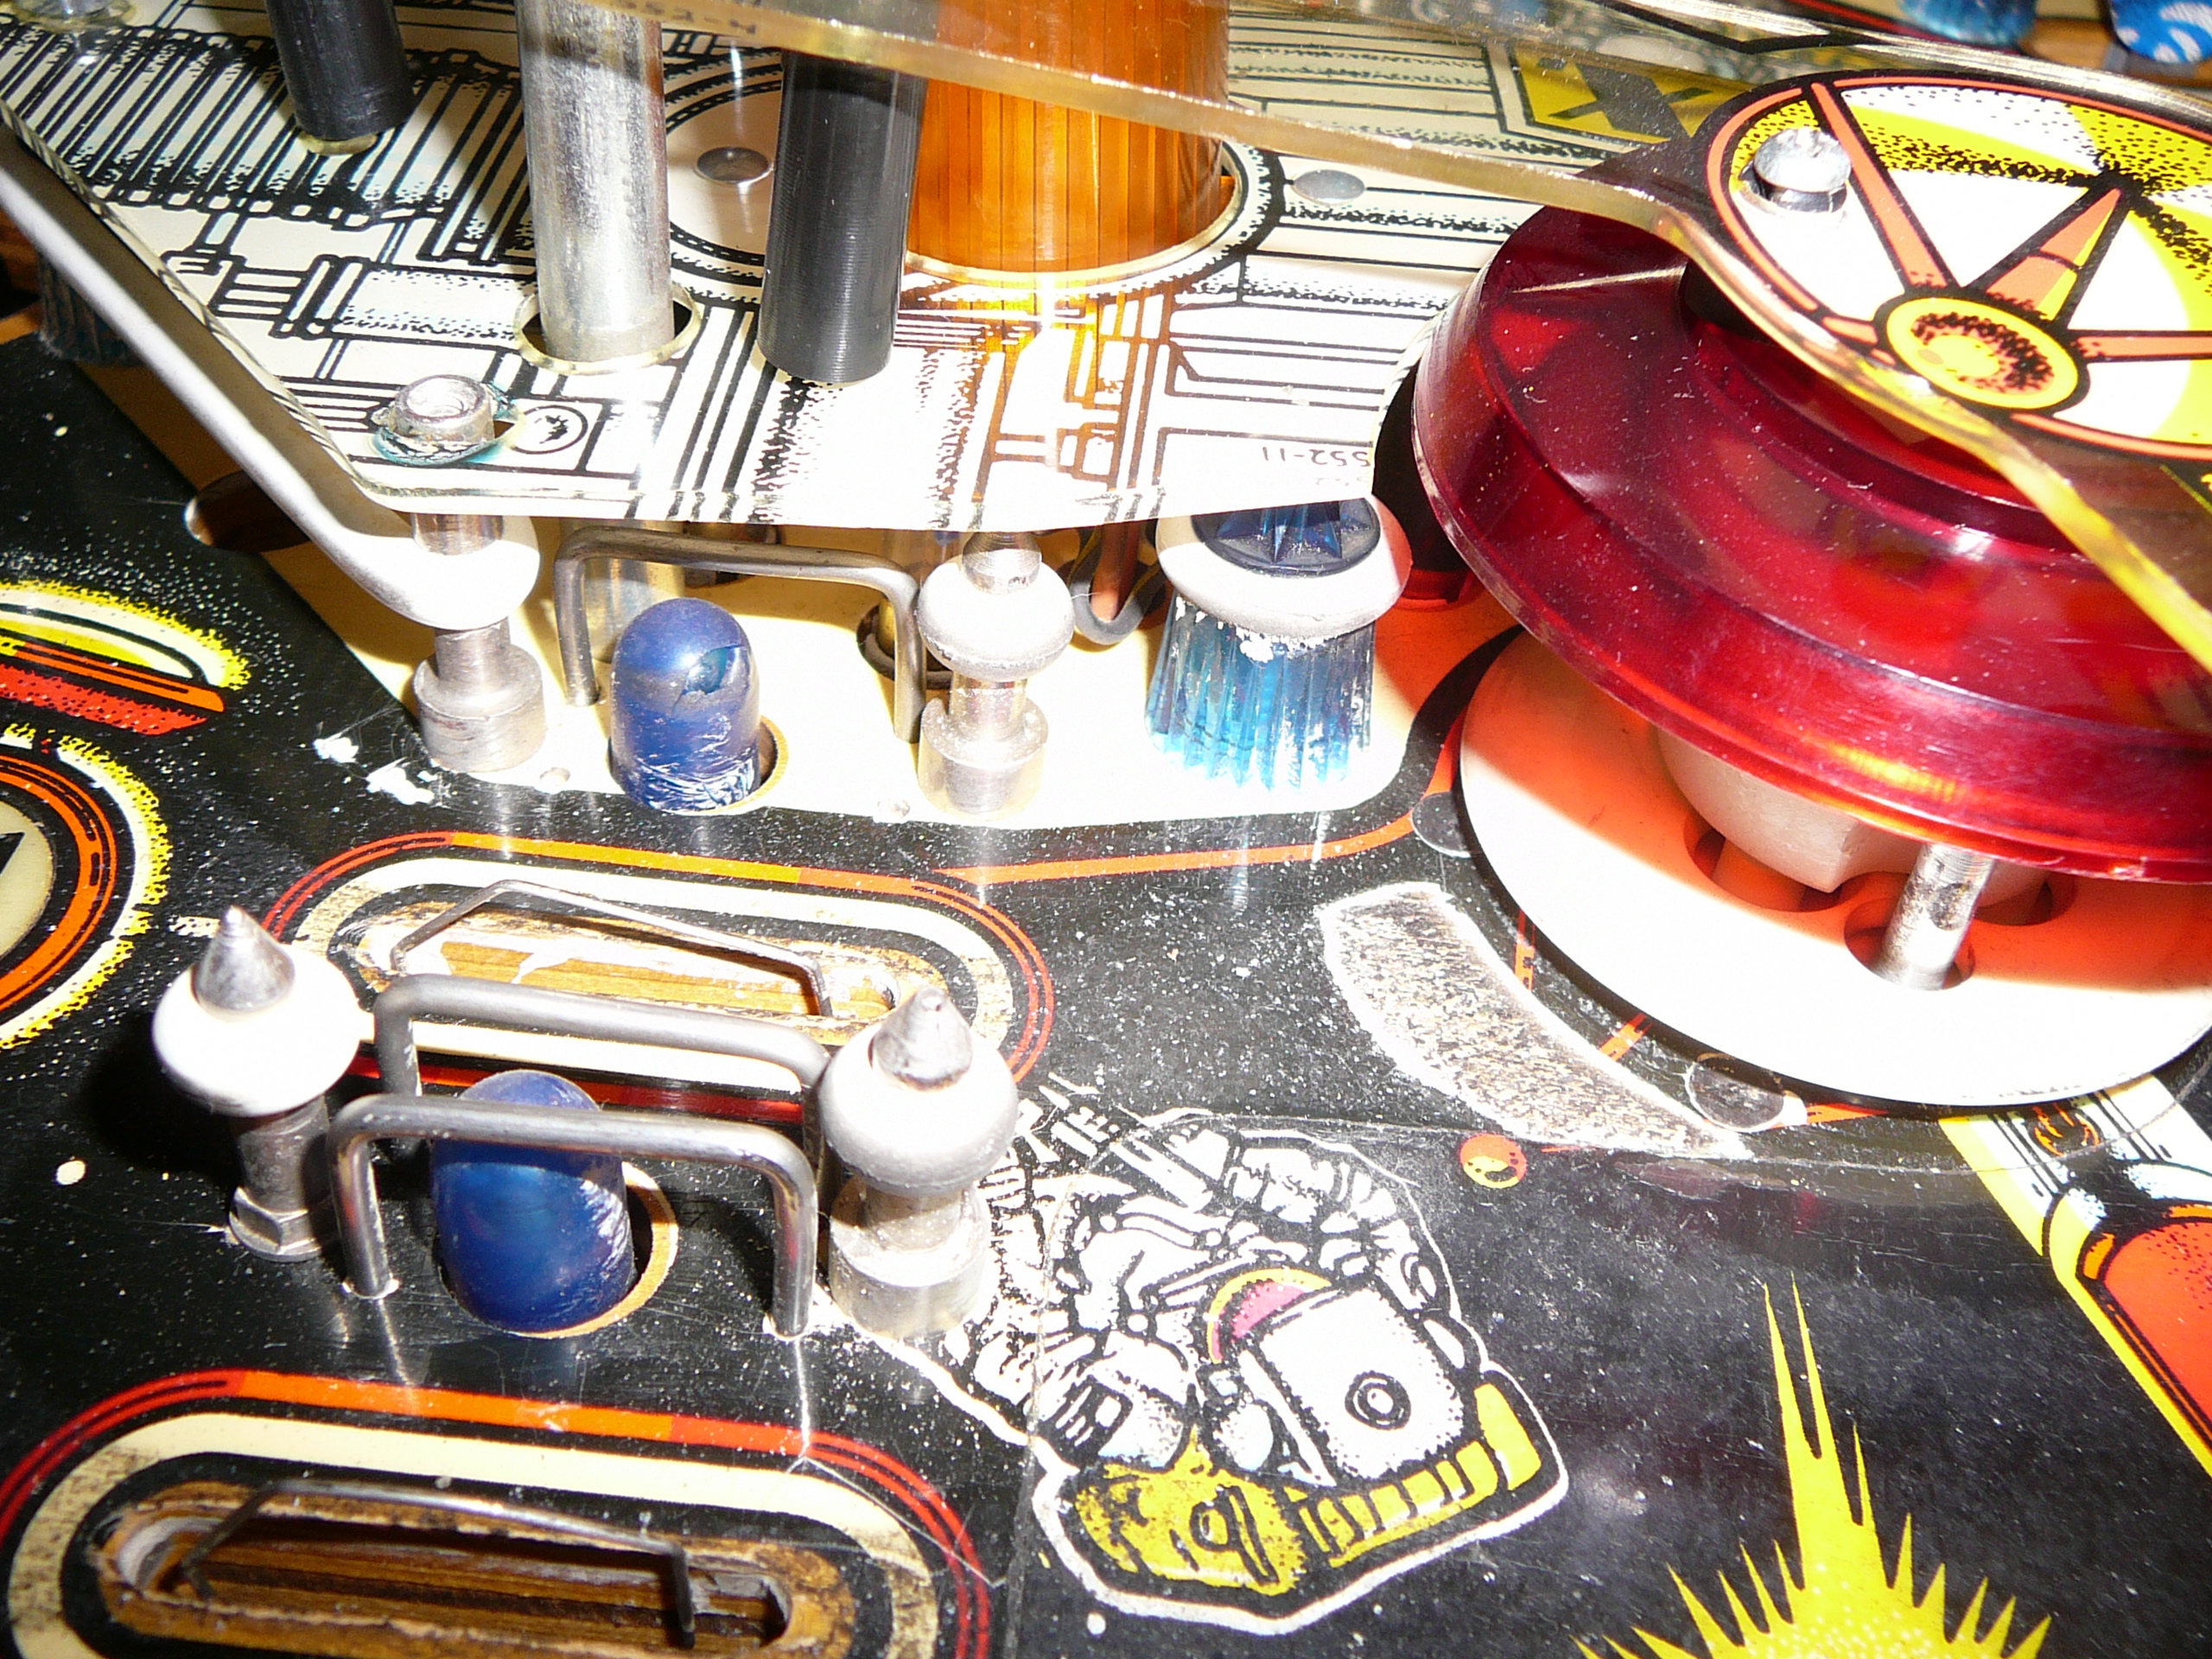
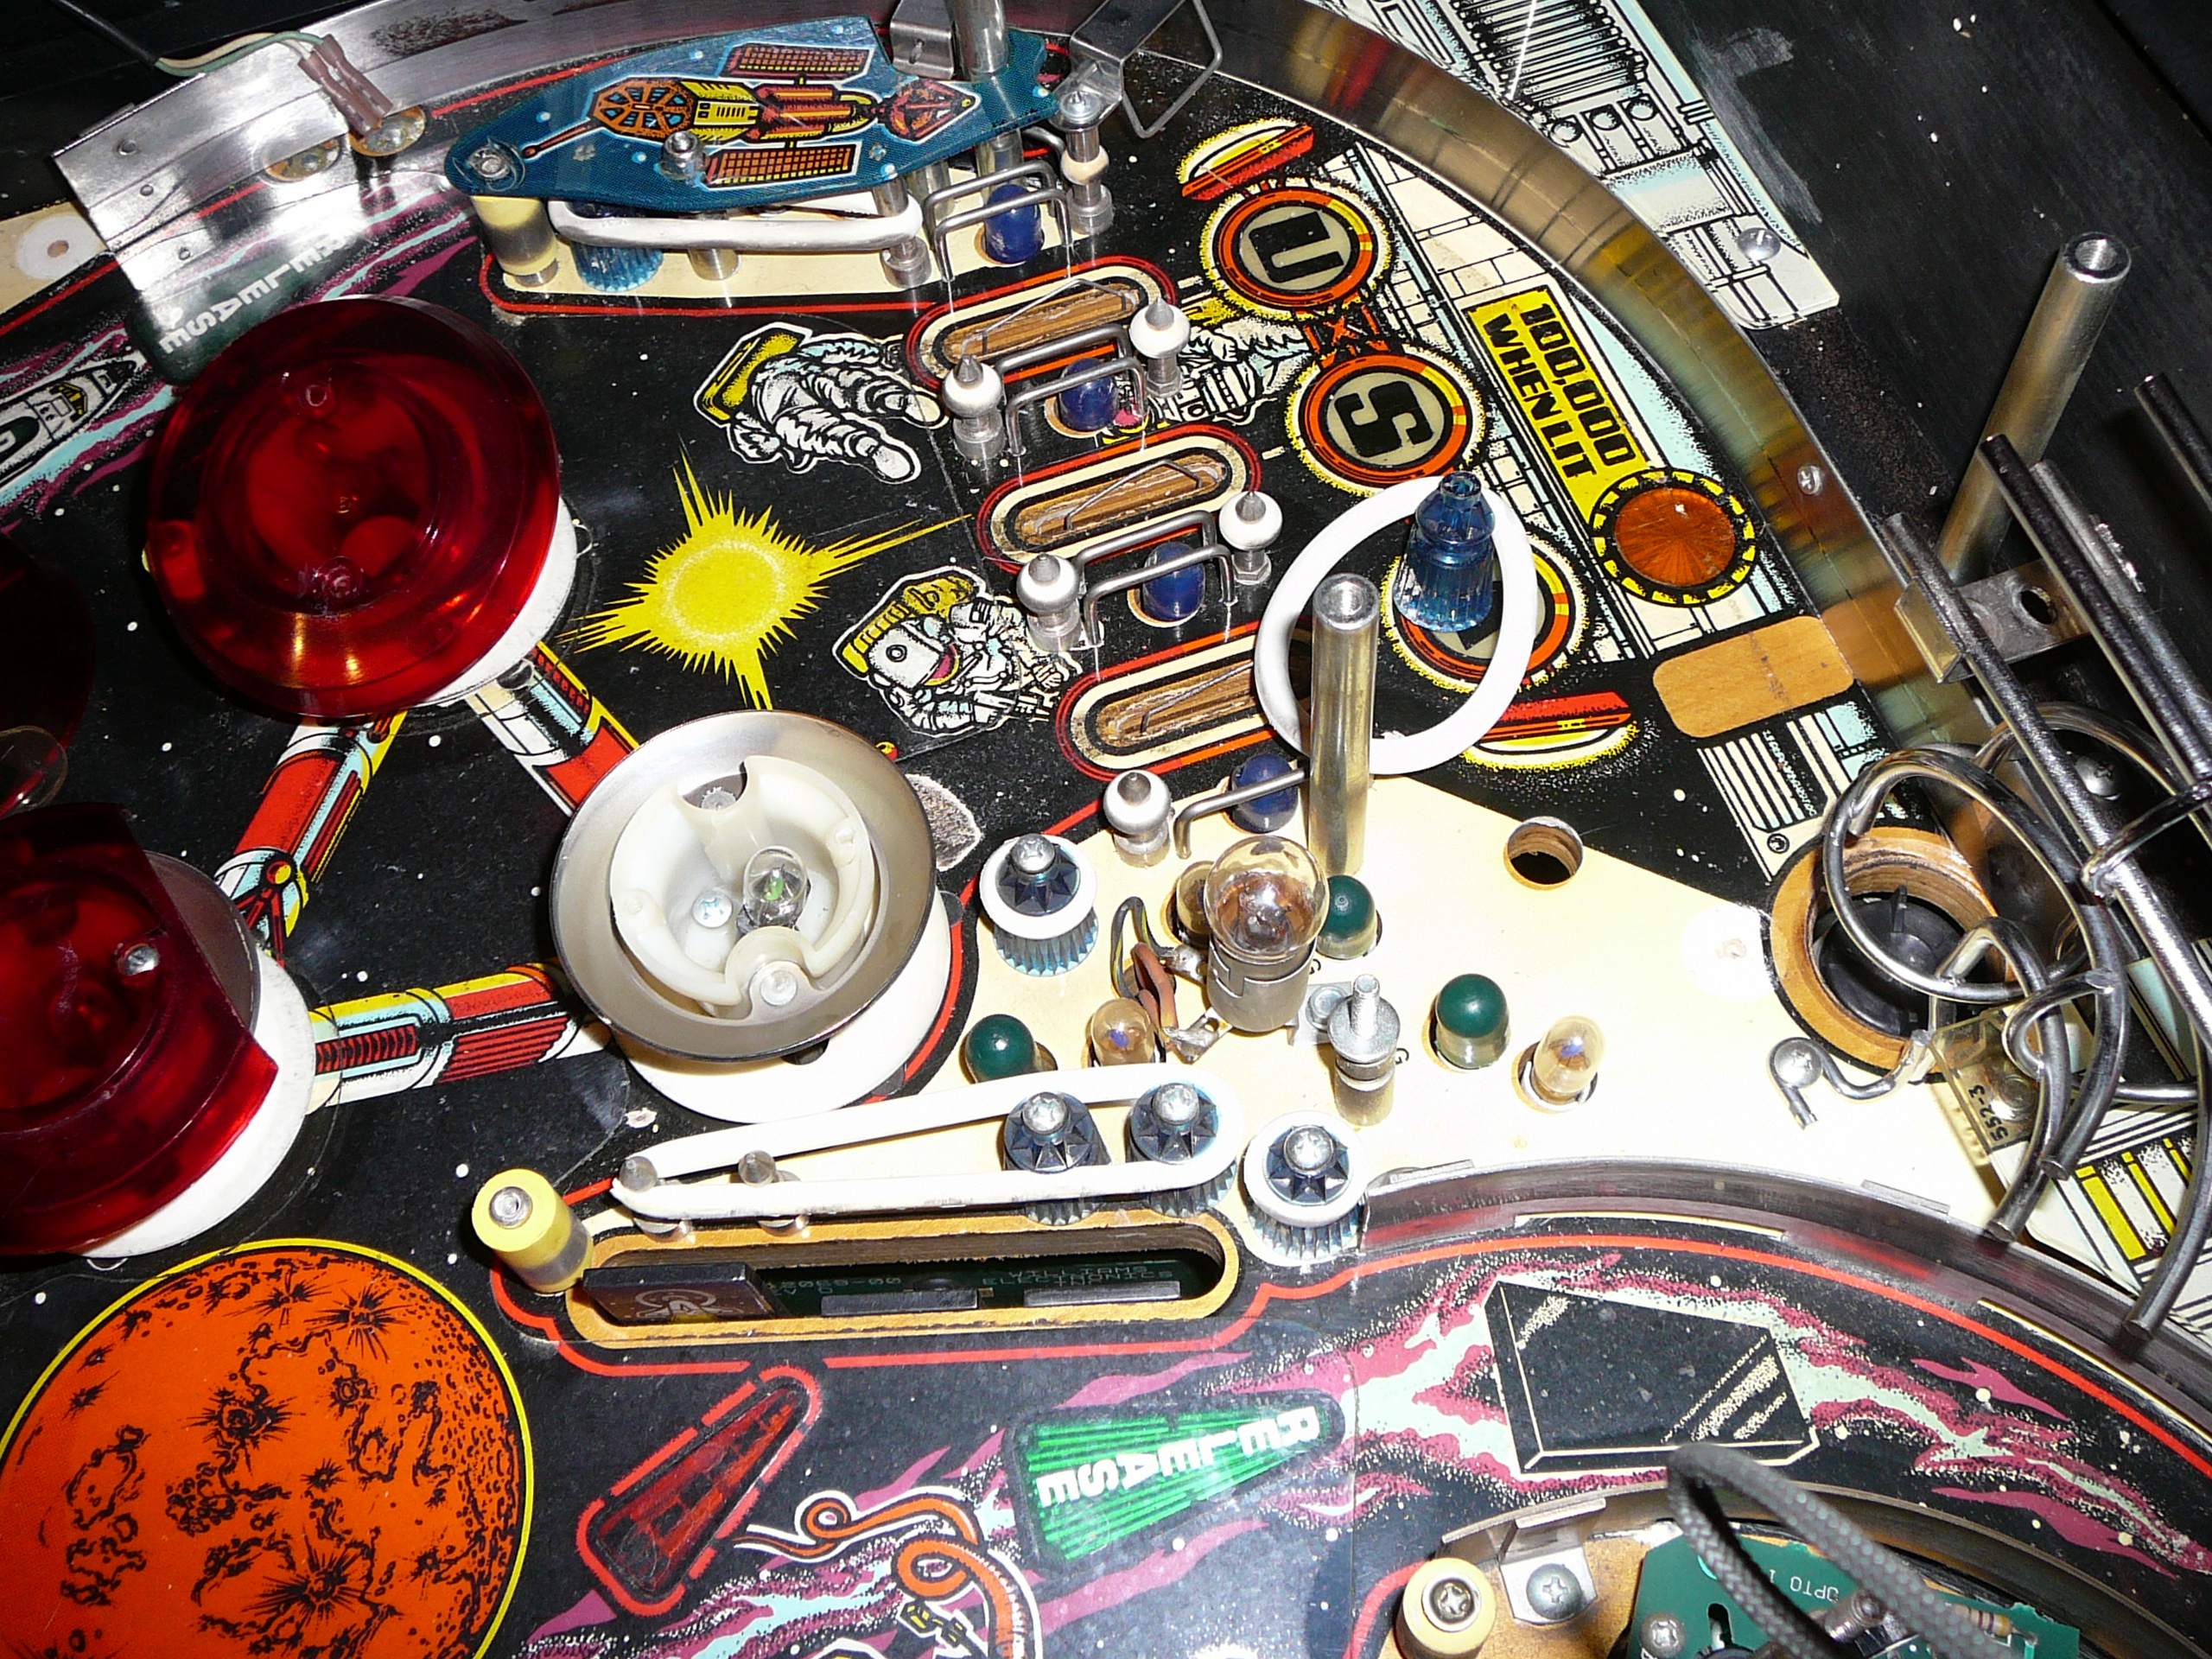
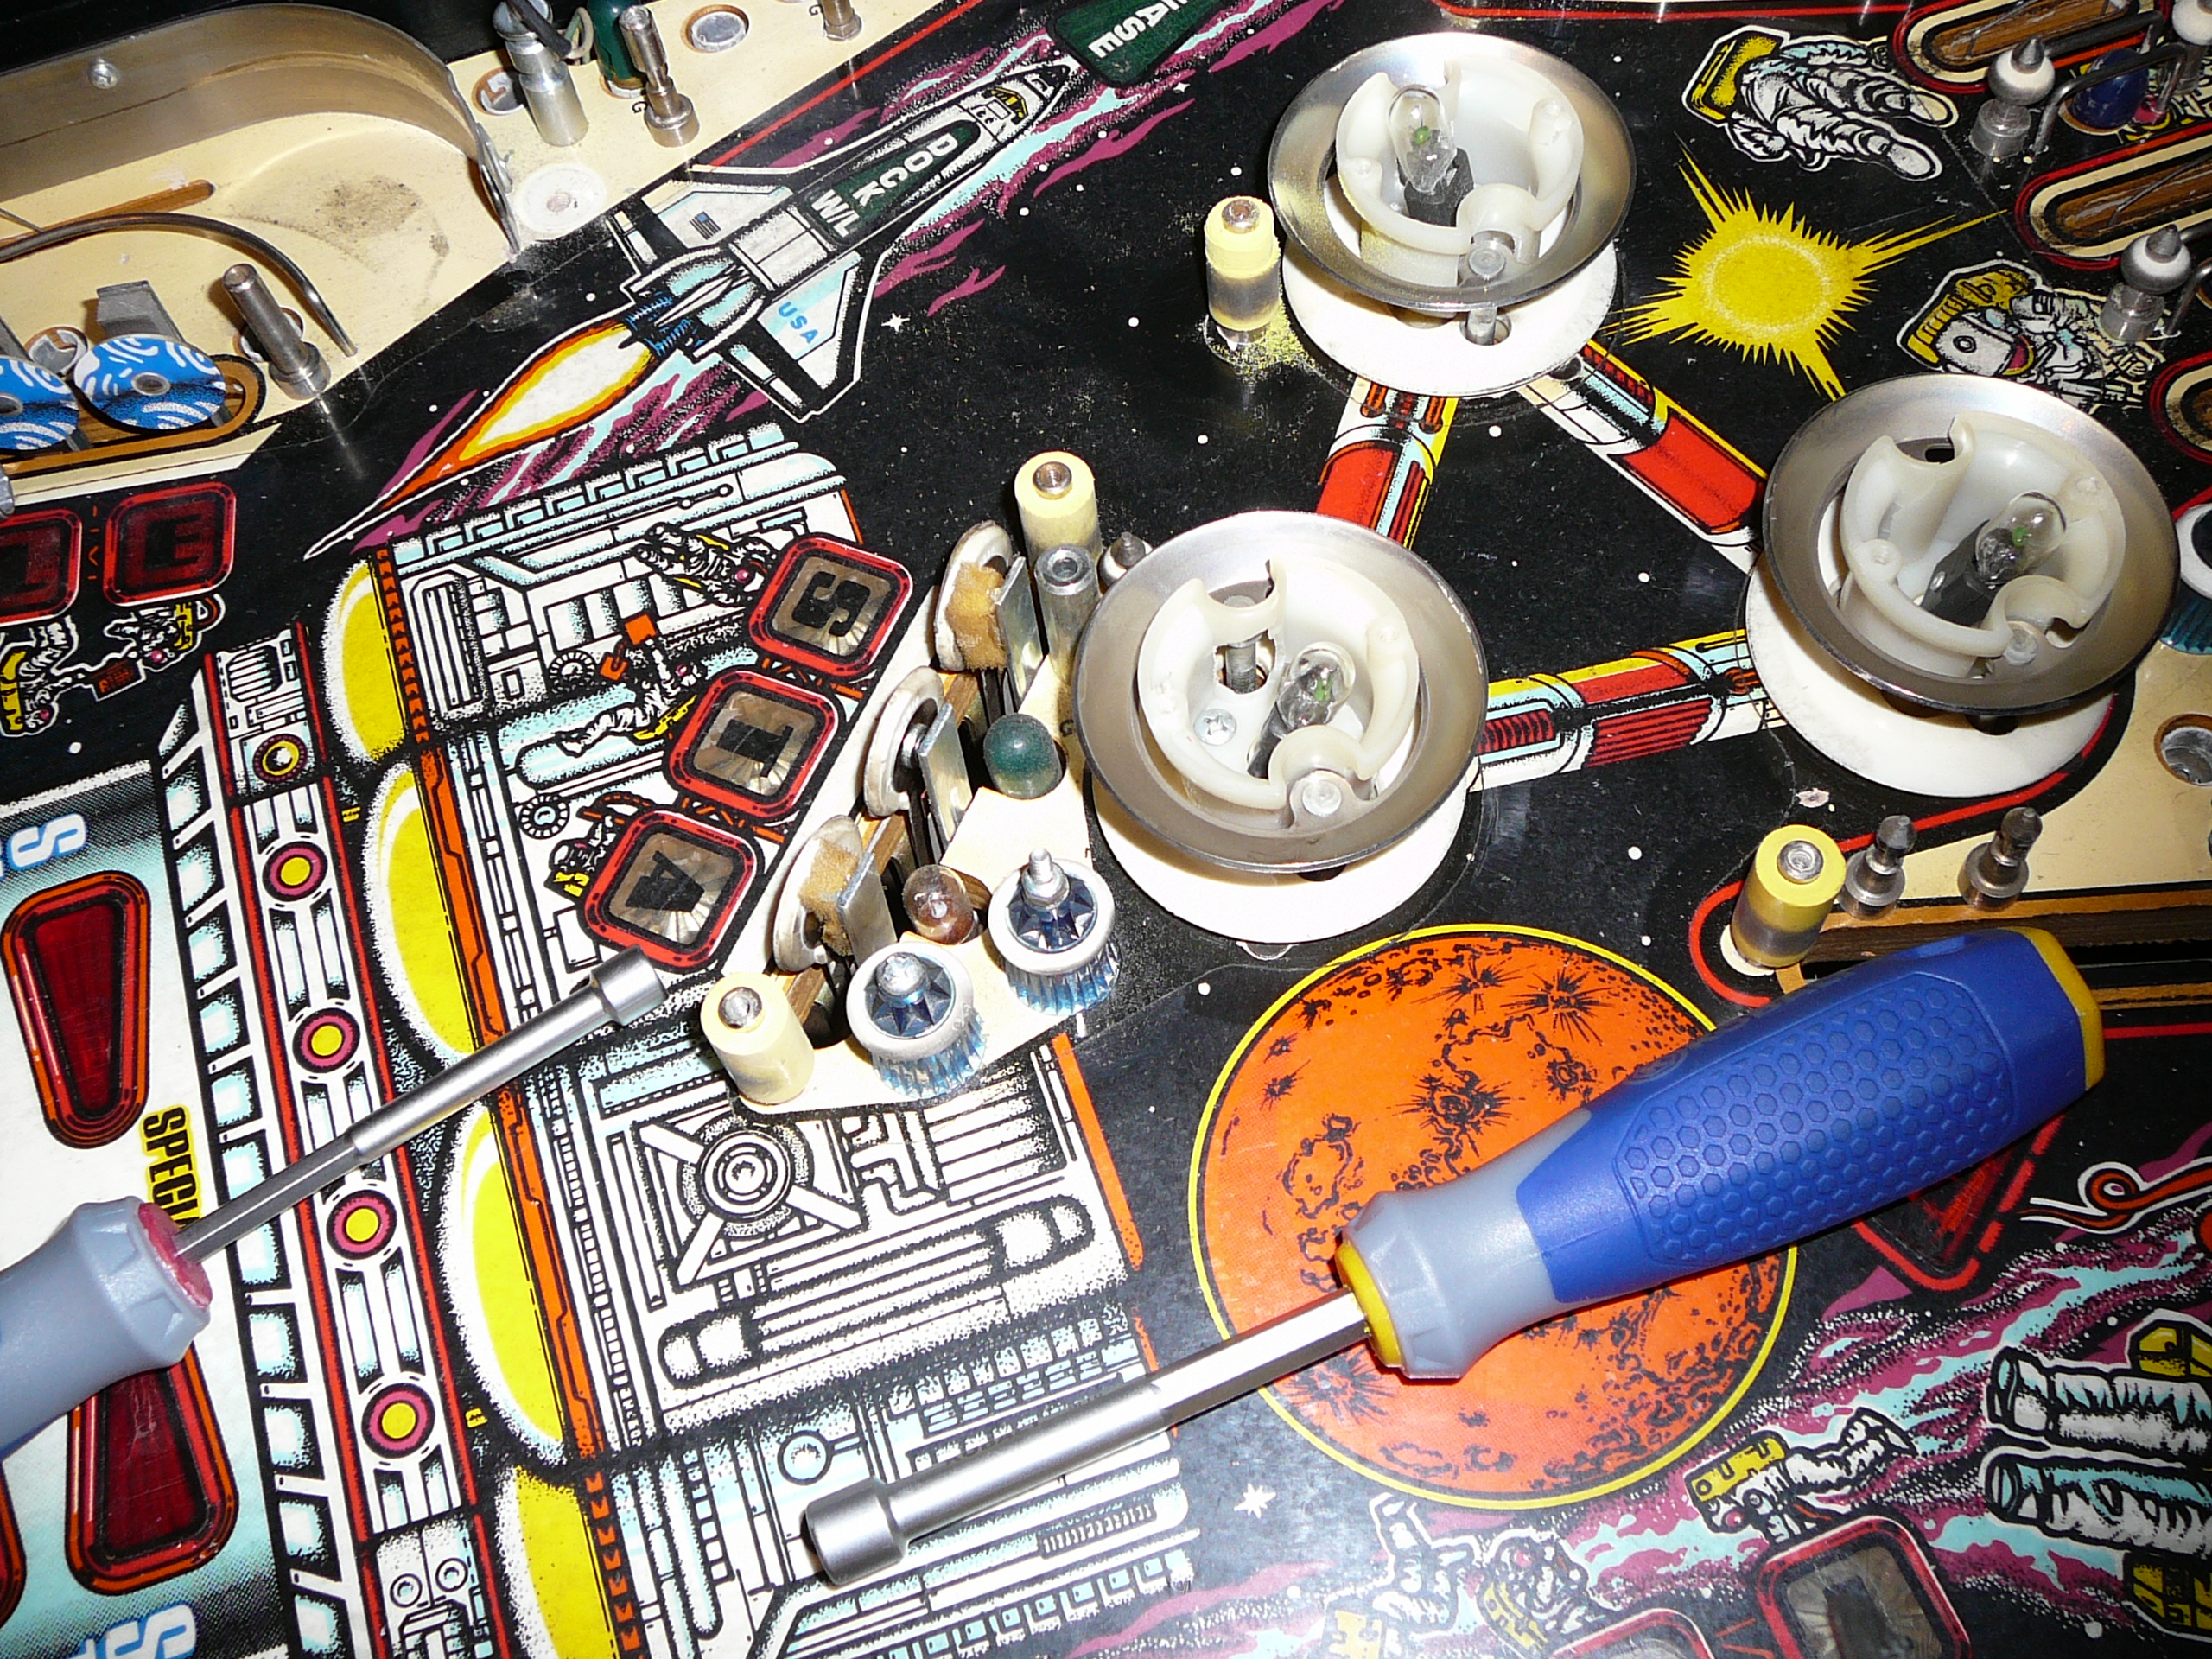
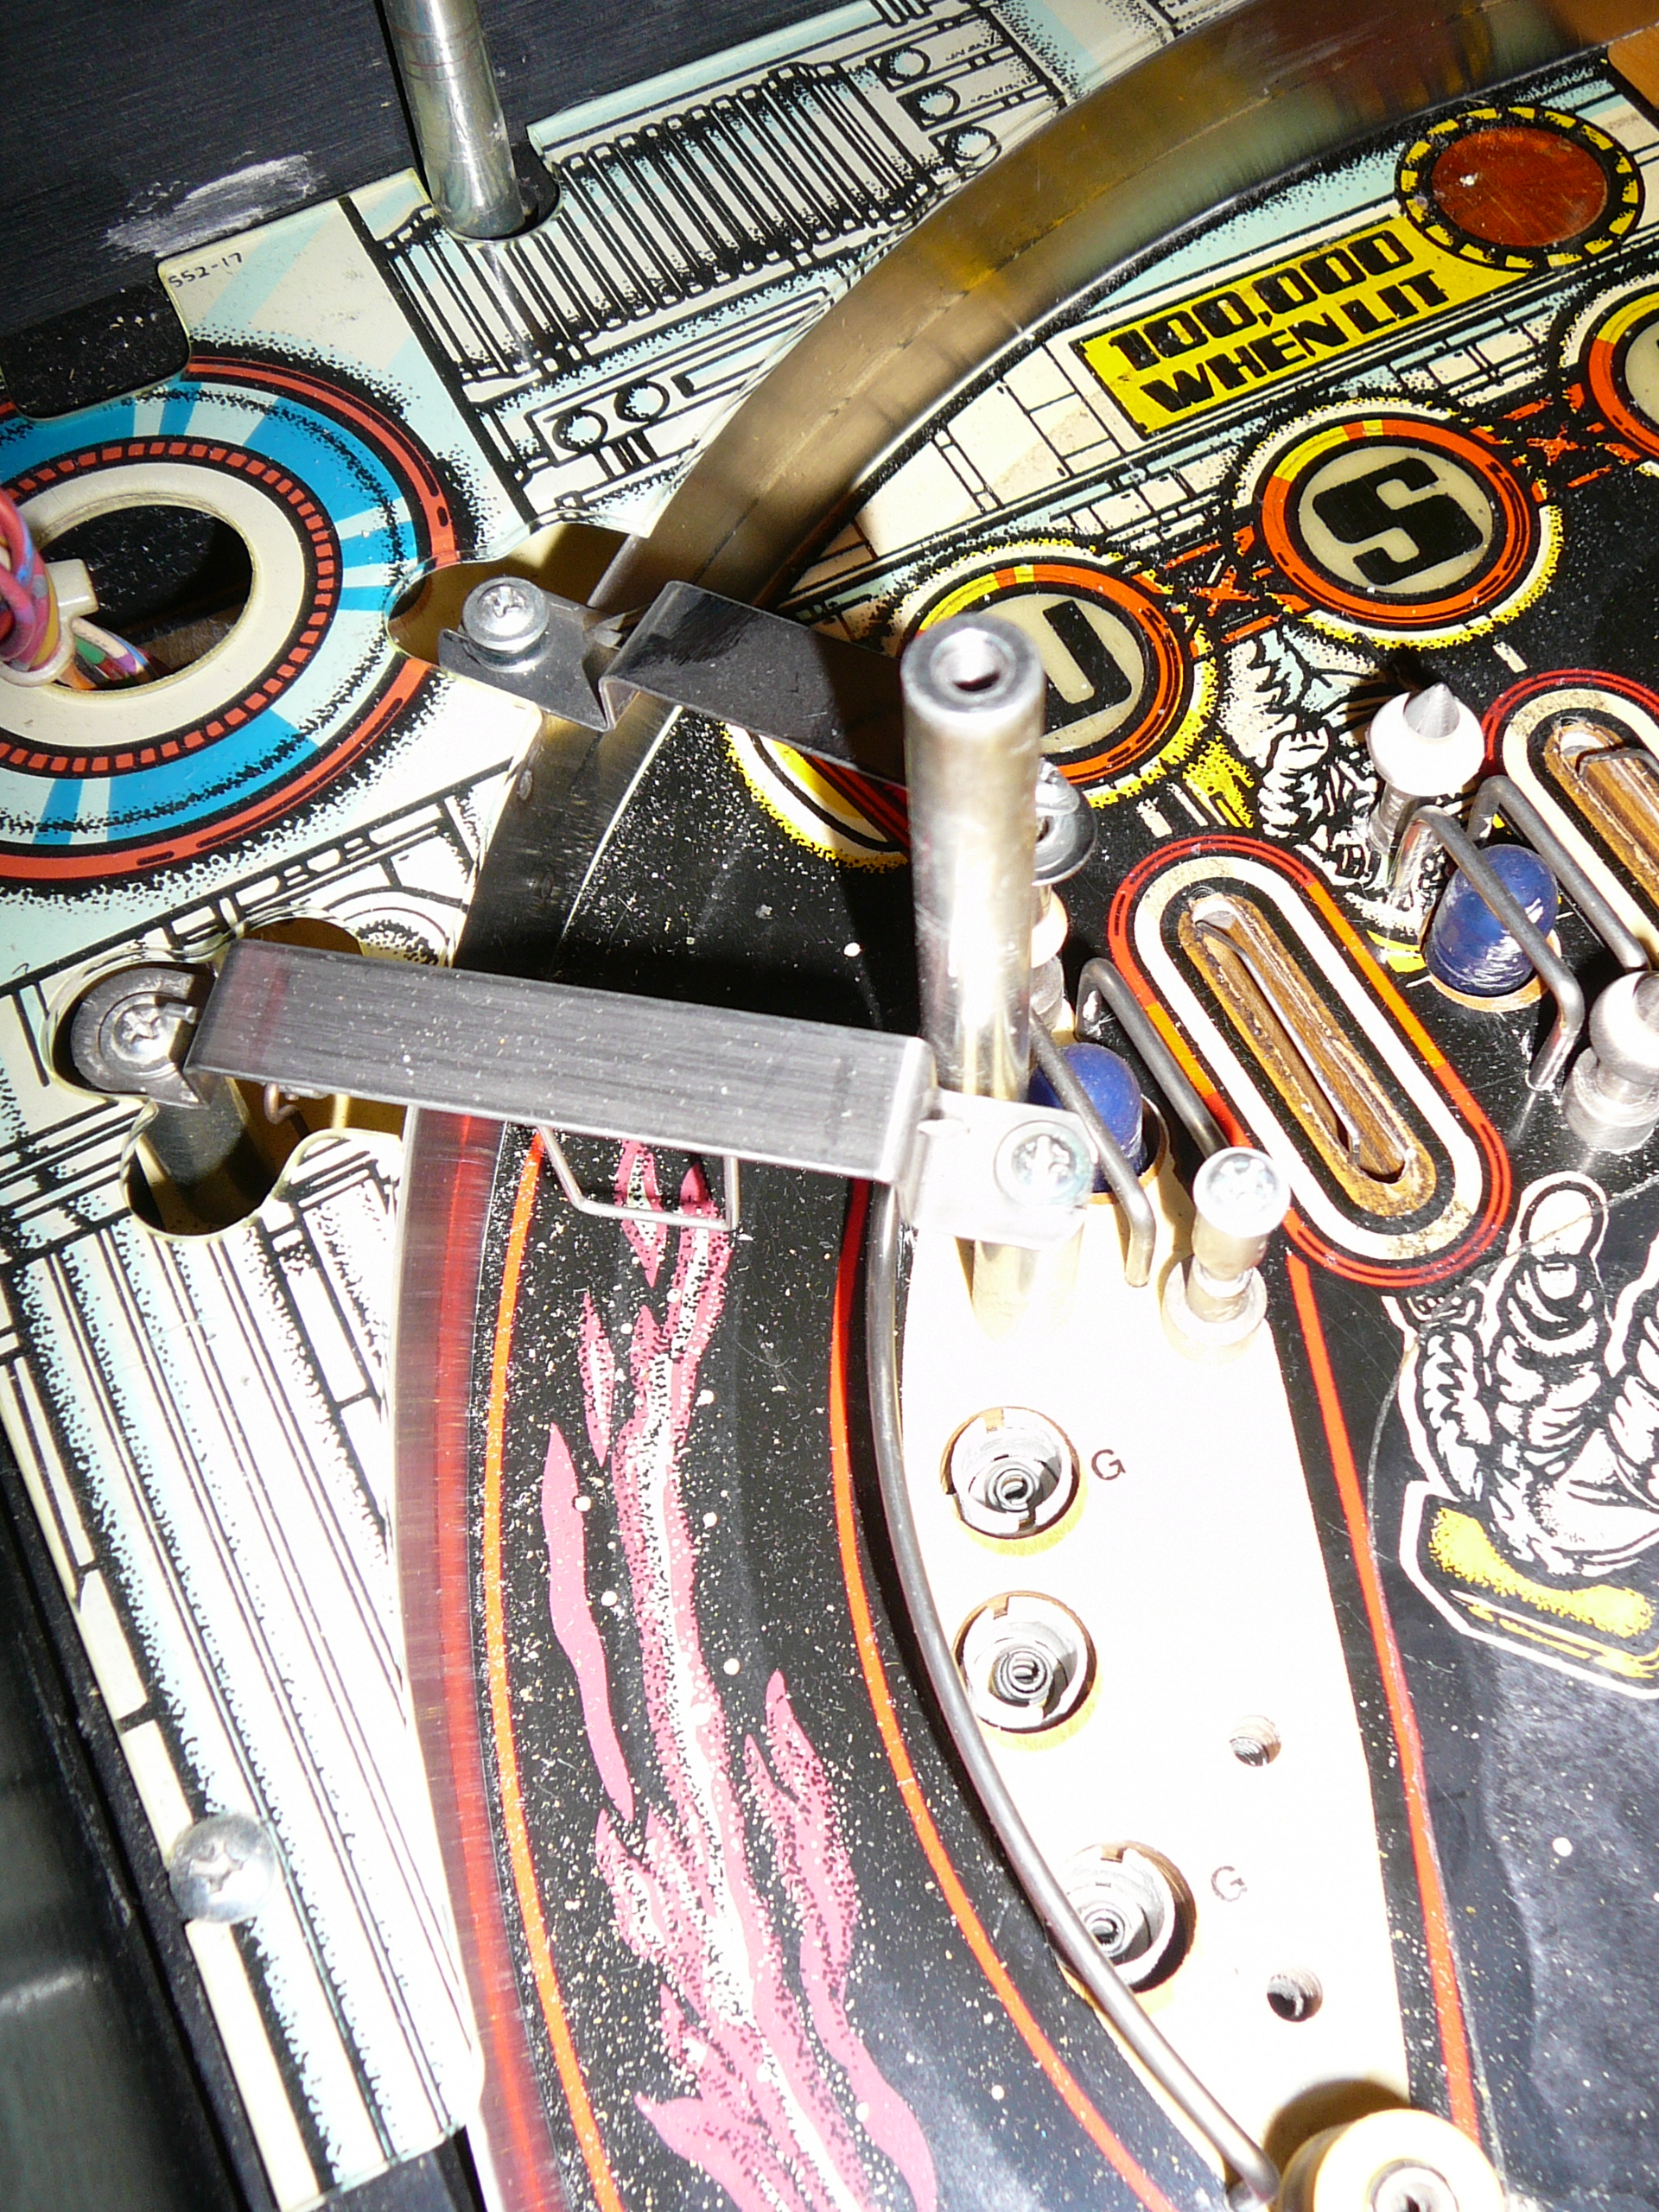
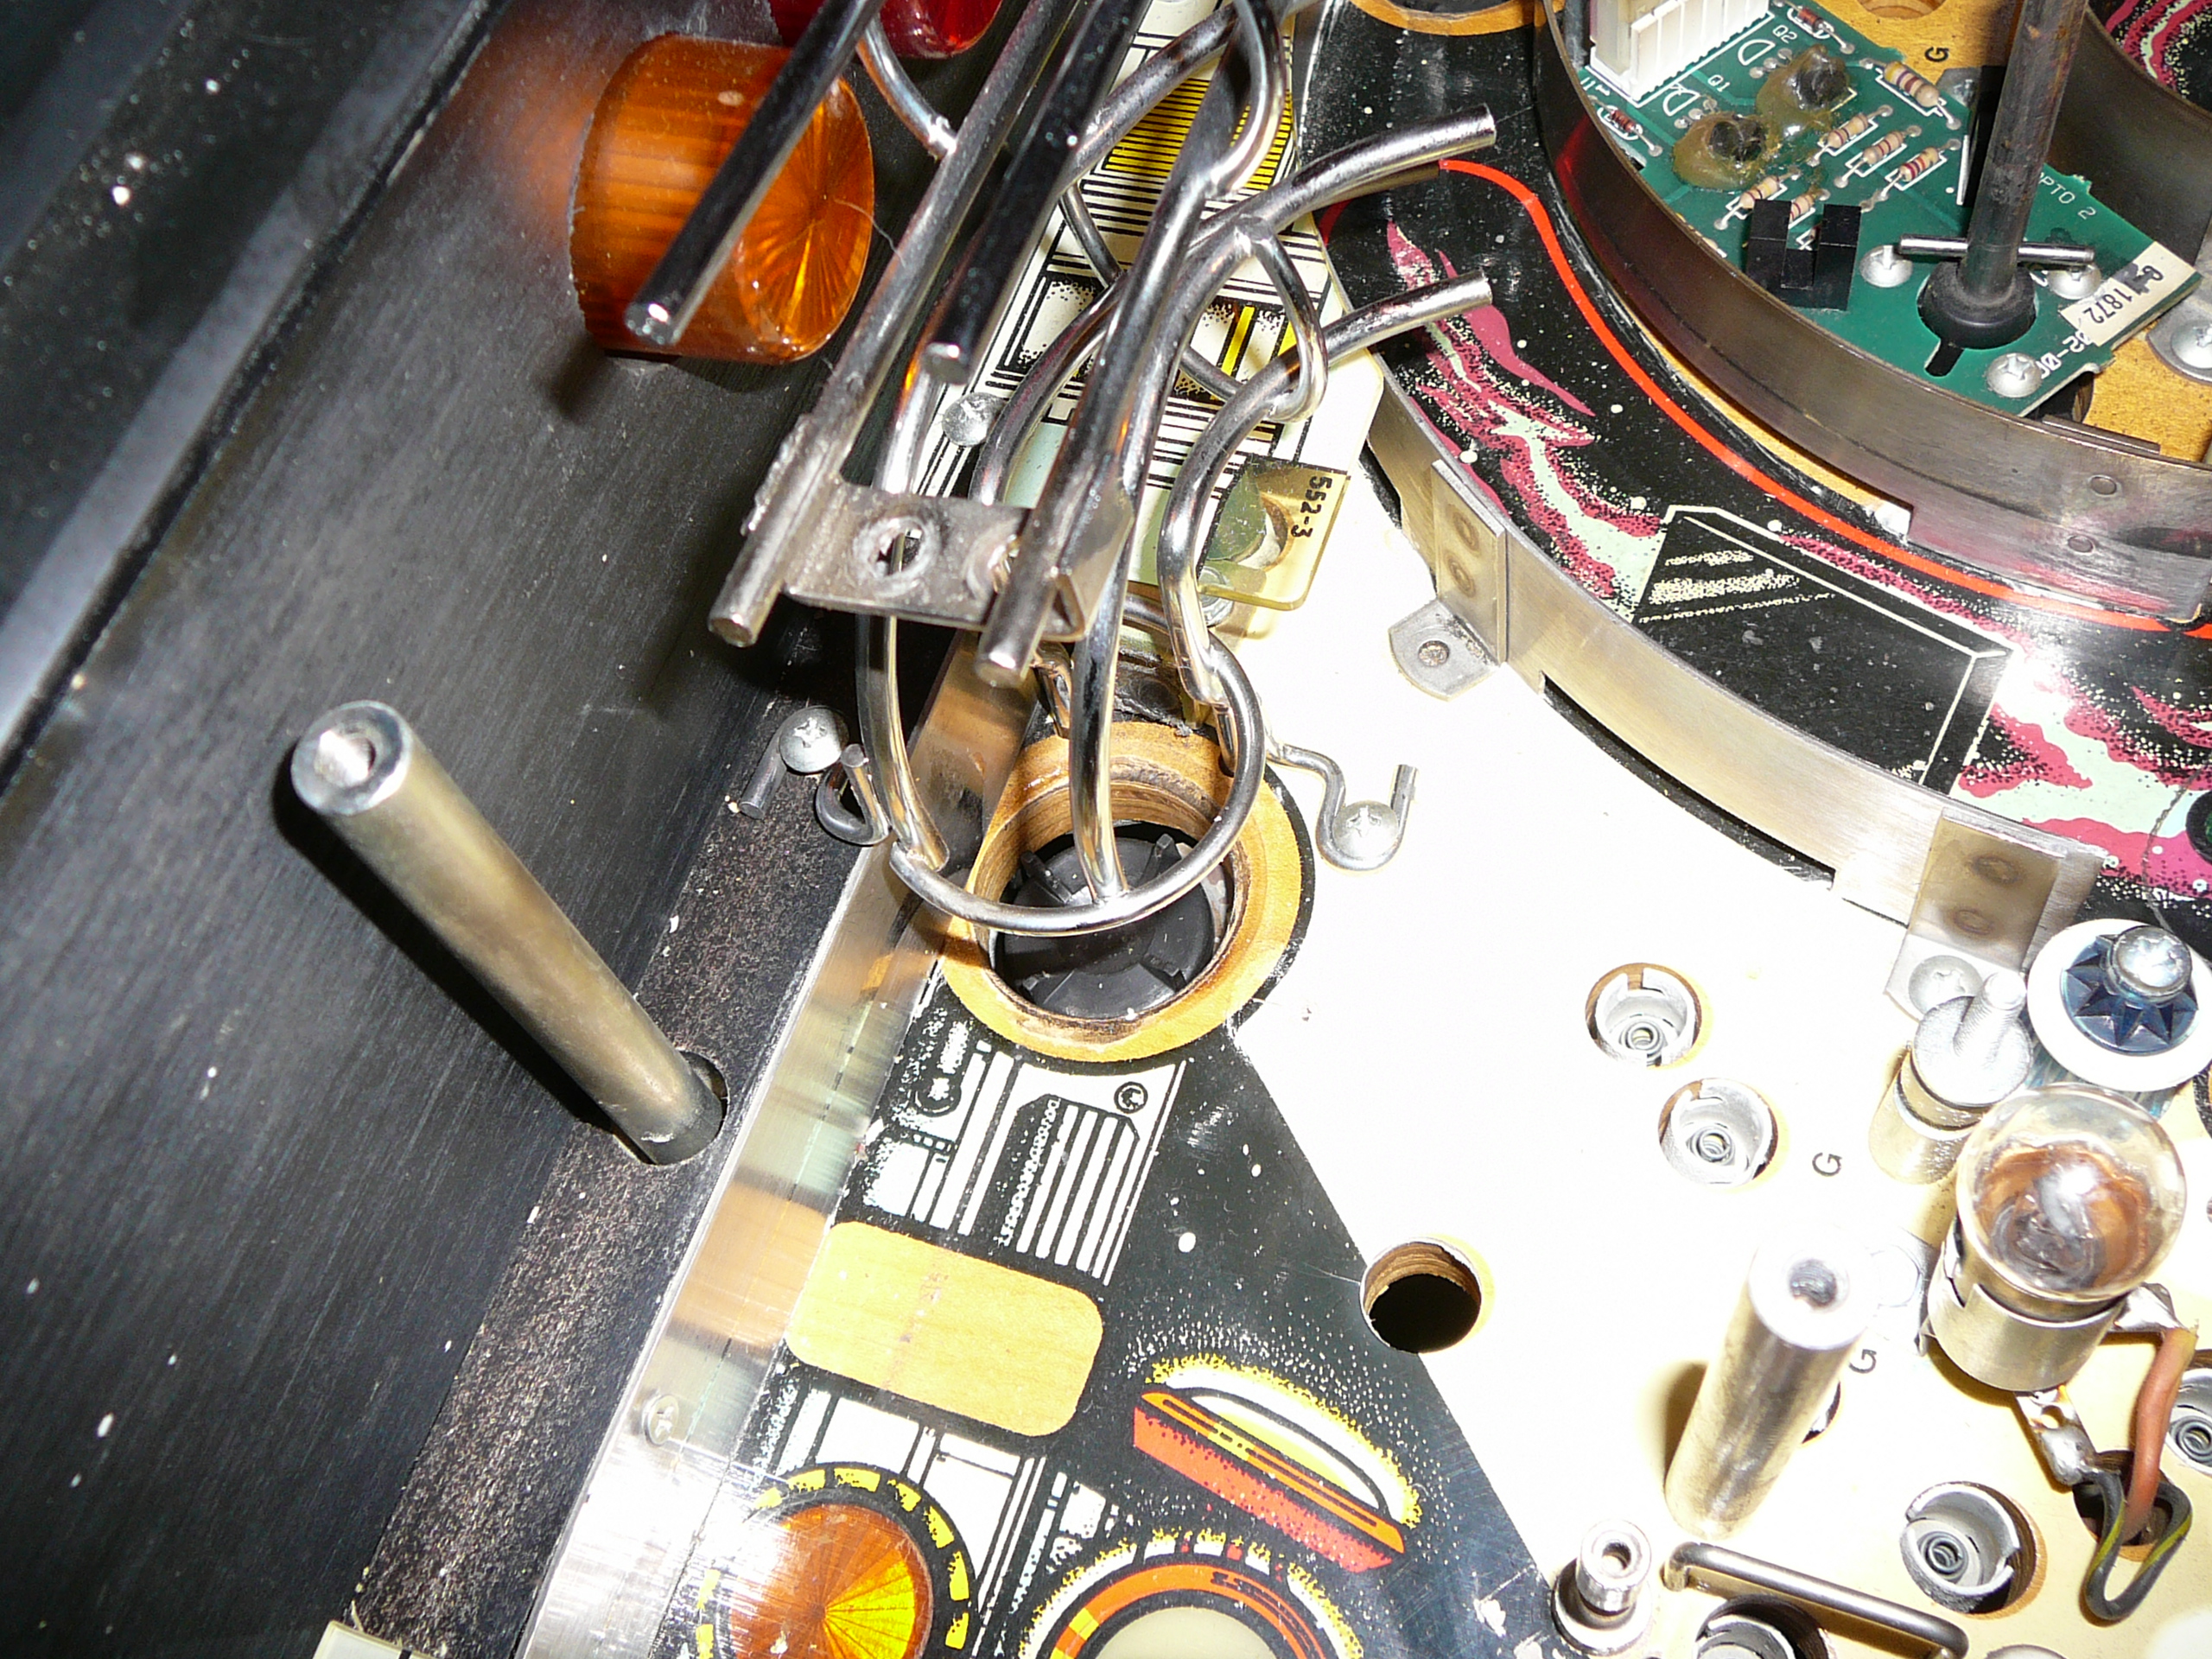
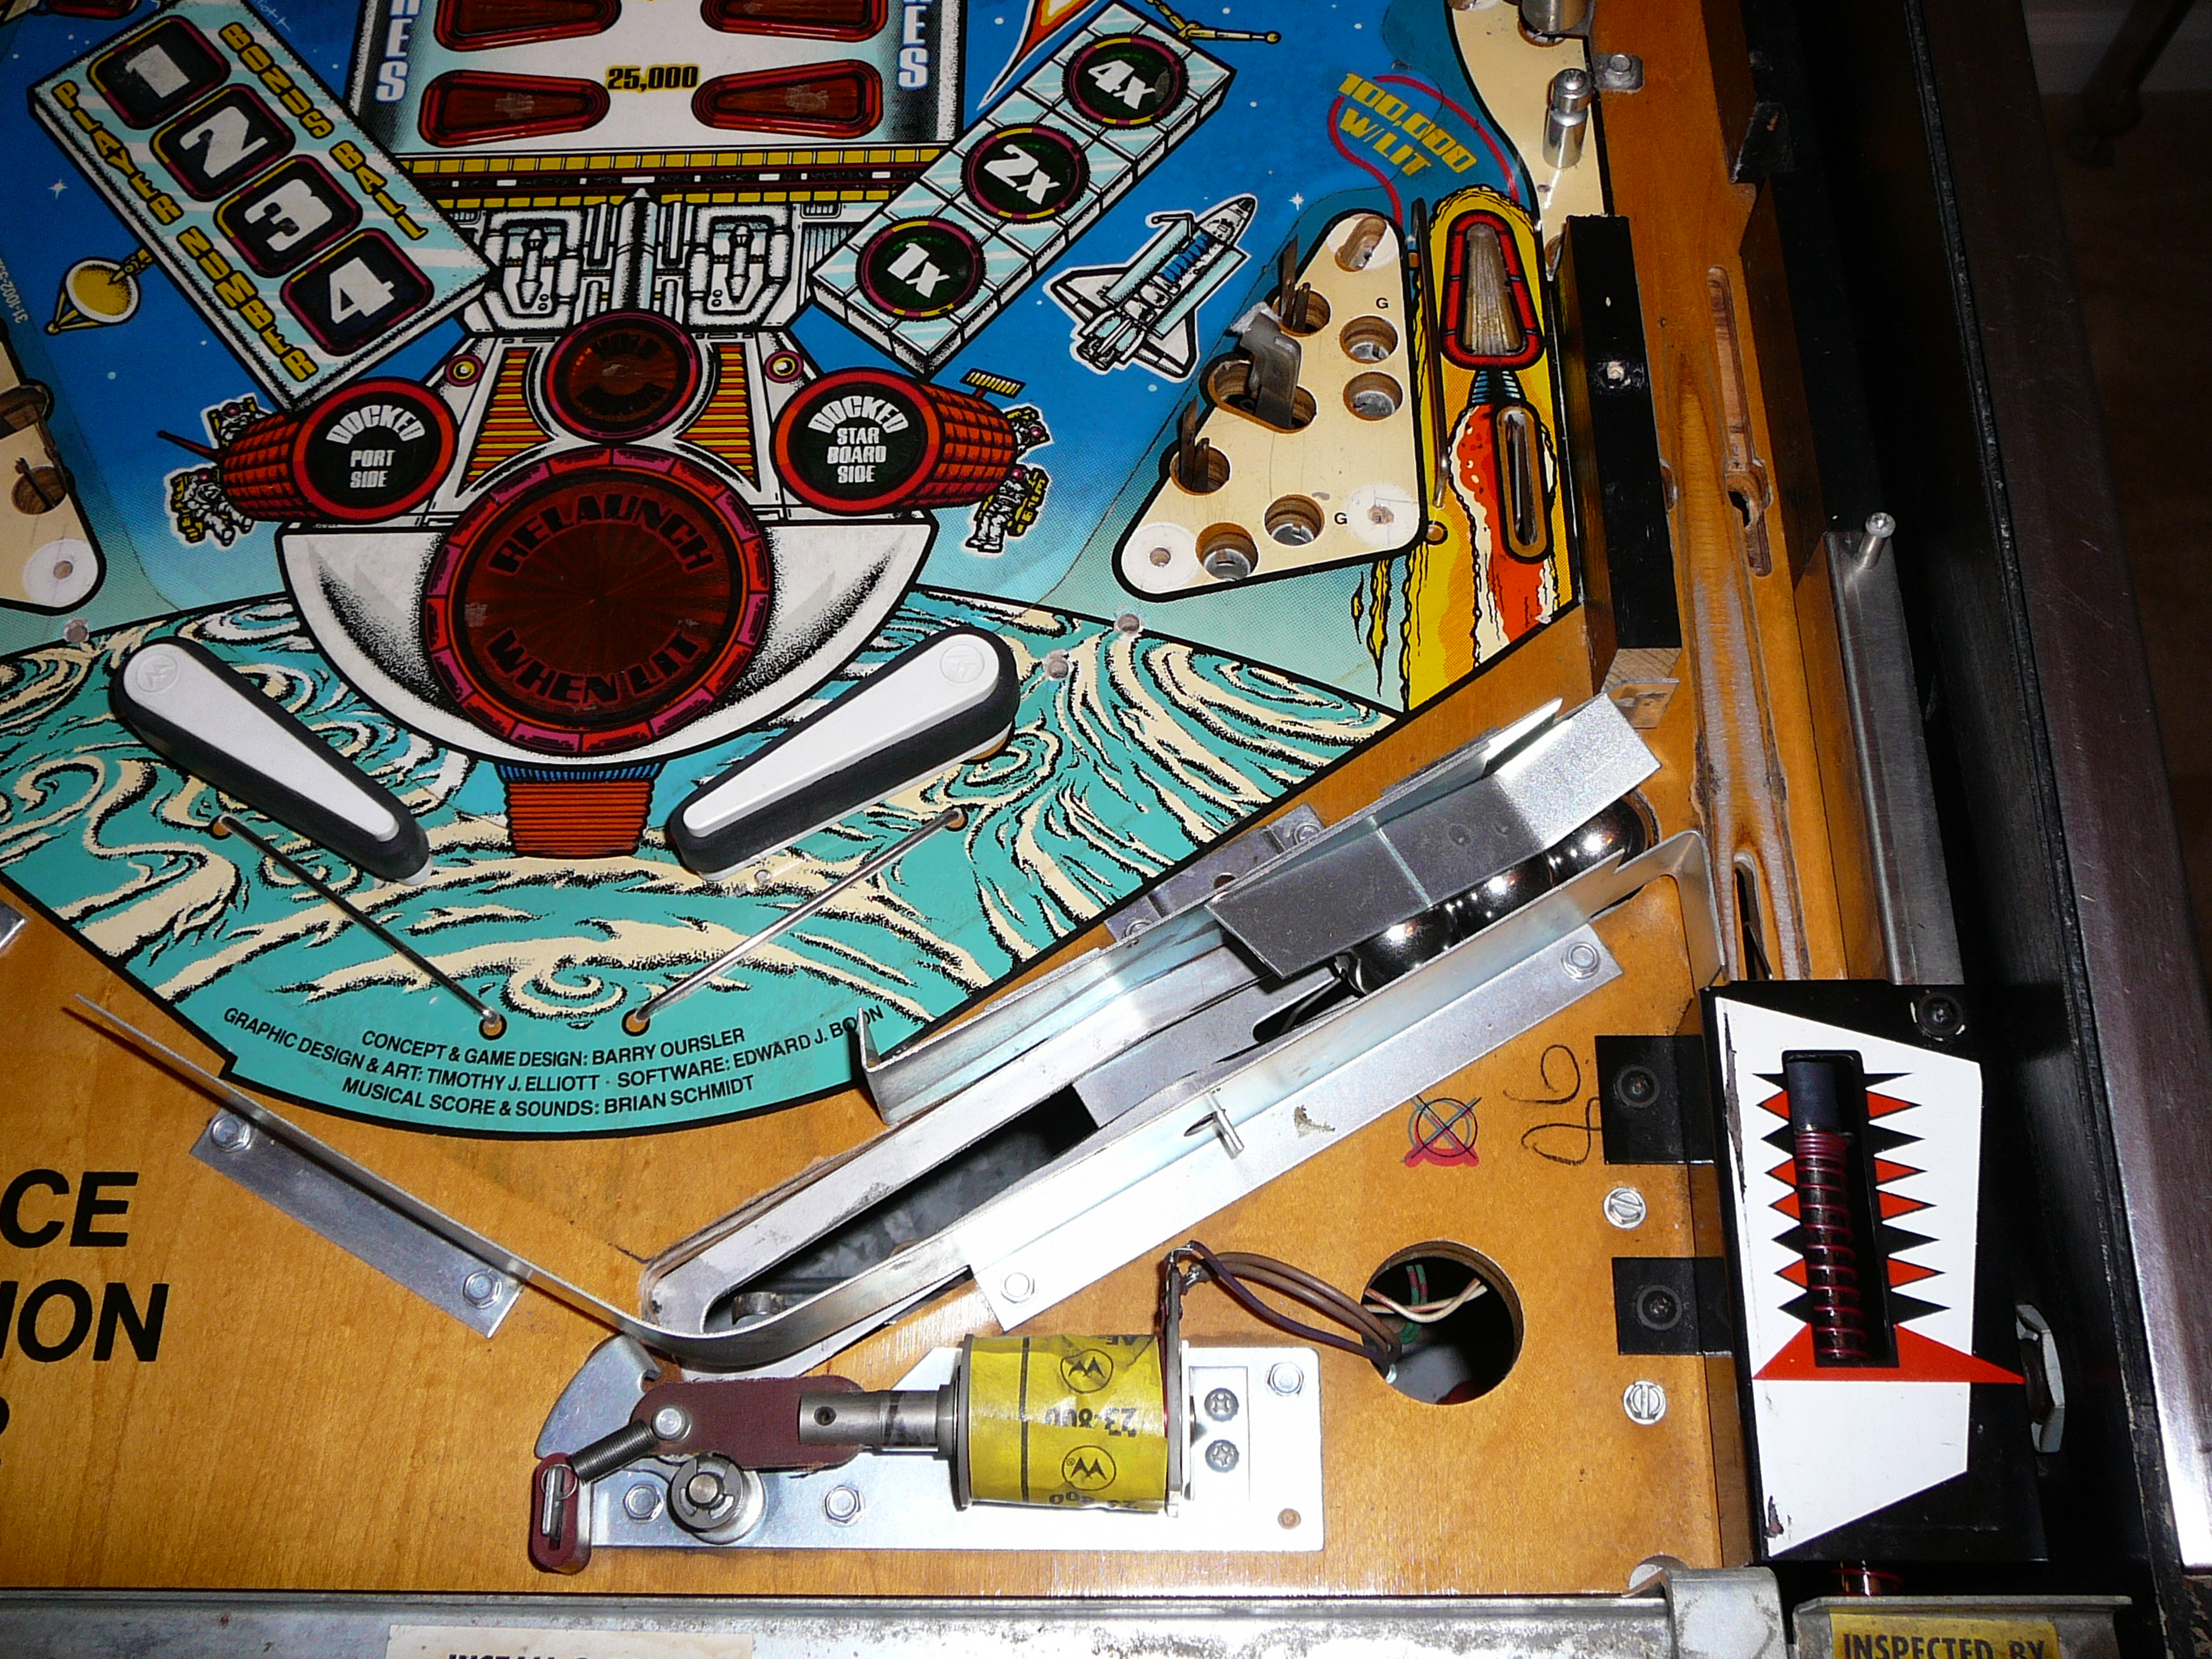
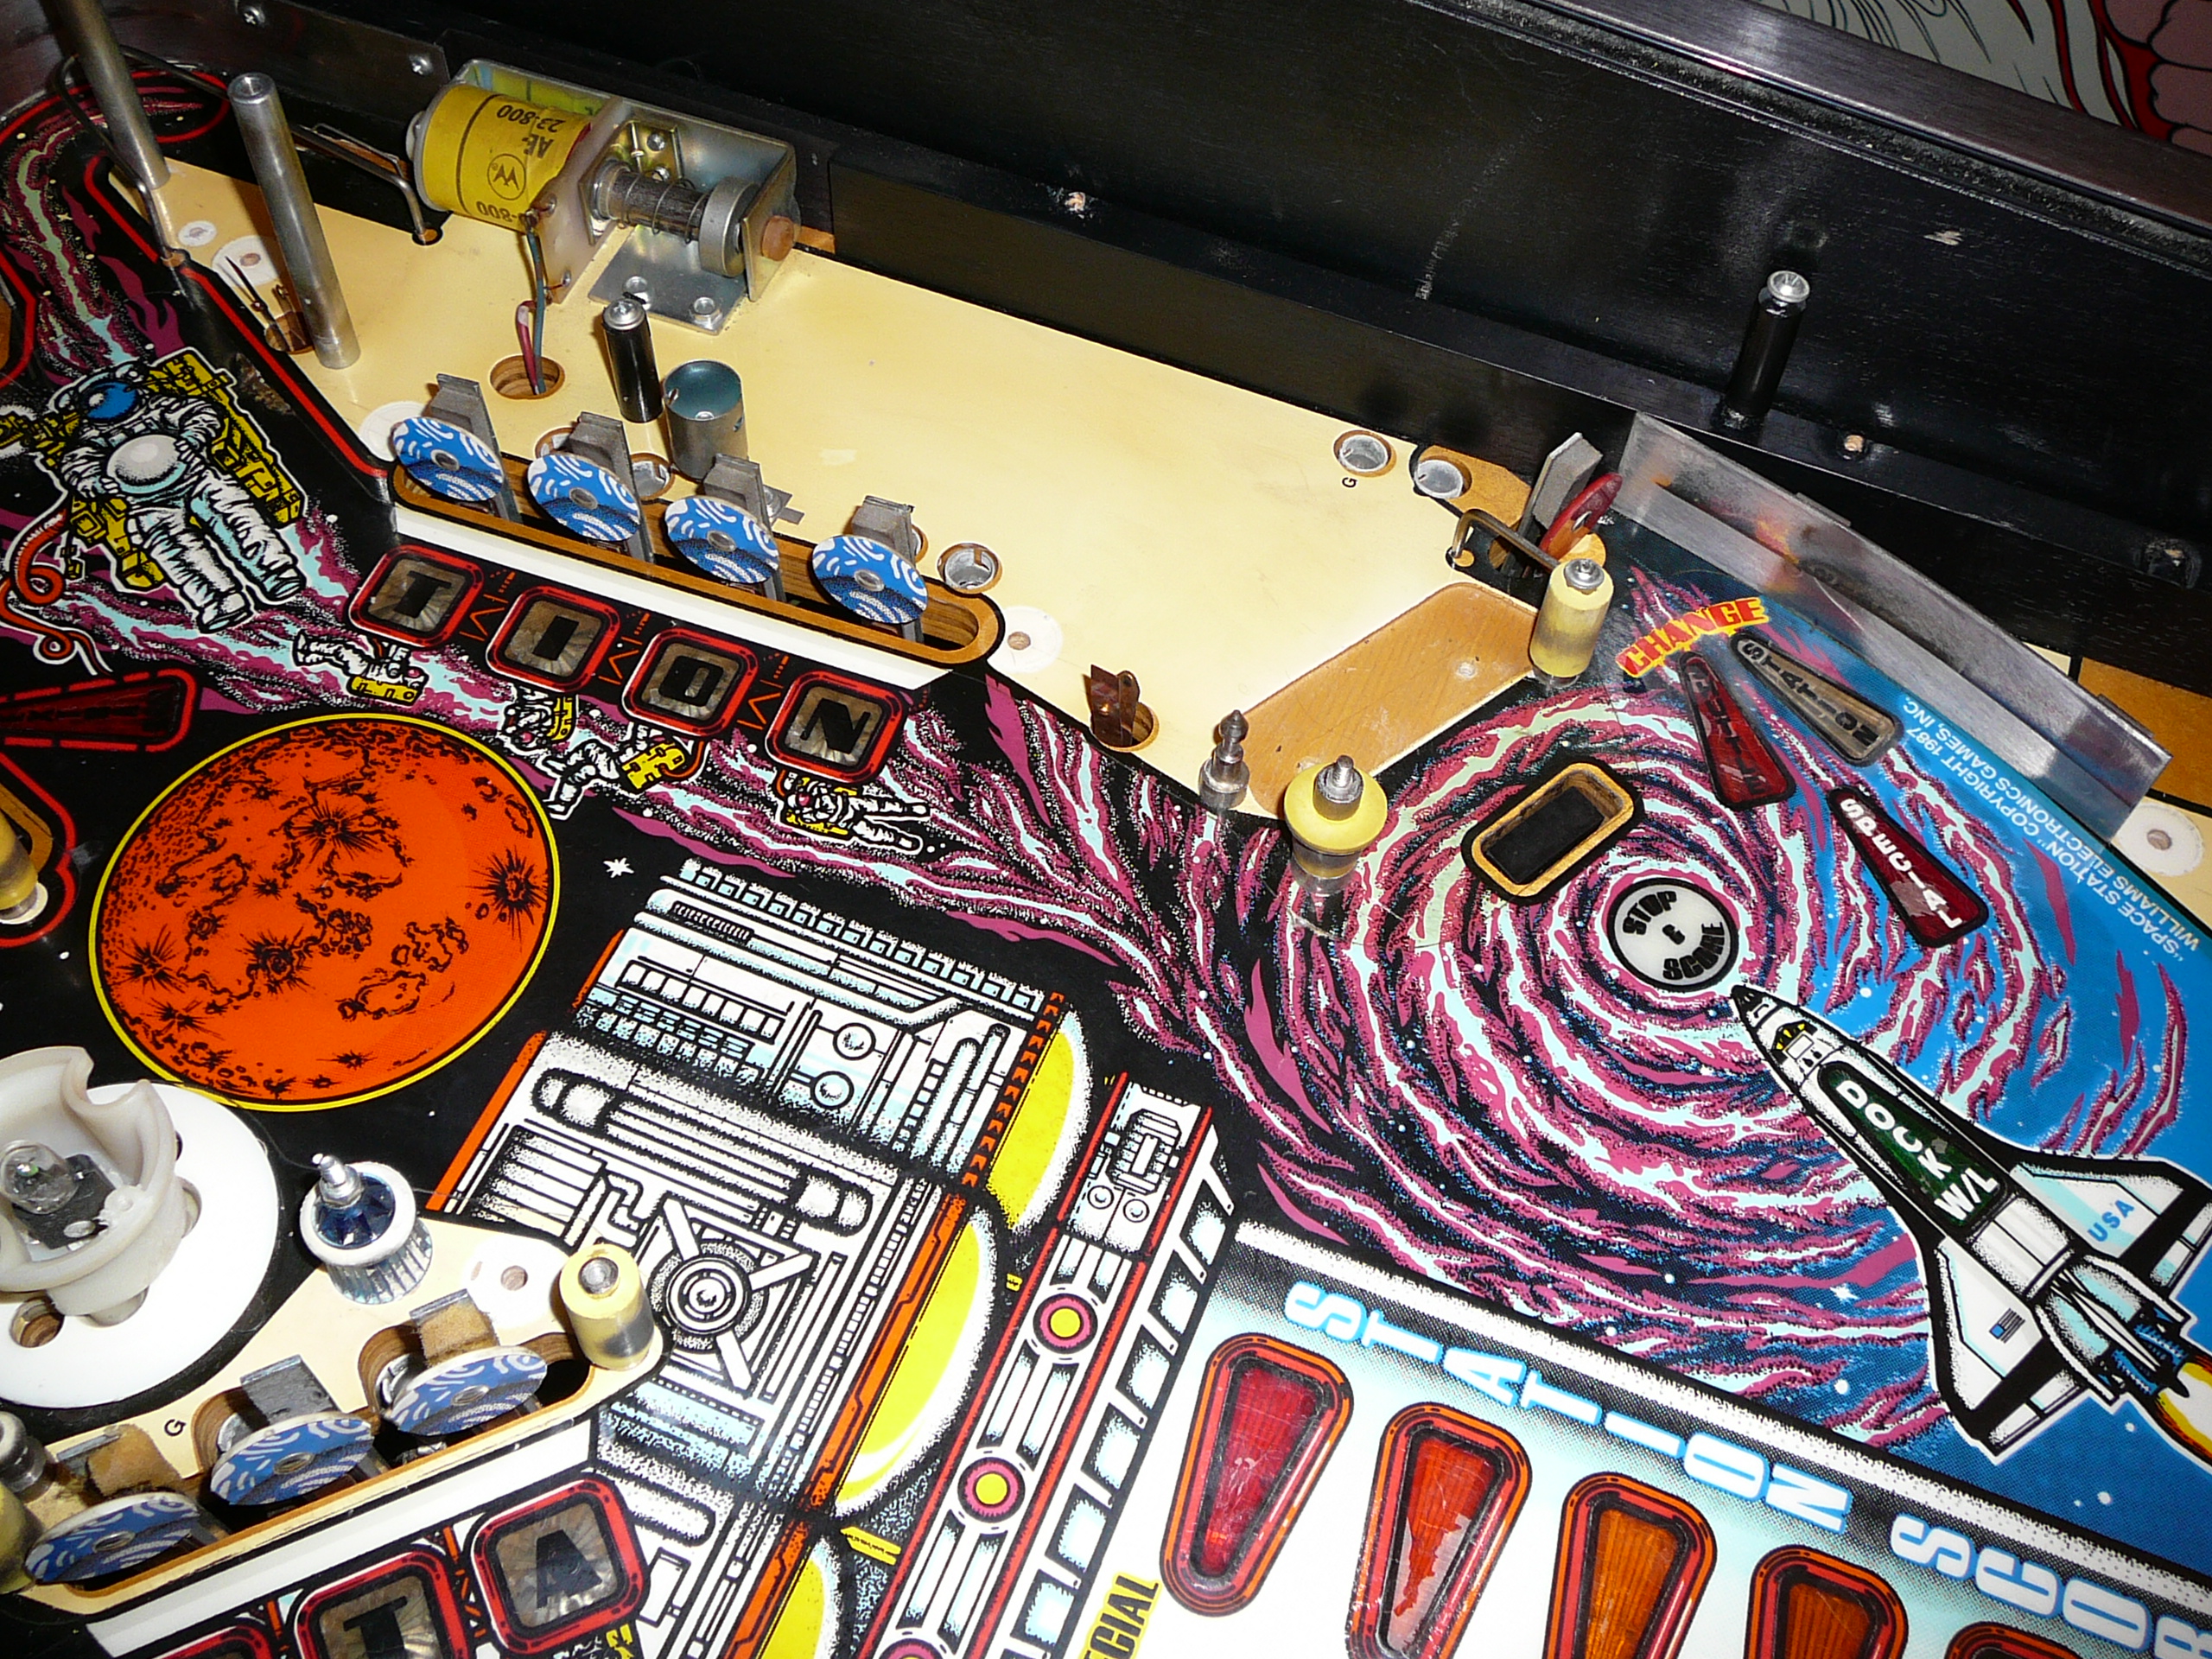
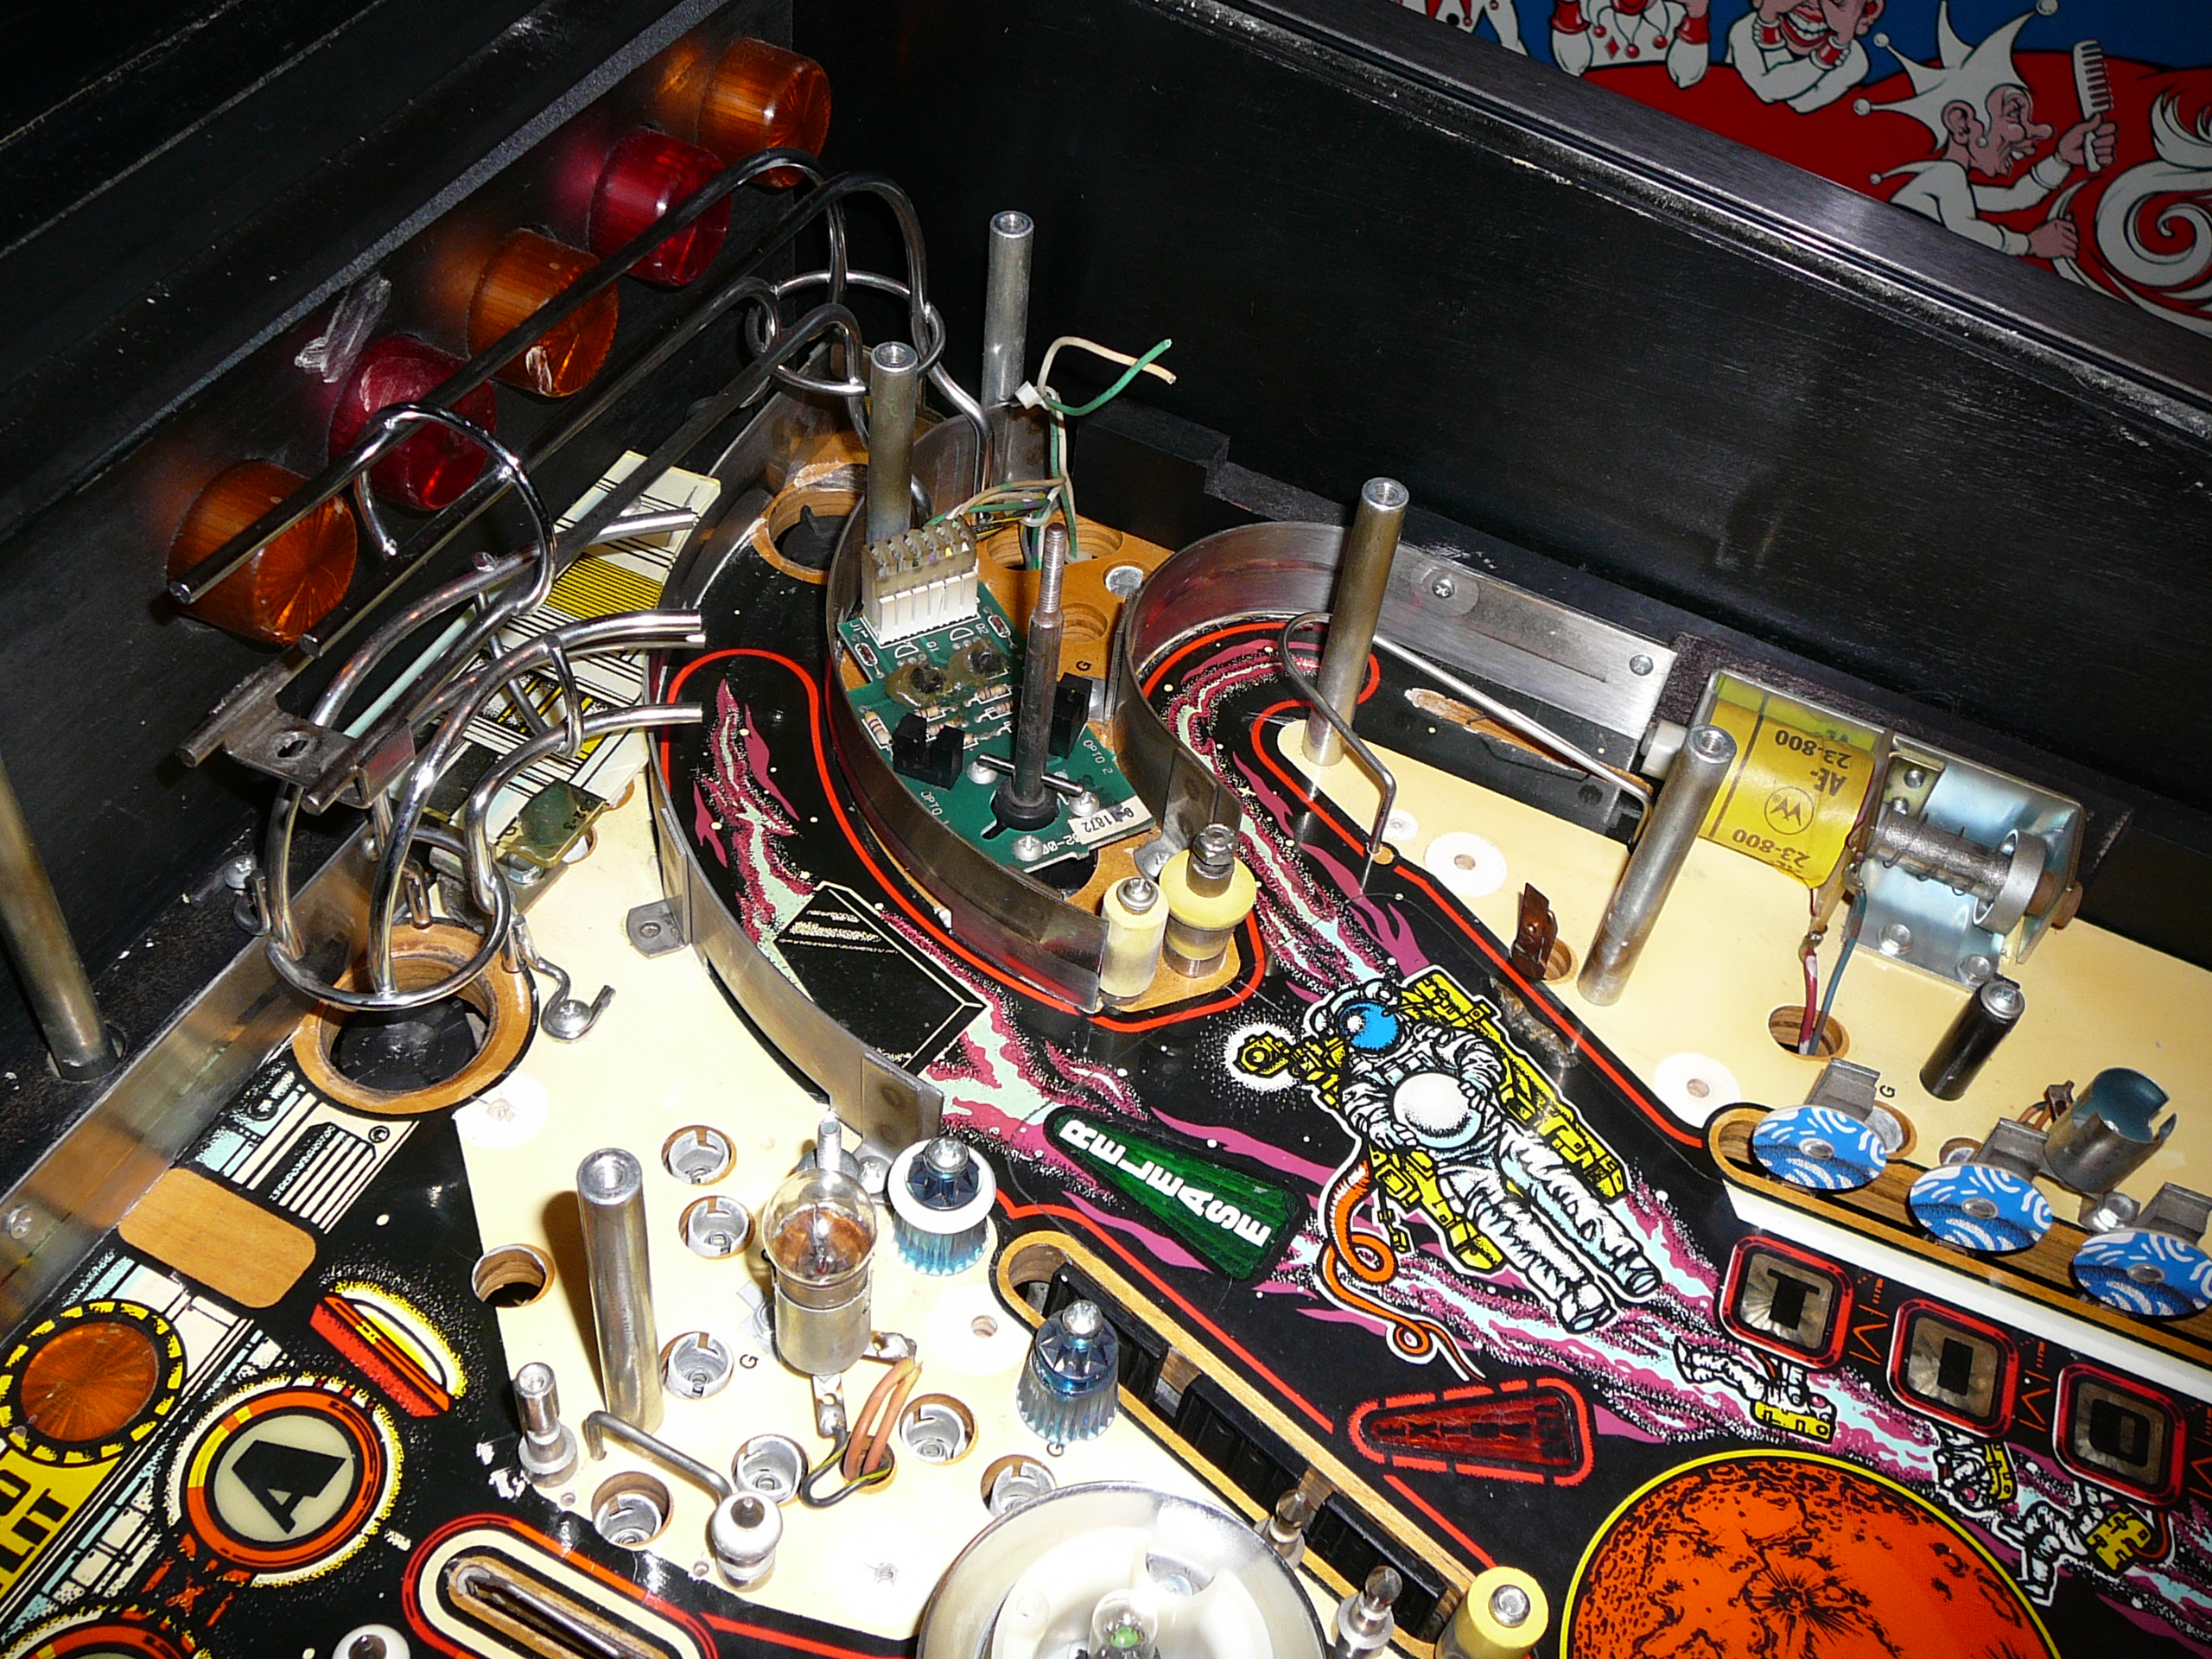
I took the playfield apart layer by layer. It was very tedious and I was scared to death of forgetting how it goes back together… so I took a boatload of pics along the way.
Each part was lovingly hand-polished with Novus plastic polish. All rusty or scratched nuts and bolts were replaced, and the plastic posts were replaced. All the old dirty yellow rubbers were replaced with new white ones.
The playfield was hand-waxed. I chose to leave they mylar on as it was in good shape, and I was concerned about pulling up the surface of the plastic inserts underneath. No touch-up paint was needed.
Here are some of de-construction pics (before cleaning):


Sep 18
The machine was in what I would describe as good+ condition. The great news is that most of the issues seemed to be cosmetic.
The game was playable, but mechanically there were a few issues – a pop bumper or two was non responsive, the sound was badly garbled, and a few segments in the VFD display were dead, etc.. but even I – being new to pinball repair- could see there were no major issues.
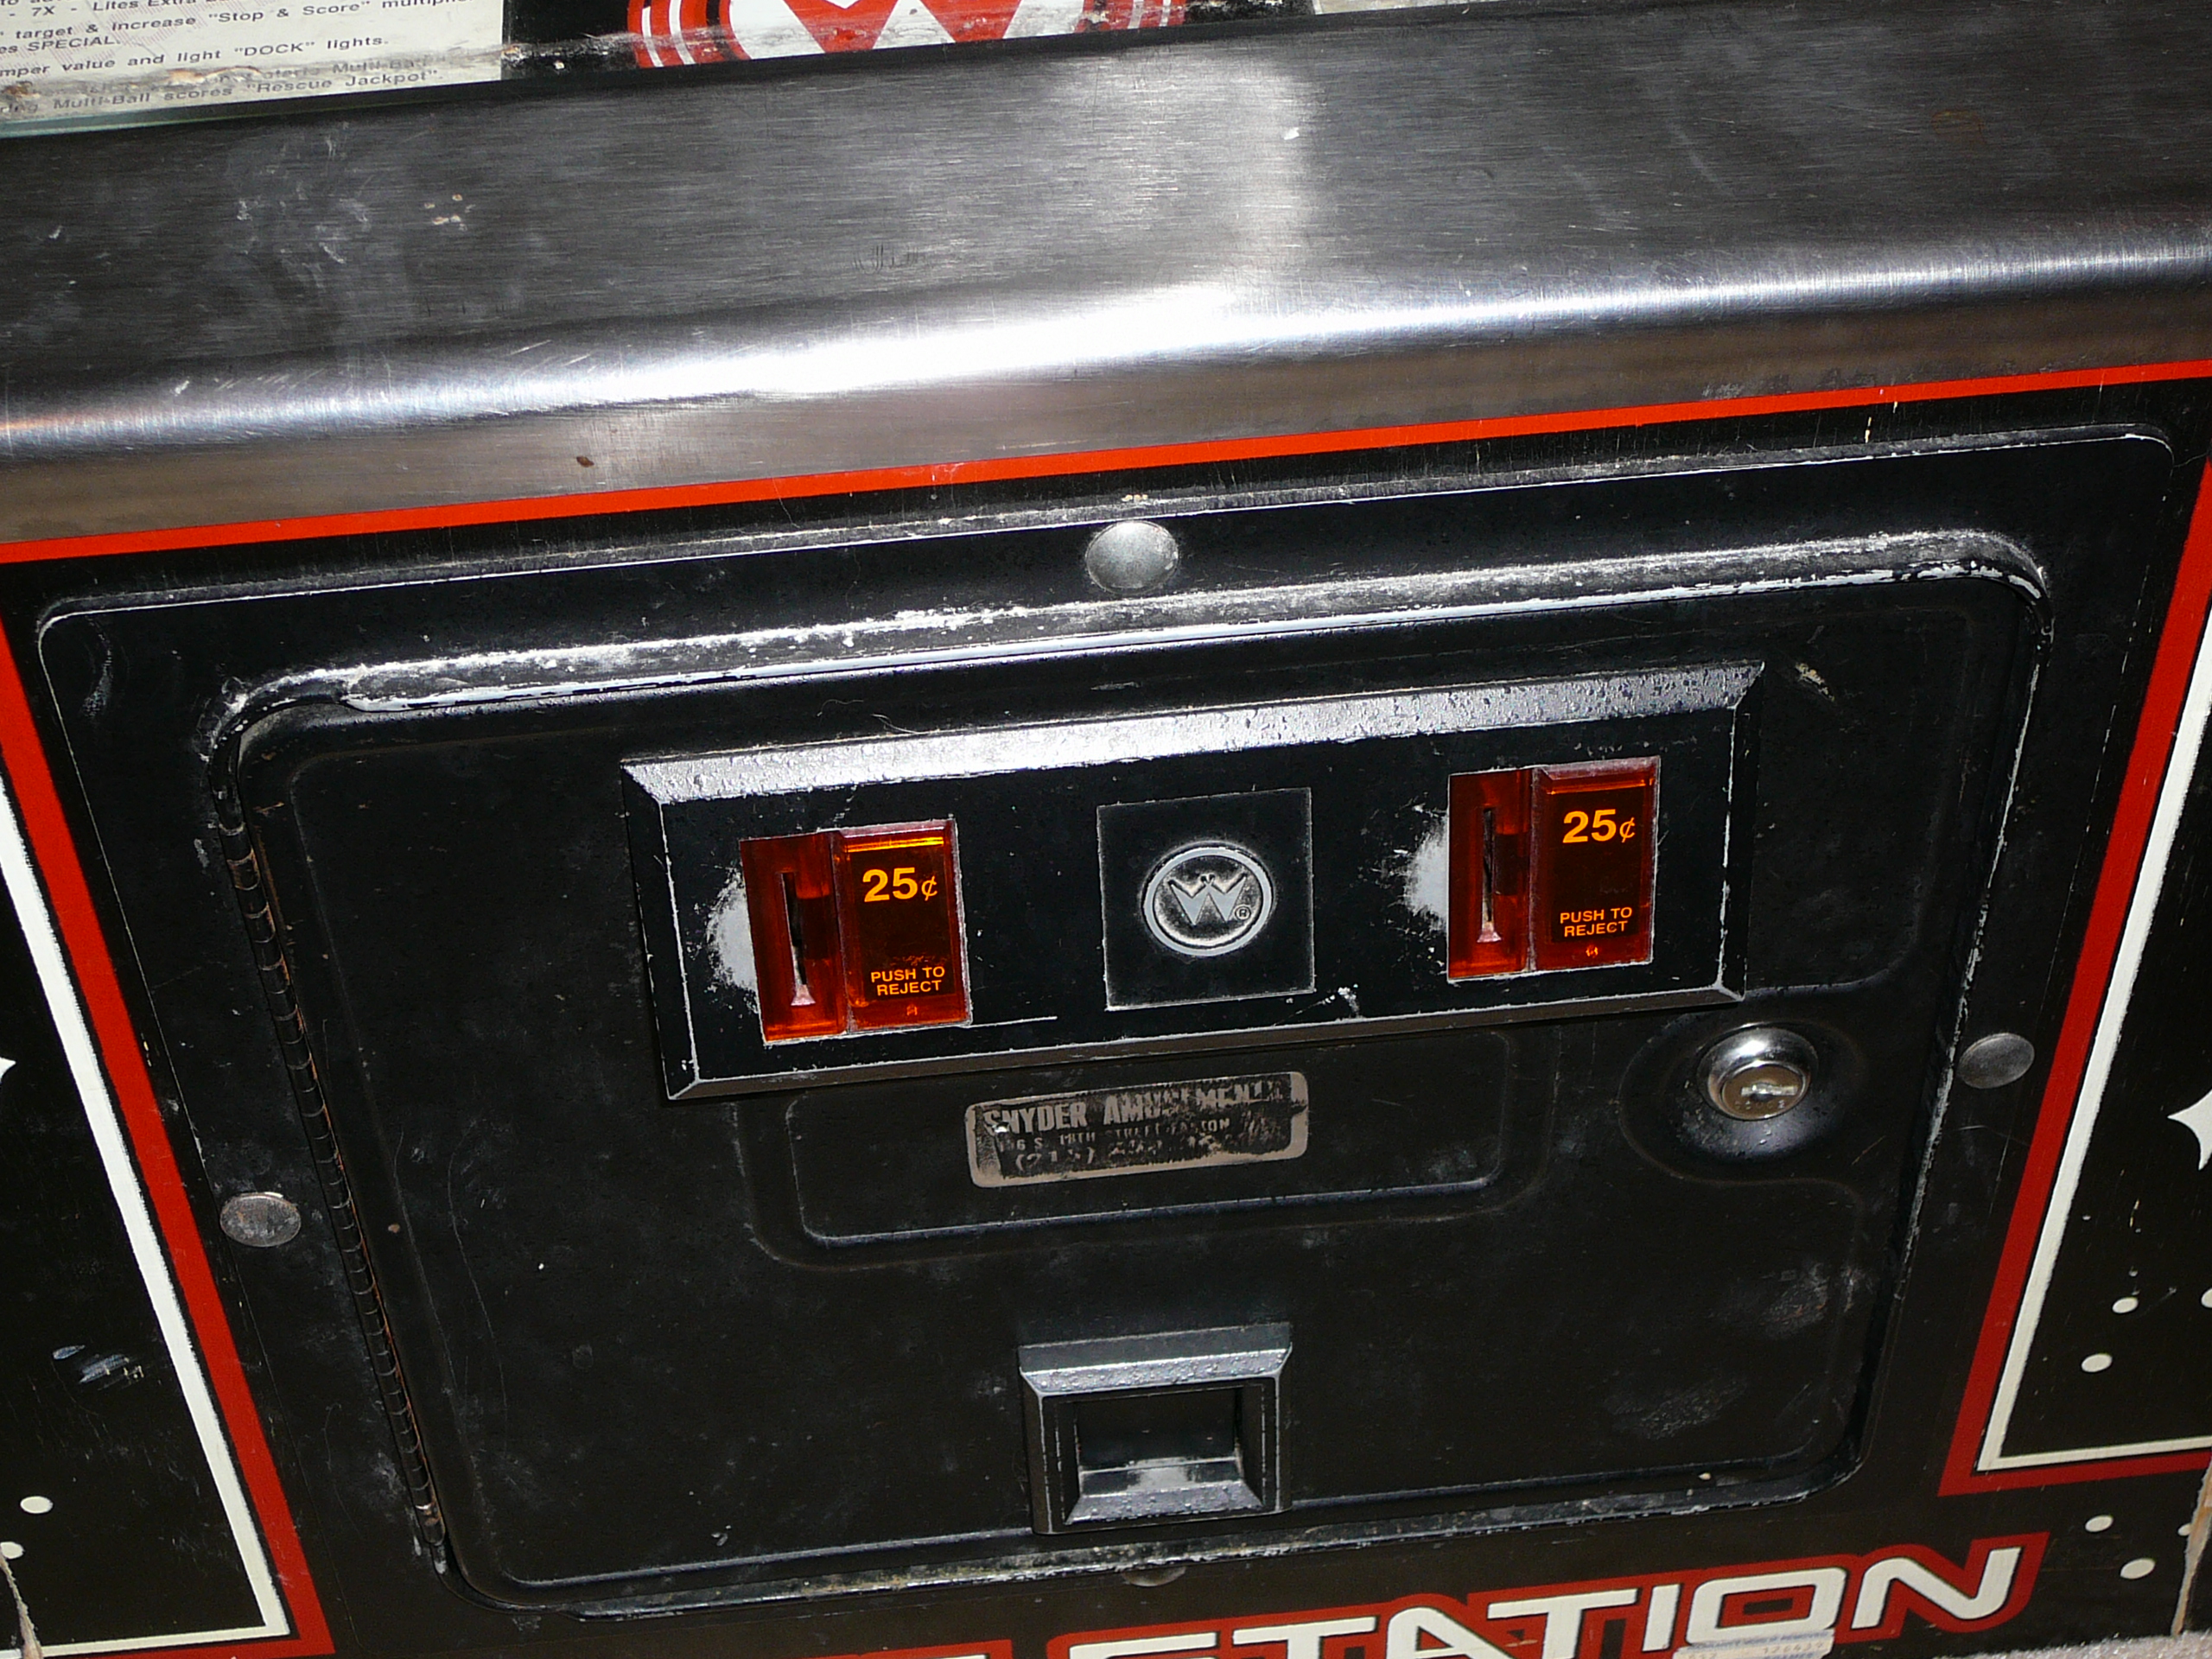
The boxes and outer paint were overall in very good shape, with a few scuffs and dings as should be expected in a 25 year old game. The Coin Door was nicked quite a bit.
The playfield paint and finish was in pretty much spectacular shape. There was mylar over much of it and it seems that the machine wasn’t played a ton.
The plastics were for the most part fully intact, with the exception of the black ramp on the left. The bottom where the steel piece rests on the playfield was just about broken off. Everything here has very grungy however. All the white rubber was filthy, the playfield had dirty ball-tracks, and the plastics were hazy or dirty.
Electrically – the right-side General Illumination (GI) was dead. (I found out later this is very common.) Many bulbs were dead or dim. Most were dirty. The backup battery holder on the system board was heavily corroded and probably unusable.
Some of the plastic playfield inserts had air bubbles under the mylar and it appeared that the plastic may have degraded.
Overall this was a perfect learning project machine for me – it required a lot if cleaning and polishing, some mechanical work, and a little circuit repair.